How to Batch Import Candidate Photos?
After importing candidates’ information into the system, if you need to add candidates’ photos, instead of uploading photos one by one, you can upload the candidates’ photos in bulk. After download the OnlineExamMaker bulk upload tool, you can quickly import all the candidates’ photos with one click!
How to upload candidate photos in bulk?
1. Download the batch upload tool
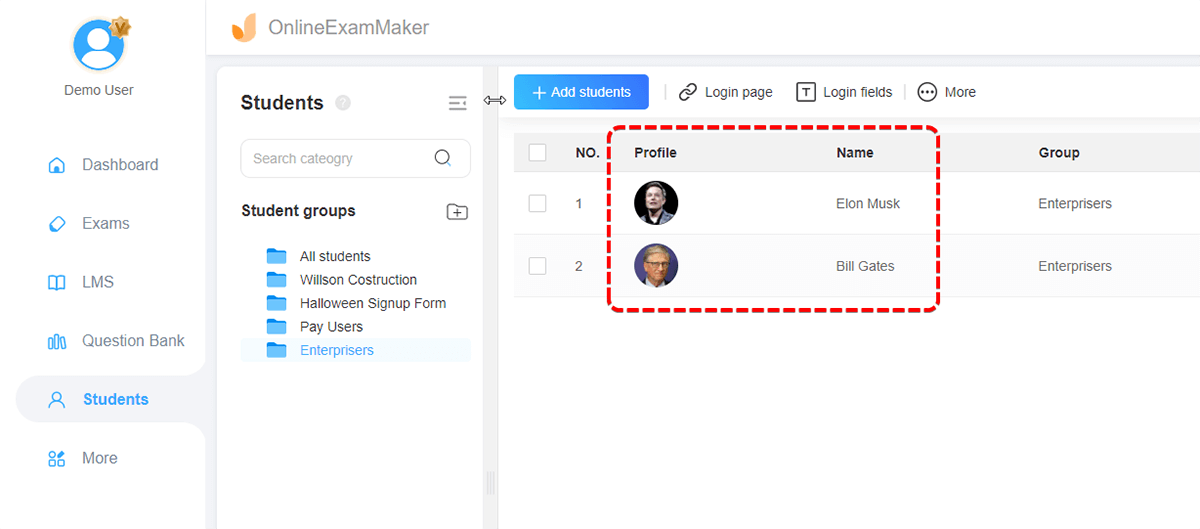
First, enter "Students" -> "All Students", then click on "Batch upload photos" link.

Click to download the batch upload tool in the pop-up window of the system.

2. Upload photos in batches
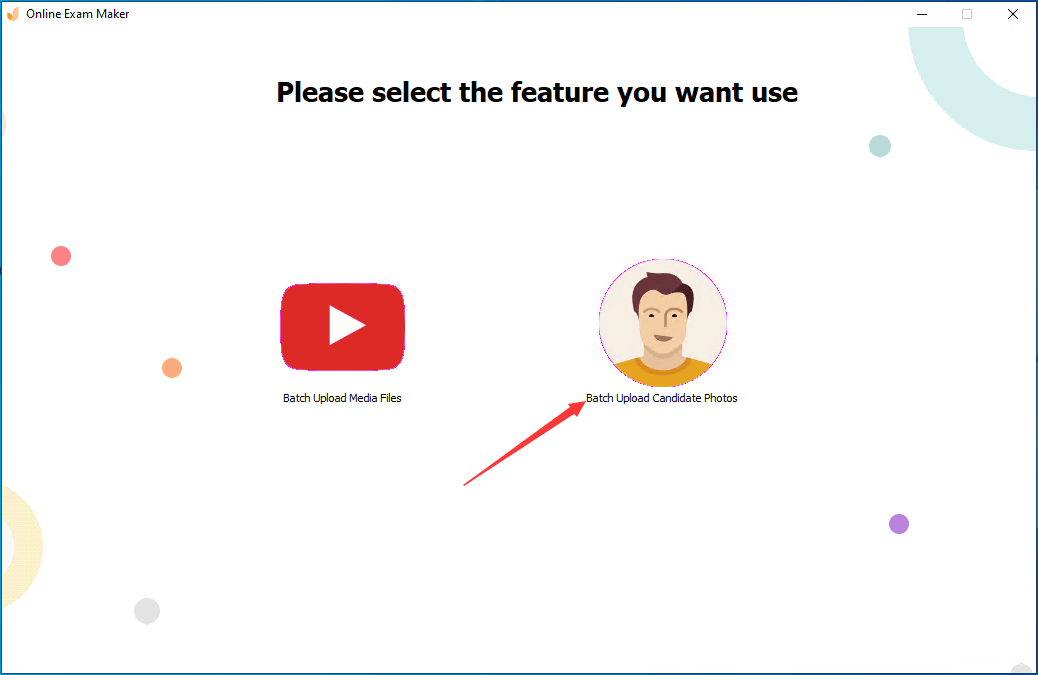
Open the batch upload tool and log in with you OnlineExamMaker account. After logging in, select the "Batch Upload Candidate Photos" on the right;
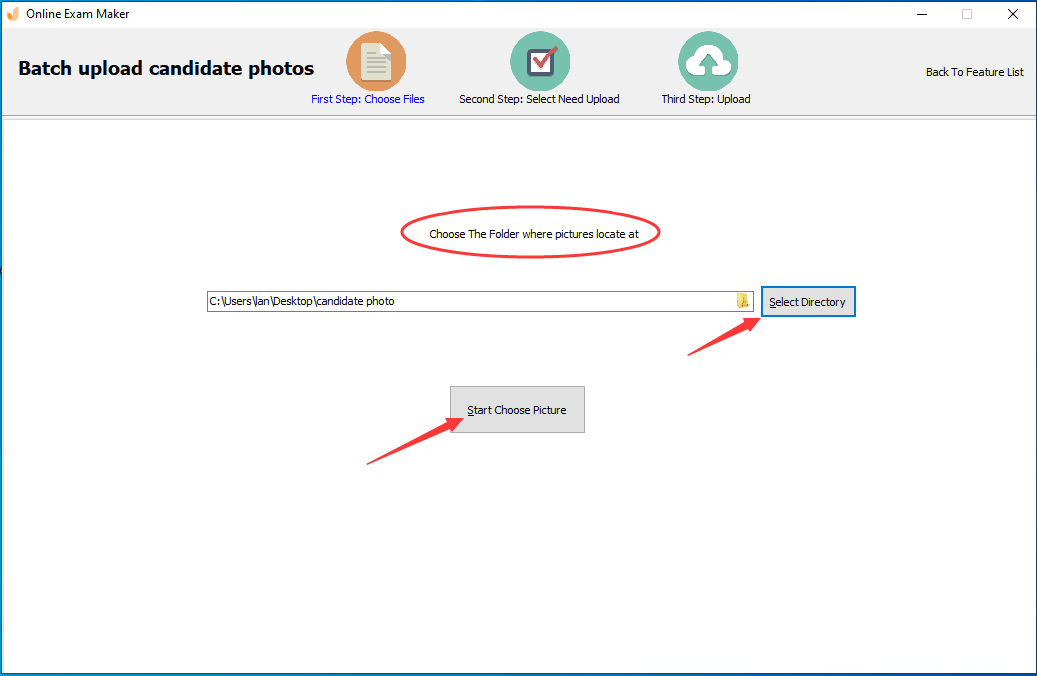
The first step: select the file. Select the folder where the candidate’s photos are located.
Note: Only supports png and jpg format photos, and the photos need to be named "Login field.png" or "Login field.jpg".
(The candidate’s login field is the candidate’s login account. For example, if you choose candidates’ s names as the login field, name it "name.png")
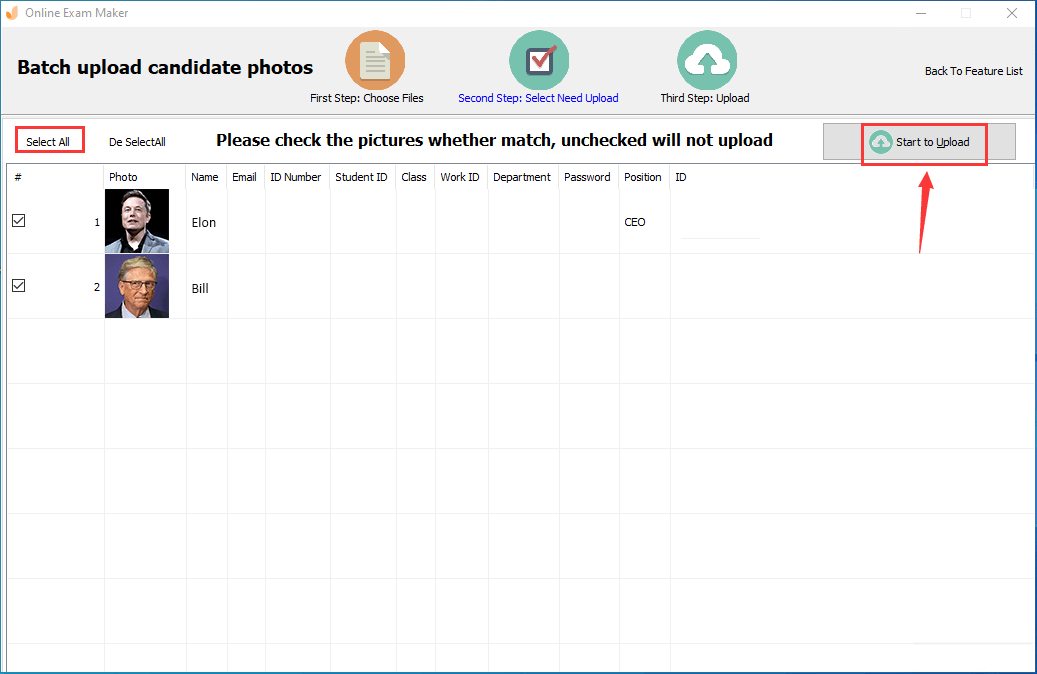
After selecting the folder, proceed to the second step: check and upload the photos.
Check and select the photos you want to upload. If you would like to upload all of them, click "Select All" in the upper left corner. If don’t, just check the photos you want to upload.
After selecting the photos, click "Start to Upload" in the upper right corner.
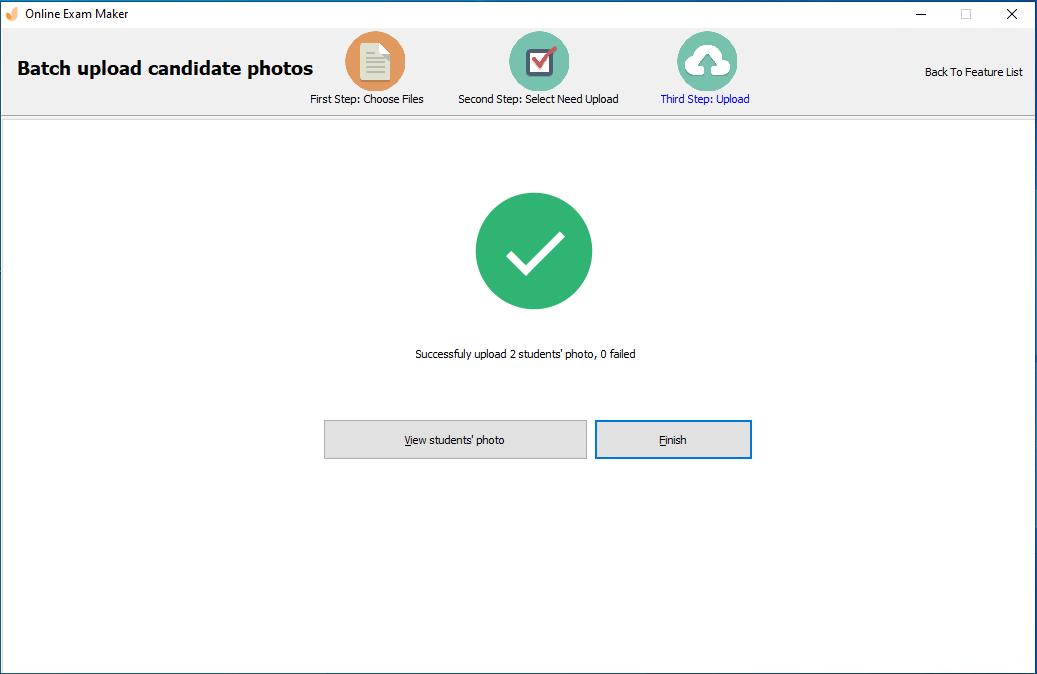
Step 3: Upload successfully. Following the steps above, you can successfully upload the candidates’ photos in batches.
After the bath upload finished, you can see the profile photo of each student in your dashboard.