Creating online quizzes for teaching offers a myriad of benefits for both educators and students. Here are some compelling reasons to integrate online quizzes into a teaching approach:
Instant Feedback: Online quizzes often allow for immediate grading, providing students with real-time feedback on their performance. This immediate response can help identify areas of misunderstanding and facilitate timely correction.
Flexibility and Accessibility: Students can take online quizzes from anywhere with an internet connection, allowing for asynchronous learning. This provides flexibility in terms of when and where they engage with the material.
Engagement: Multimedia elements such as videos, images, and interactive components can be included in online quizzes. These elements can make the learning experience more engaging and cater to different learning styles.
Data Collection and Analysis: Online quizzes automatically collect student data. Teachers can analyze this data to understand trends in class performance, identify topics that may need further instruction, and tailor teaching strategies accordingly.
Pro Tip
Want to assess your learners online? Create an online quiz for free!
Resource Efficiency: Online quizzes reduce the need for paper, making them an environmentally friendly option. They also eliminate the need for manual grading, saving teachers valuable time.
Table of content
- Part 1: How can quiz organizers add timer to a Google Forms quiz
- Part 2: How to create responsive online quiz with timer in OnlineExamMaker
How can quiz organizers add timer to a Google Forms quiz
There are some third-party add-ons and extensions that claim to add timer functionality to Google Forms. One such extension is “Extended Forms” which can be found in the G Suite Marketplace. Here’s how you might use it:
Install the Add-on:

Visit the G Suite Marketplace and search for “Extended Forms”. Install the add-on.
Open Google Forms:

Design your quiz as you would normally.
Use Extended Forms:
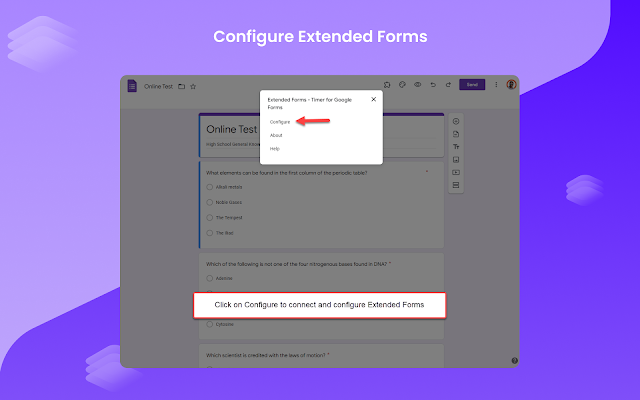
After designing your quiz, click on the puzzle piece icon (Add-ons) in the top right of the screen and select “Extended Forms”. From there, you should have the option to set a timer for your quiz.
Publish:
Once you’ve set the timer, you can distribute the form to your students as you would usually.
How to create responsive online quiz with timer in OnlineExamMaker
OnlineExamMaker is an online platform that allows users to create quizzes, courses, and surveys. One of its features is the ability to add a timer to quizzes.
Create Your Next Quiz/Exam with OnlineExamMaker
Here’s a step-by-step guide on how to create a quiz with a timer in OnlineExamMaker:
Step 1. Sign In or Create an Account:
• Visit the OnlineExamMaker website.
• If you have an account, sign in. If not, you’ll need to create one.
Step 2. Start a New Quiz:
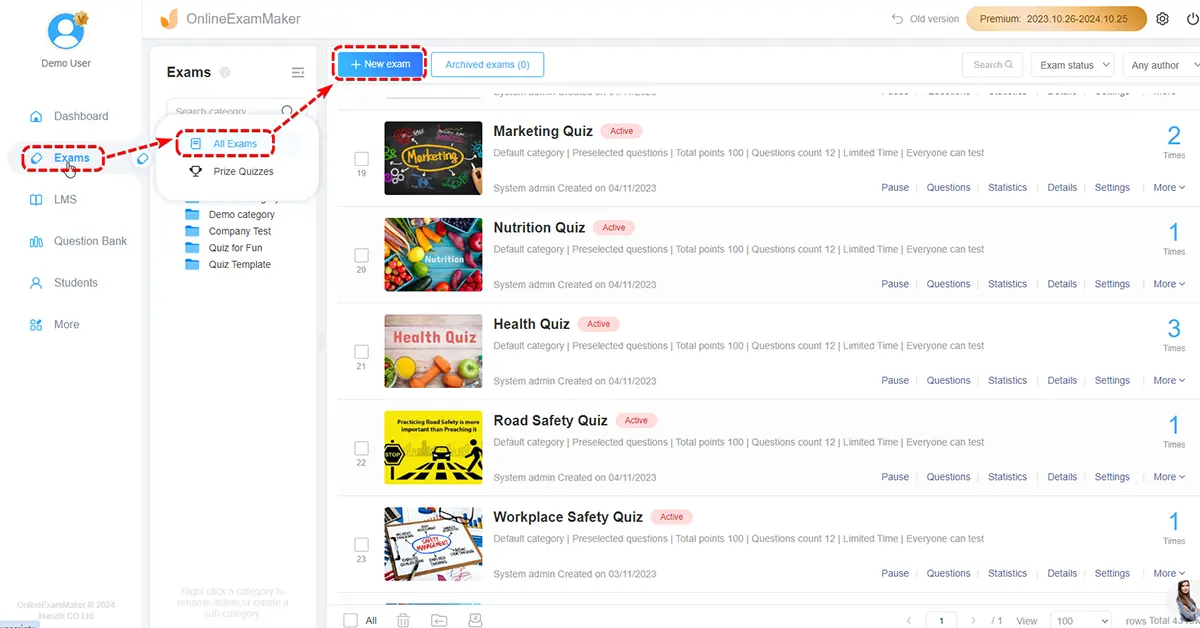
• Once logged in, click on the “+ New Exam” button.
• Choose a template or start from scratch.
Step 3. Add Questions:
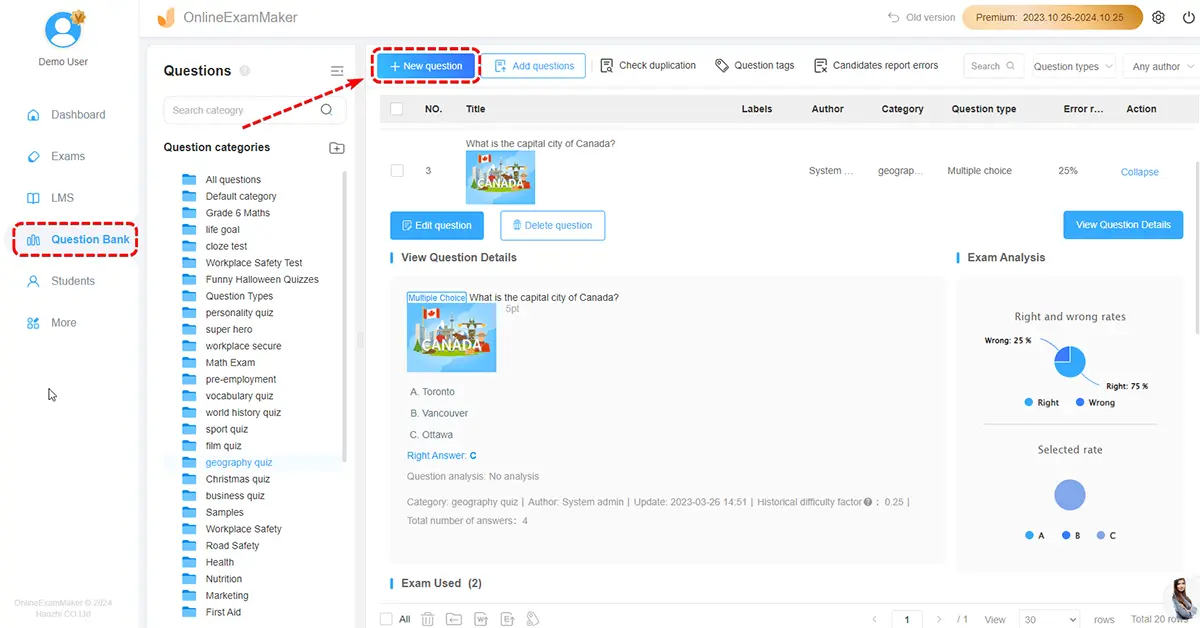
• Click on the “New Question” button.
• Choose the type of question you want to add (Multiple Choice, True/False, Fill in the Blanks, etc.).
• Input the question and potential answers. Be sure to mark the correct answer.
• Continue adding as many questions as you want for your quiz.
Step 4. Set a Timer:
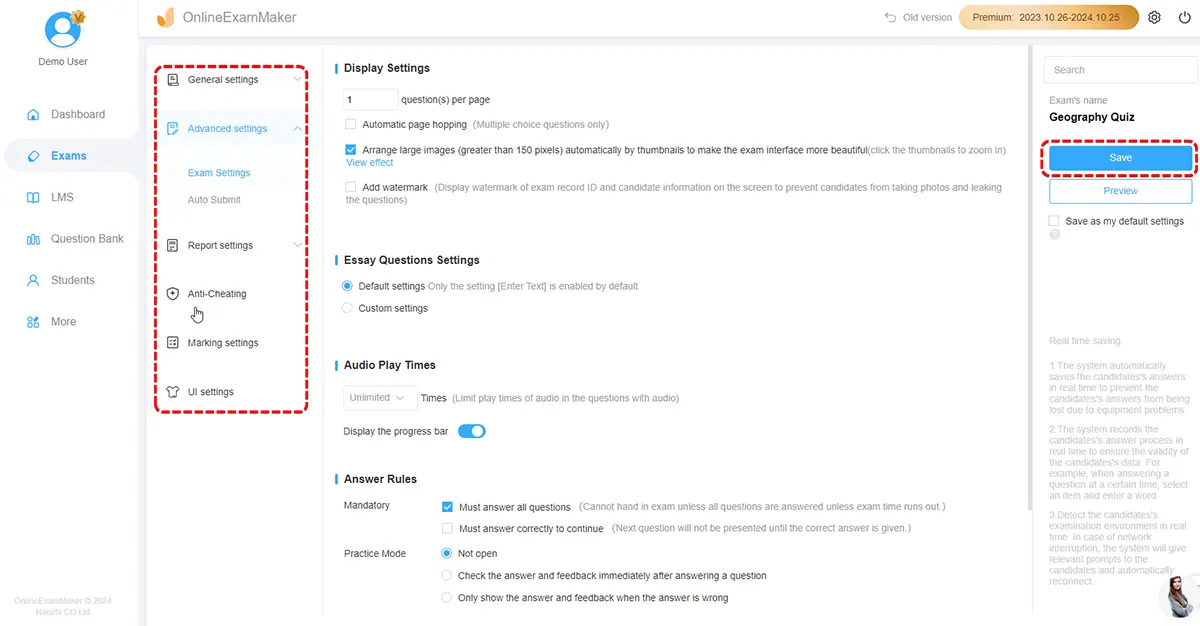
• In the exam setting section, you can configure the time settings of your online quiz.
• Enable the timer and set the desired time limit for the entire quiz.
Step 5. Save and Publish:
• Once you’re satisfied with your quiz, save it.
• You can then choose to publish the quiz and decide on the distribution method. OnlineExamMaker will give you a link to share, or you can embed the quiz on a website.
Step 6. Share the Quiz:

• Distribute the quiz to your audience. They’ll see the timer once they start the quiz, and it will count down as they progress.