Google Forms is a versatile tool provided by Google as part of its suite of office applications. One of its features is the ability to create quizzes. Whether you’re organizing an event, conducting surveys, or gathering feedback, Google Forms offers a comprehensive solution to create customizable forms and gather responses with ease. With its intuitive interface and robust features, Google Forms empowers users to collect, analyze, and collaborate on data seamlessly.
Table of content
- Part 1: How to share a Google Forms quiz online?
- Part 2: OnlineExamMaker: A free Google Form quiz maker alternative
- Part 3: 3 steps to create a shareable online quiz using OnlineExamMaker
How to share a Google Forms quiz online?
Sharing a Google Forms quiz is straightforward. Here’s a step-by-step guide:
1. Create or Open Your Google Forms Quiz:
• Navigate to Google Forms.
• Create a new form or open an existing quiz.
Just to let you know
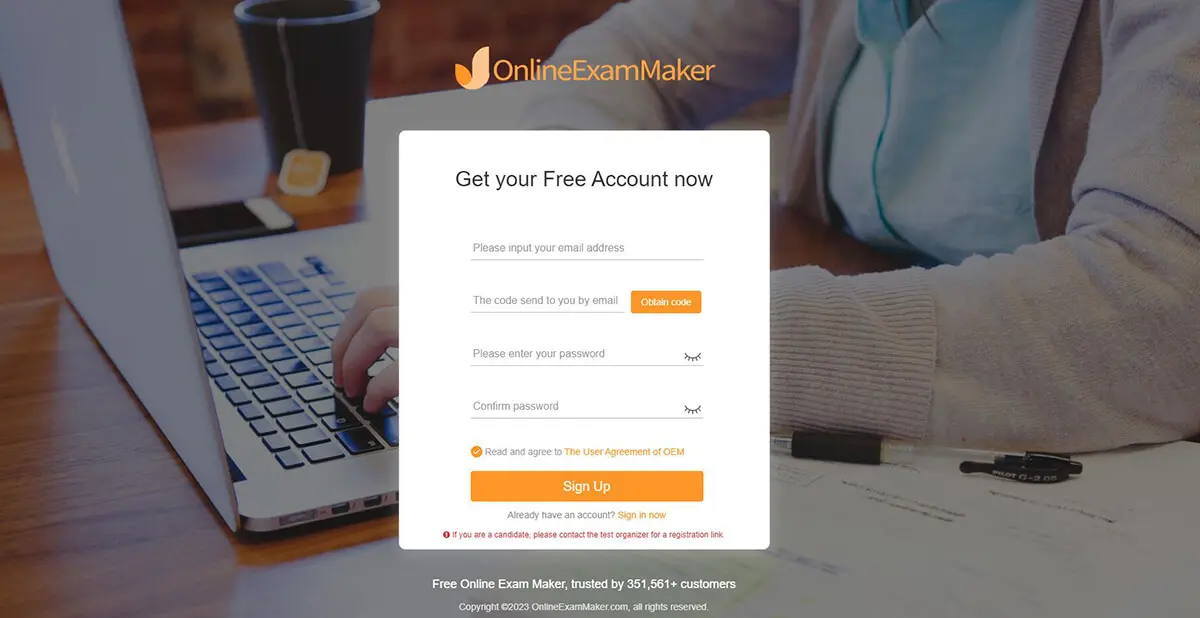
Sign up for a free OnlineExamMaker account to create an interactive online quiz in minutes – automatic grading & mobile friendly.
2. Set Up The Quiz (if it’s not already set up as one):
• Click on the gear icon (settings).
• In the tab that appears, choose the “Quizzes” tab.
• Select “Make this a quiz.”
• Adjust other settings as needed (e.g., release grade immediately or later).
3. Share the Quiz:

• Click on the “Send” button (located at the top right corner).
• You’ll see several sharing options:
Email: Enter the email addresses of the individuals you wish to share with. You can also add a subject and a message.
Link: Click on the “Copy” icon to copy the link. You can share this link wherever you want (e.g., in an email, messaging app, LMS).
Embed HTML: If you have a website or a blog and want to embed the quiz, you can use this code. Adjust the size if needed.
QR Code: You can copy the quiz link and convert the link into scranable QR code in a QR code generator website.
• If you want to adjust link sharing settings (for example, restricting the quiz to users within your organization), click on the link icon and check the option you prefer.
4. Sharing Via Google Classroom:
• If you use Google Classroom, there’s a direct option to share your form as an assignment, question, or announcement. This can be seen as a little “Google Classroom” icon among the sharing options.
5. Adjust Permissions:
• By default, if you’re using Google Forms within a G Suite for Education domain, the form might restrict access to users within your domain. Ensure you adjust the settings if you want to share the form outside your domain.
• To do this, under the “Send form” options, click on the link option, and then uncheck the box that says “Restrict to [your domain] users.” This makes the form accessible to anyone with the link.
6. Send or Share:
Once you’ve chosen your preferred method and made necessary adjustments, you can send or share the quiz.
7. Responses:
After sharing, you can view the responses in the “Responses” tab of the Google Form.
OnlineExamMaker: A free Google Form quiz maker alternative
OnlineExamMaker is an innovative and comprehensive online quiz platform that revolutionizes the way educational assessments are conducted. With a mission to empower educators and organizations with advanced technology, OnlineExamMaker offers a wide range of features designed to simplify the assessment process, enhance security, and deliver actionable insights.
Top Features of OnlineExamMaker
Embed into Website: Simply copy and insert a few lines of embed codes to display your online exams on your website or WordPress blog.
Question Pool: Create a question pool through the question bank and specify how many questions you want to be randomly selected among these questions.
Bulk Import Question via Excel/Word: Import bulk questions to your question bank at the same time from your computer by using specific format excel or word document.
Multiple Question Types: Support up to 10 different types of questions, including multiple choice, true-false, fill in the blanks, subjective, match matrix and more.
Webcam Monitoring: The webcam will take photos and record video to monitor the candidate during the exam. The exam organizers can view the photos and video in real-time. The photos and videos will also be hosted on the server, and they can be seen after the test is complete as well.
Create Your Next Quiz/Exam with OnlineExamMaker
3 steps to create a shareable online quiz using OnlineExamMaker
Step 1: Go to OnlineExamMaker.com
Step 2: Create a New quiz
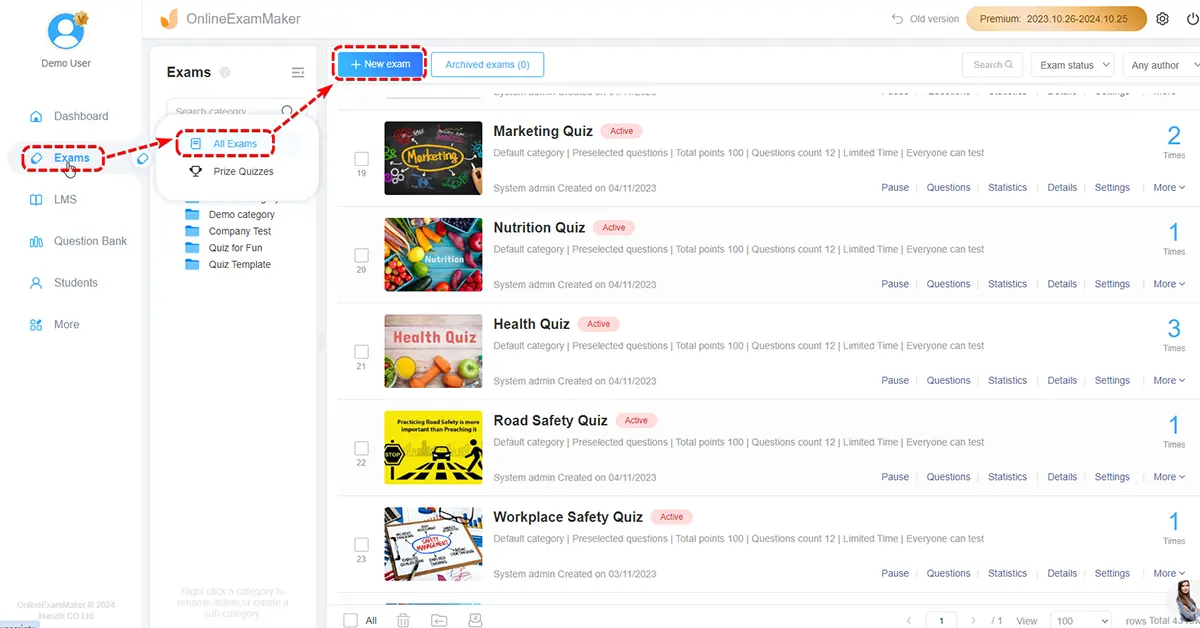
To get started, click the “+ New Exam” button to create a new quiz, then add questions, and customized exam settings.
Step 3: Publish & share your online quiz
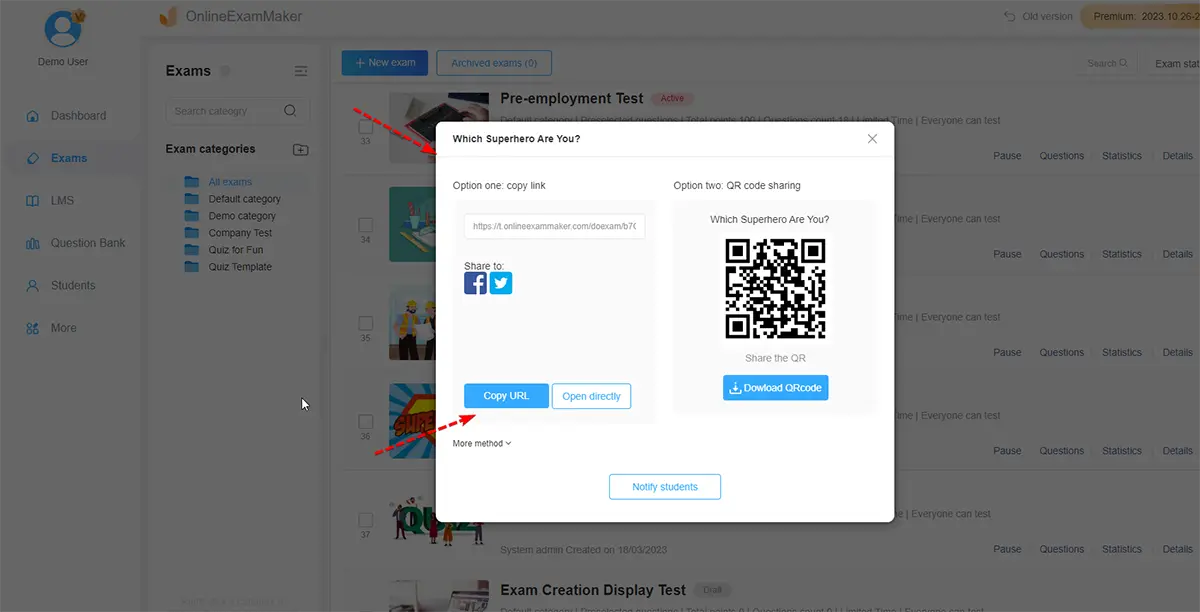
Share it by pressing the “publish” button and answer the pop-up Question, and then a QR code and a link will be given. You can share the code and link to Email, or social platforms.