Distributing class material in online classes is the easiest way to reach students. It changes the game of accessible education and support from teachers. Online classrooms offer both students and teachers convenience and versatile options for learning. All resources that used to be physical and paper are now digitized and paperless! It helps cover the gap of distance between teachers and students. It provides flexible and adaptable learning opportunities for every learner in your class. You can adjust to the needs and availability of your students.
In this way, you can nurture and develop their skills and knowledge. Students can feel in control of their progress without the pressures of a face-to-face class setting! Here are the best platforms for creating online classrooms where you can share your class resources:

- How to Share Teaching Resources in Google Classroom?
- OnlineExamMaker: An Alternative Way to Share Your Training Resources
- How to Share Online Courseware on OnlineExamMaker?
How to Share Teaching Resources in Google Classroom?
Step 1: Opening Google Classroom
Move to the right side of your screen and click the subject that you want to share resources with.

Click the ‘Classwork’ tab to view the tasks, activities, quizzes, and projects of the subject and to toggle the ‘Create’ button.
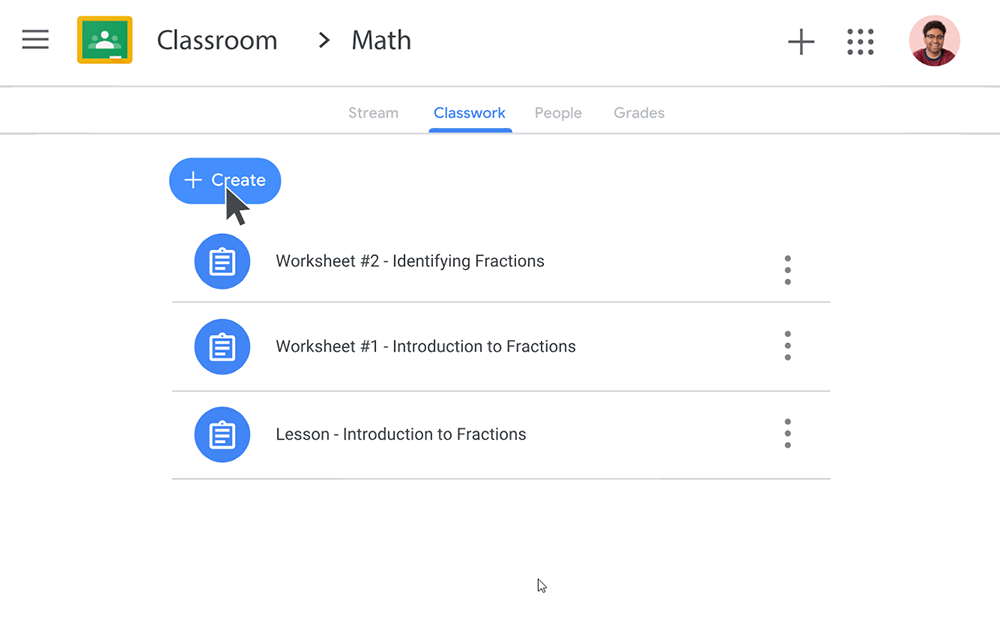
Step 2: List of Resources and Teaching Materials
In this part, you can create more resources and tasks for your students. It’s better to categorize them to avoid confusion and maintain neatness.

Rearranging teaching materials in your manner of organization can be done by clicking the three vertical dots. You can upload, edit, delete, share the link, or arrange the teaching material however you want!
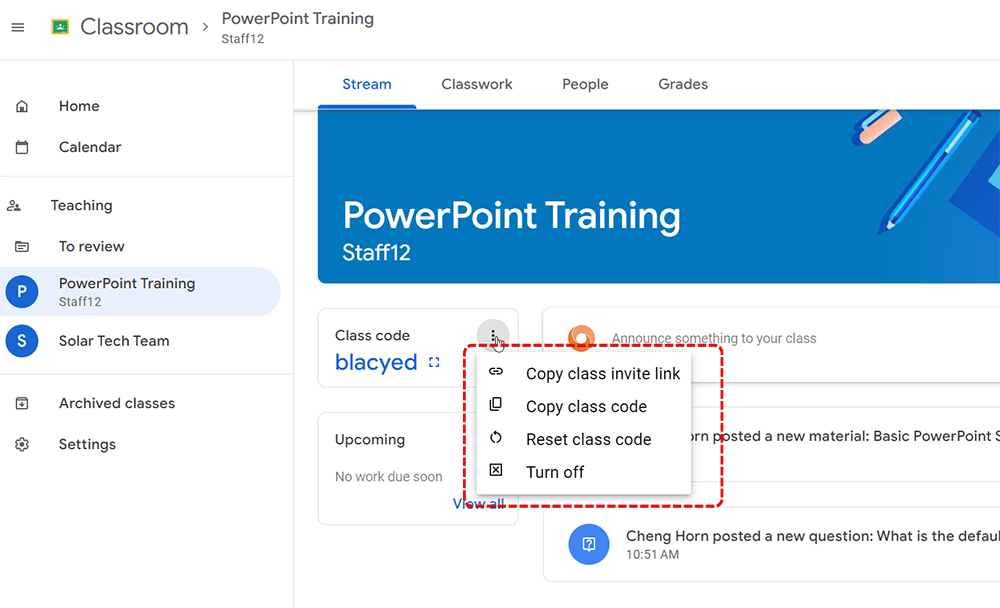
Step 3: Sharing Resources
You can upload your resources to the classroom of your choosing. And you can easily copy the link to the teaching material or activity itself and directly share it with your students! In this way, the resources can be maximized and used by the whole class.
OnlineExamMaker: An Alternative Way to Share Your Training Resources
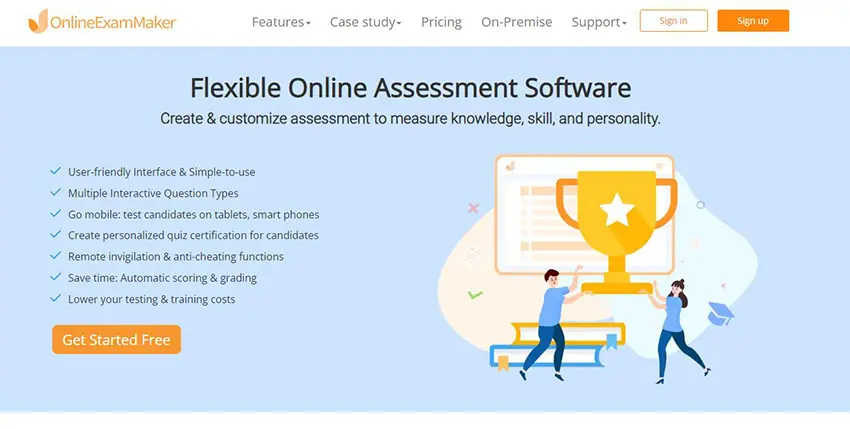
Creating an Online Class with your teaching materials and resources can be challenging. But, with OnlineExamMaker it can be possible! It has a neat and simple design that is mobile and user-friendly. With OnlineExamMaker, you can do your teaching tasks like quiz-making, assignment-giving, and creating coursework for students in one place. It even has an automated grade checker that instantly provides feedback and insightful reports. It’s an all-in-one platform that can be an LMS, Quiz Maker, Course Maker, and more!
OnlineExamMaker learning platform has stable and secure servers that easily handle large amounts of data. Manage your courses and classes all at once with OnlineExamMaker’s software! OnlineExamMaker has an AI-powered anti-cheating system that helps prevent any cheating or dishonesty. This software was made to ease the plight of teachers who juggle their responsibilities the best. You can manage time and materials better with OnlineExamMaker!
Create Your Next Quiz/Exam with OnlineExamMaker
How to Share Online Courseware on OnlineExamMaker?
Step 1: Access to OnlineExamMaker Dashboard
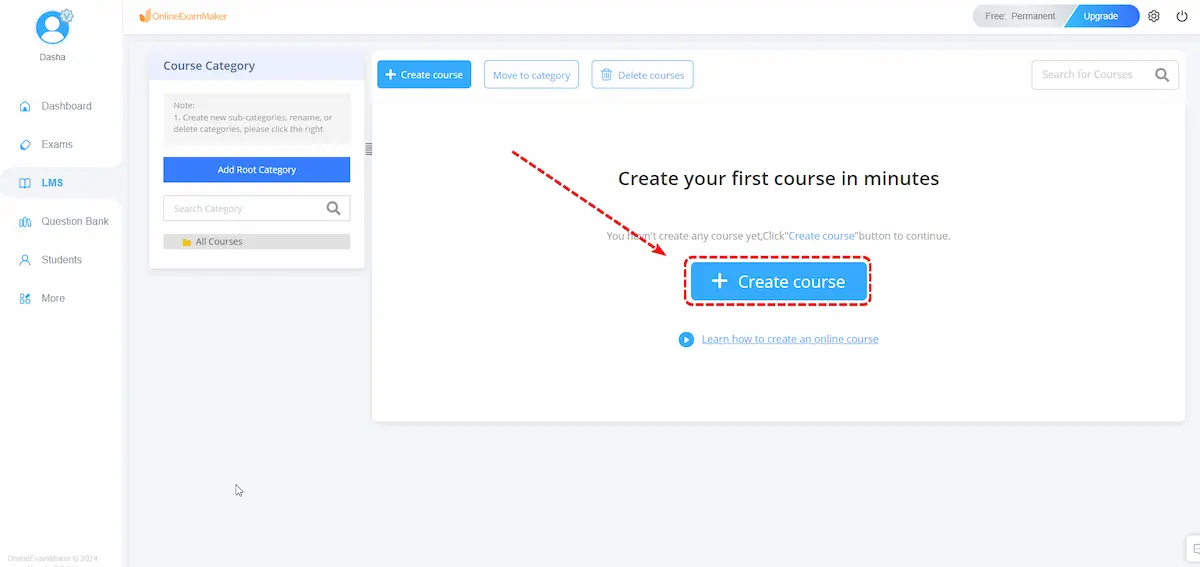
Go to the left side of the new dashboard and hover over “LMS” and click “Courses”. After that, click the “Course” button.
Step 2: Resource Management and Uploading
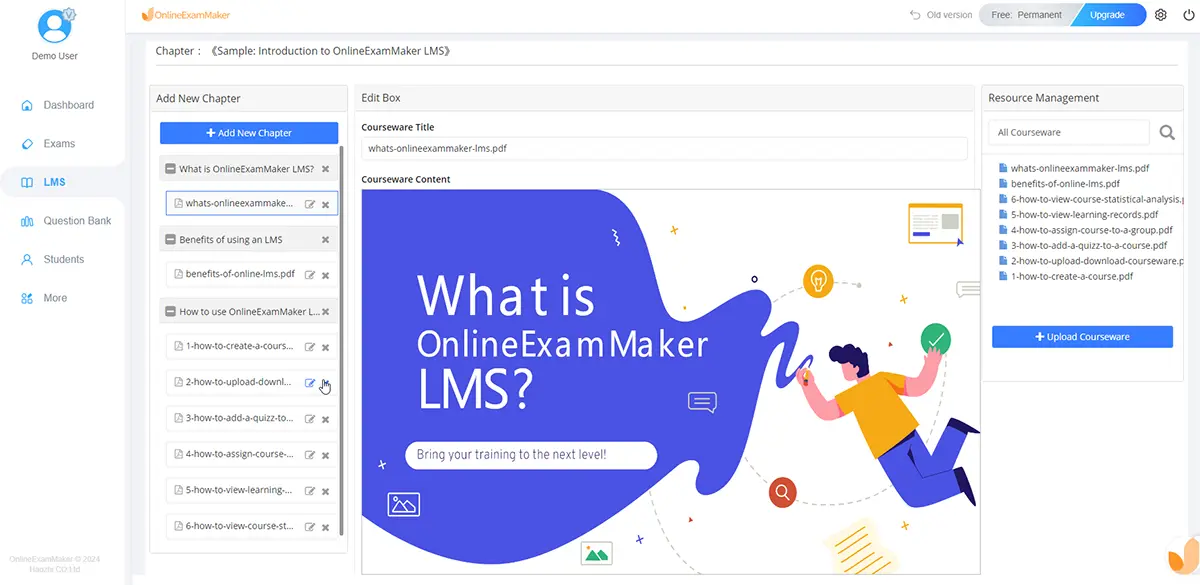
In this step, click the ‘Chapter’ button to open the list of tasks, activities, quizzes, and courseware. It will take you to a new page where you can add chapters, courseware, and resources of your choice. You can add new chapters by clicking ‘+ Add Chapter’ or new courseware/resources by clicking ‘+ Upload Courseware.’
Step 3: Uploading Files for Courseware
In this step, you can add lessons or course chapters of lessons to your class.

You can convert your physical teaching materials and turn them into courseware. In this way, your effort doesn’t go to waste! You just need to upload the files you need. Slides, pictures, PDF/Word files, you name it!
Step 4: Customizing Class Settings
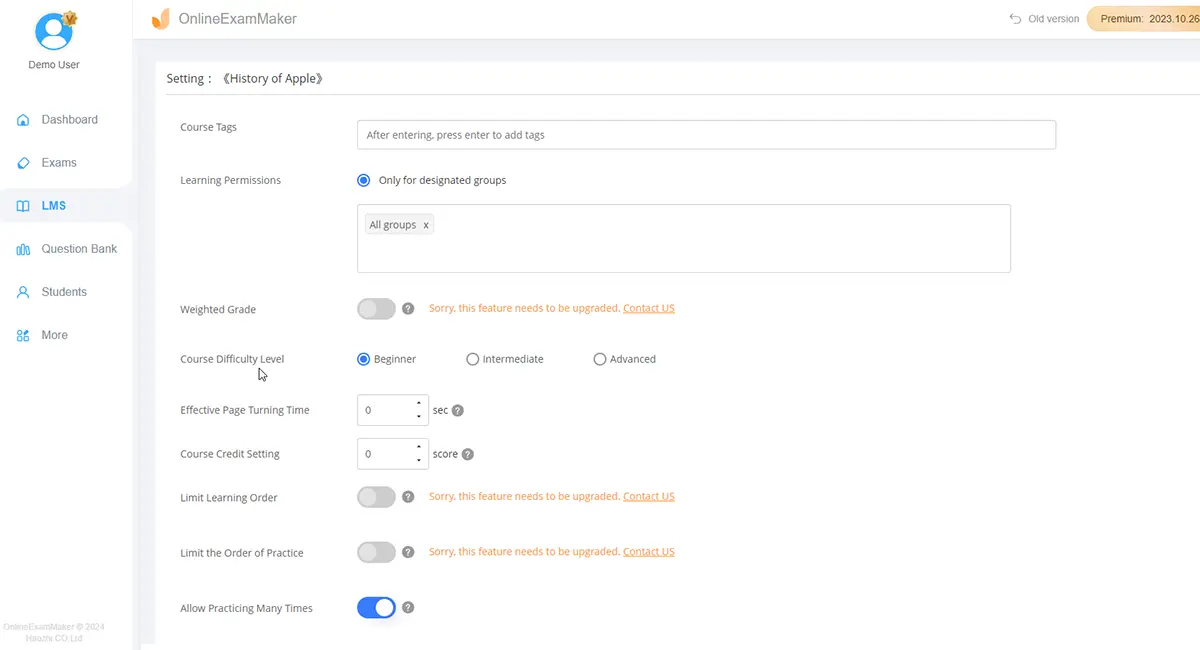
Modify the class settings and terms when it comes to courseware and tasks. OnlineExamMaker provides different course settings such as class availability, labeling, learning permissions, difficulty levels, validity periods, and anti-cheating measures. Click ‘Save’ to share and distribute your resources on OnlineExamMaker.
Step 5: Sharing Your Resources and Class
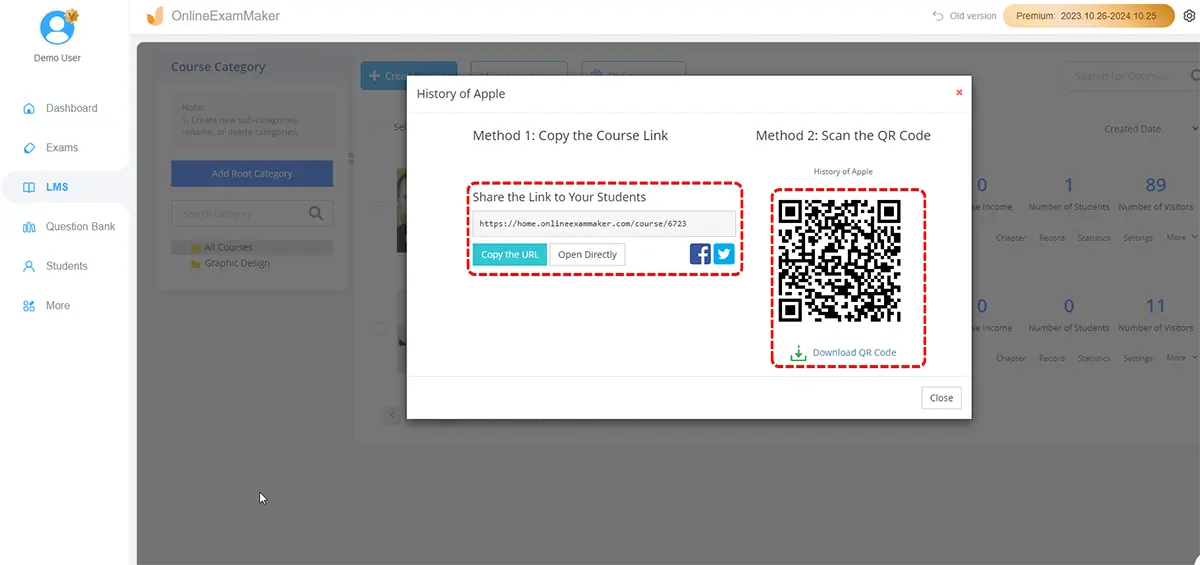
After publishing the class you made, you can copy the custom-made link and QR Code for mobility and easier sharing. The customized link and QR Code are useful for disseminating the teaching materials. Sharing resources have been made easier with the help of OnlineExamMaker!