The invention of technology is mainly to digitize life as we know it. And this includes education and teaching students! We can convert our physical teaching materials into online teaching materials. This makes it easier to distribute and organize our files. We won’t have to be organizing and refiling documents time and time again. It offers great advantages in managing our files, especially with lessons and slides.
Modern learning methods have integrated digital devices with their development. Students can access your teaching materials no matter where they are and whenever! You can include different multimedia content, such as videos, interactive quizzes, pictures, and GIFs! Specific and targeted teaching materials help cultivate student engagement that can lead to better learning.

- How to Organize Teaching Materials in Google Classroom?
- OnlineExamMaker: An Alternative Platform to Organize Teaching Materials for Your Training
- How to Organize Teaching Materials on OnlineExamMaker?
How to Organize Teaching Materials in Google Classroom?
Here are the best platforms to create your area for learning and distributing your teaching materials:
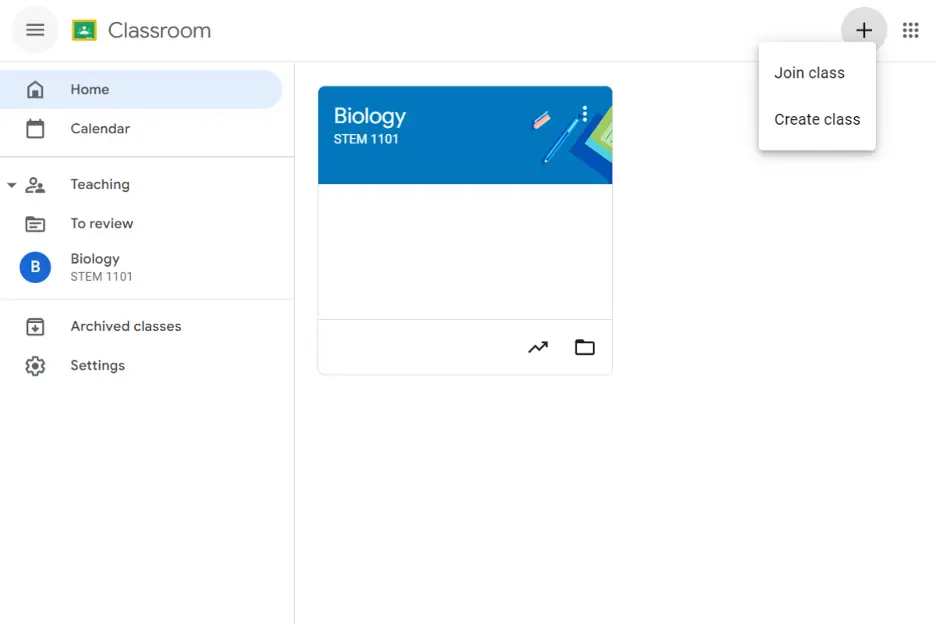
Step 1: Opening Google Classroom
Move to the right side of your screen and click the subject that you want to manage or add teaching materials to. Click the ‘Classwork’ tab to view the tasks, activities, quizzes, and projects you want to organize.
Step 2: Organizing the Teaching Material
In this part, you can create more teaching materials and tasks for your students. It’s better to categorize them to avoid confusion and maintain organization.

Rearranging teaching materials in your manner of organization can be done by clicking the three vertical dots. You can edit, delete, share the link, or arrange the teaching material however you want to.

Just so you know
With OnlineExamMaker quiz software, anyone can create & share professional online assessments easily.
Step 3: Sharing the Teaching Material
You can copy the link to the teaching material or activity itself and directly share it with your students! In this way, they can access it on their mobile device themselves.
OnlineExamMaker: An Alternative Platform to Organize Teaching Materials for Your Training
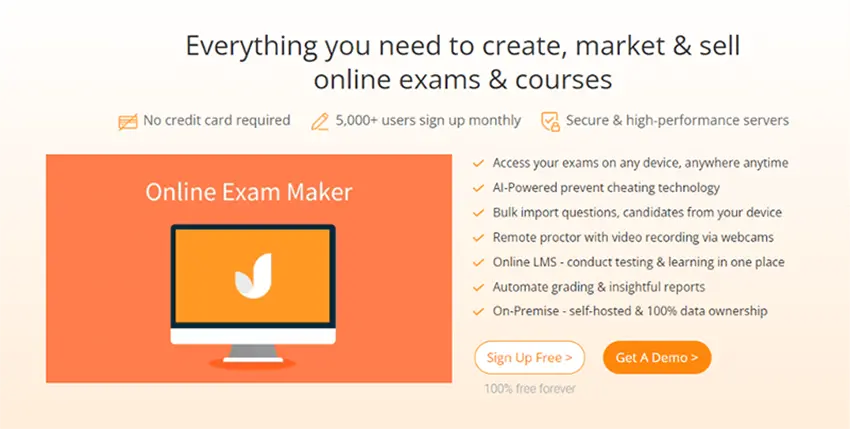
OnlineExamMaker is an all-in-one teaching platform that can adjust to your needs for teaching. It can be a Class Maker, LMS, Quiz Maker, and more! Its servers are stable and steadfast which means you won’t have to worry about crashing or errors. OnlineExamMaker has built-in AI-powered anti-cheating software to protect academic integrity. This helps teachers monitor their students’ progress and performance during activities. Its new system design is easy to use and very user-friendly! Its platform is versatile and can adapt to the number of users. Teachers can manage courses and classes at the same time!
With OnlineExamMaker, teachers can host quizzes, employ assignments, and create coursework anytime, anywhere! You can monitor your students in one place and guide them directly. This software is made for educators and students to make online learning more bearable and relatable! It even has an automated grade checker that provides instant insightful class and test reports. Rest assured that with OnlineExamMaker, you’re in good hands!
Create Your Next Quiz/Exam with OnlineExamMaker
How to Organize Teaching Materials on OnlineExamMaker?
Step 1: Login to OnlineExamMaker
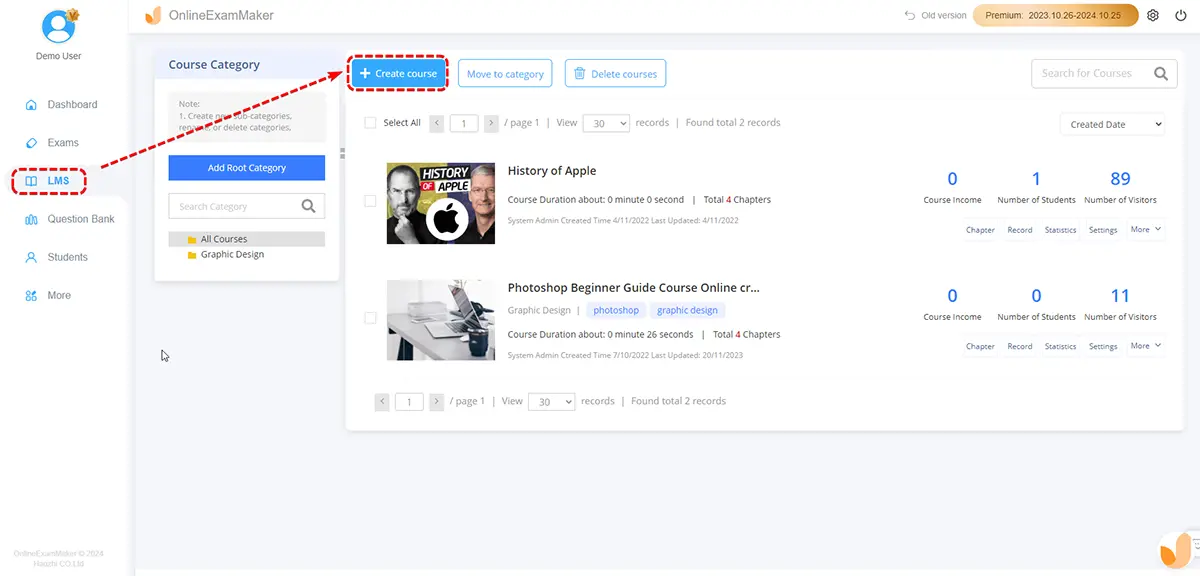
Go to the left side of the new dashboard and hover over “LMS” and click “Courses”. After that, click the “Coursse” button to start organizing your teaching materials.
Step 2: Course Management and Organization
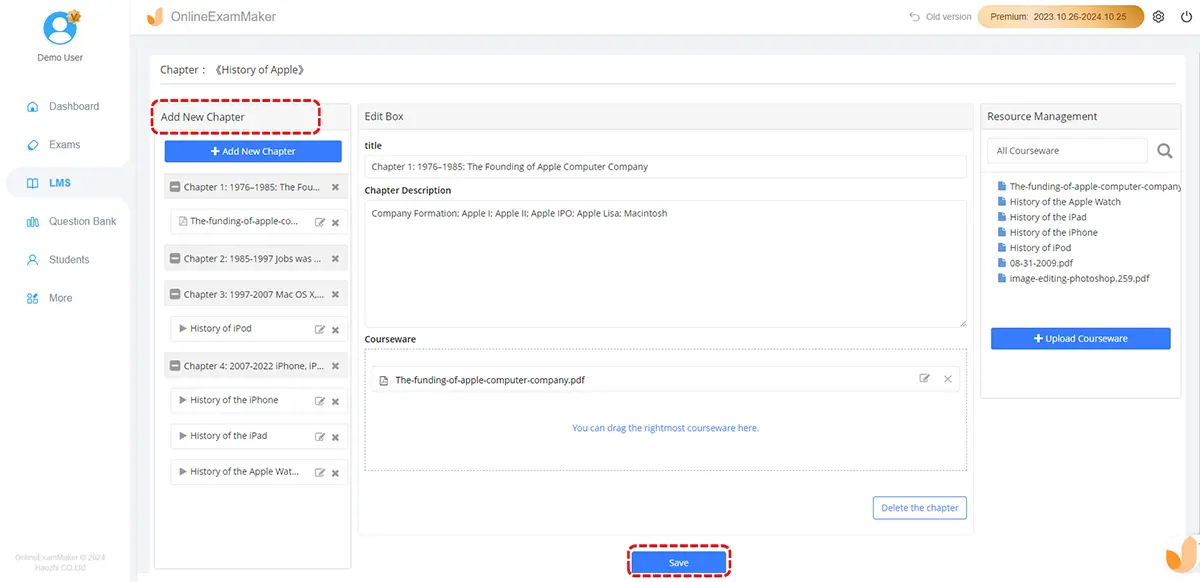
In this step, click the ‘Chapter’ button to open the list of tasks, activities, quizzes, and courseware. It will take you to a new page where you can add chapters and courseware of your choosing. Ensure that your materials are organized and complete. You can add new chapters by clicking ‘+ Add Chapter’ or new courseware by clicking ‘+ Upload Courseware.’
Step 3: Uploading Files for Courseware
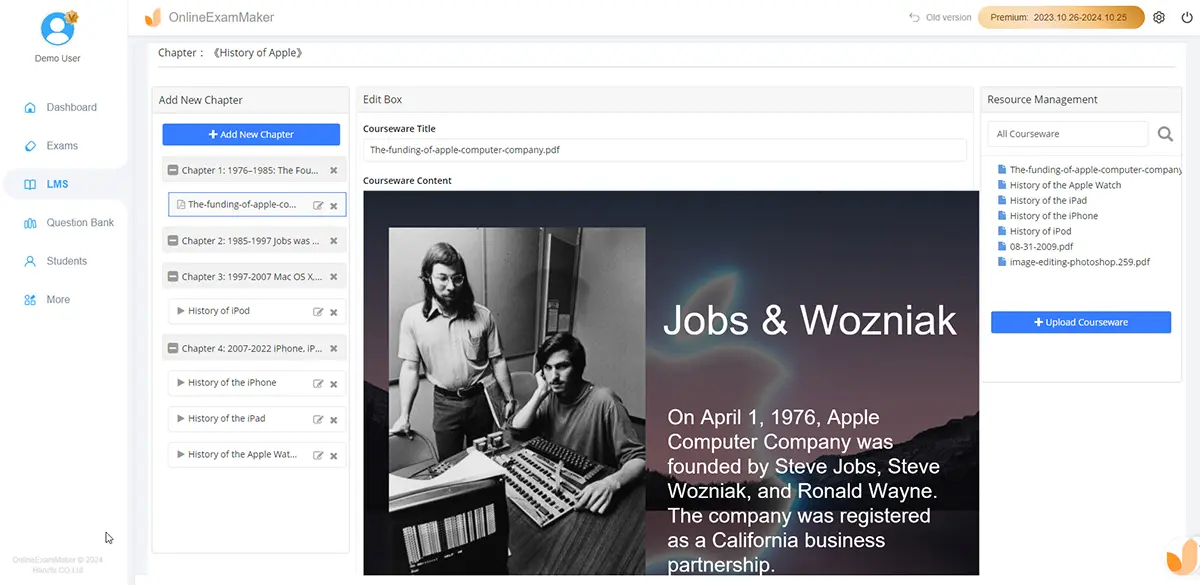
In this step, you can add lessons or course chapters of lessons to your class.
You can convert your physical teaching materials and turn them into courseware. You just need to upload the files you need! Slides, pictures, PDF/Word files, you name it!
Step 4: Customizing Course Settings
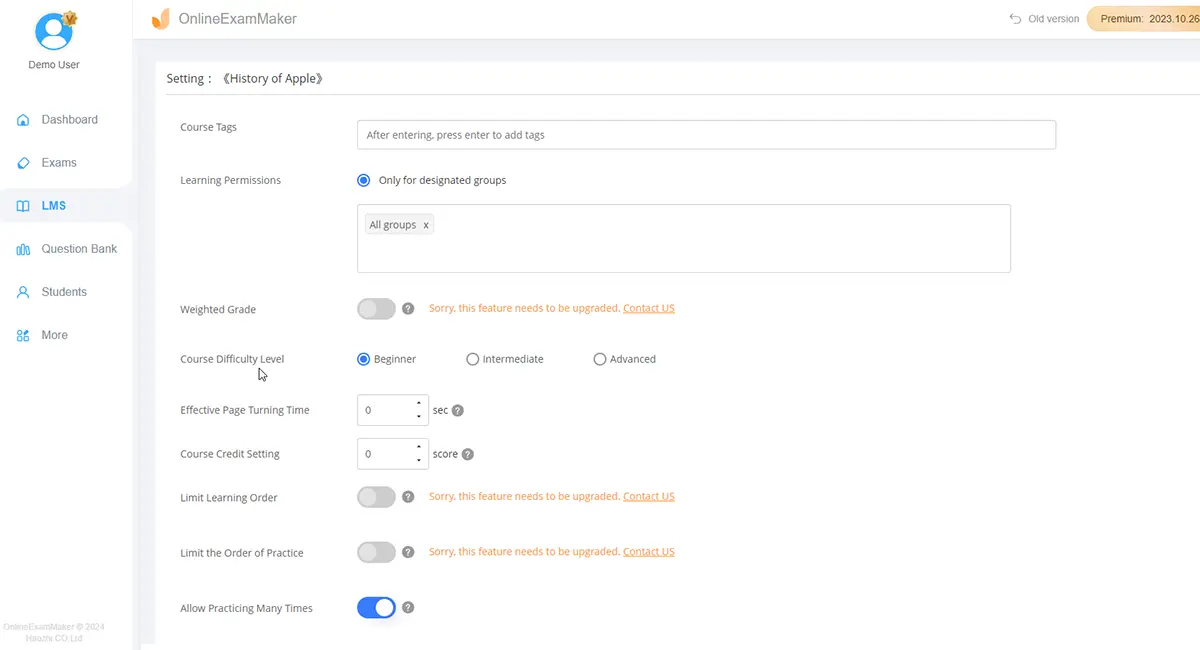
Modify the course’s settings and terms. OnlineExamMaker provides different course settings such as class availability, labeling, learning permissions, difficulty levels, validity periods, anti-cheating measures, and more! Click ‘Save’ to publish your courseware and teaching mate.
Step 5: Sharing Your Course
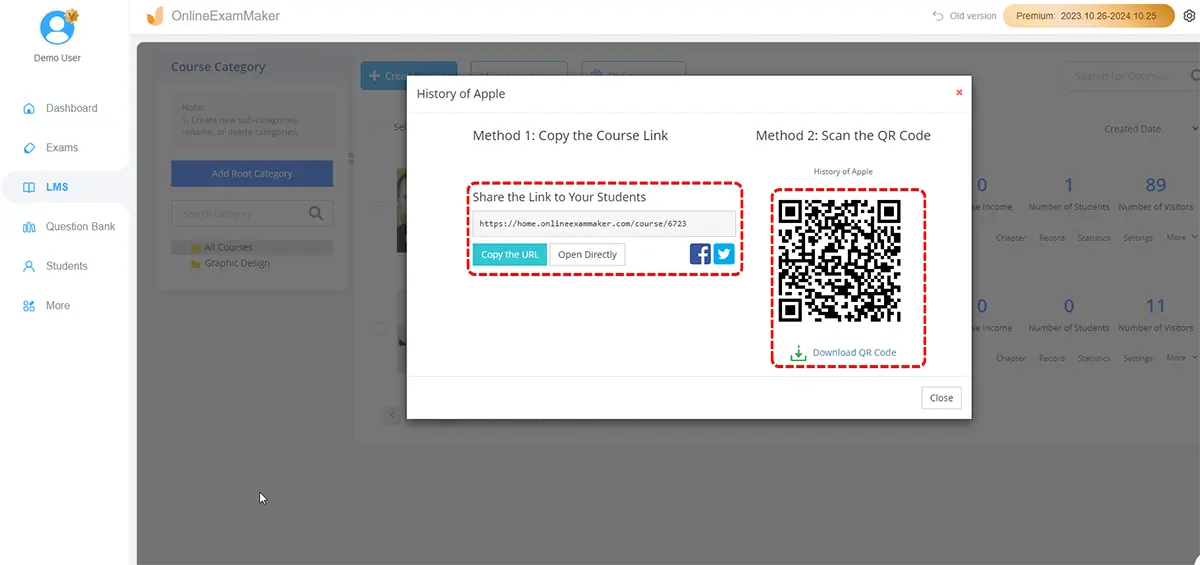
After publishing the course you made, you can copy the custom-made link and QR Code for easy sharing with students. The customized link and QR Code are useful for disseminating the teaching materials. So, the more people share it, the more students will see it!