Managing students in an online classroom is highly beneficial for learning. You can streamline your students’ tasks and assignments. Online digital classrooms are efficient for learning. They offer a specific center for distributing knowledge, communication, and monitoring. Teachers can track their students’ progress and make grading easier. They can also communicate with students better! Face-to-face activities and tasks can now be online. The automation helps teachers manage and give their students immediate support. And they can offer a more personalized learning experience! Students’ grades and performances can be measured and analyzed in real time. In this way, teachers can shape their learning with the appropriate techniques and interventions. Here are the two best options for adding students to online classrooms:

- How Can A Teacher Add Students to Google Classroom?
- OnlineExamMaker: An Alternative Classroom Maker
- How to Add Students in OnlineExamMaker?
How Can A Teacher Add Students to Google Classroom?
Step 1: Opening Google Classroom
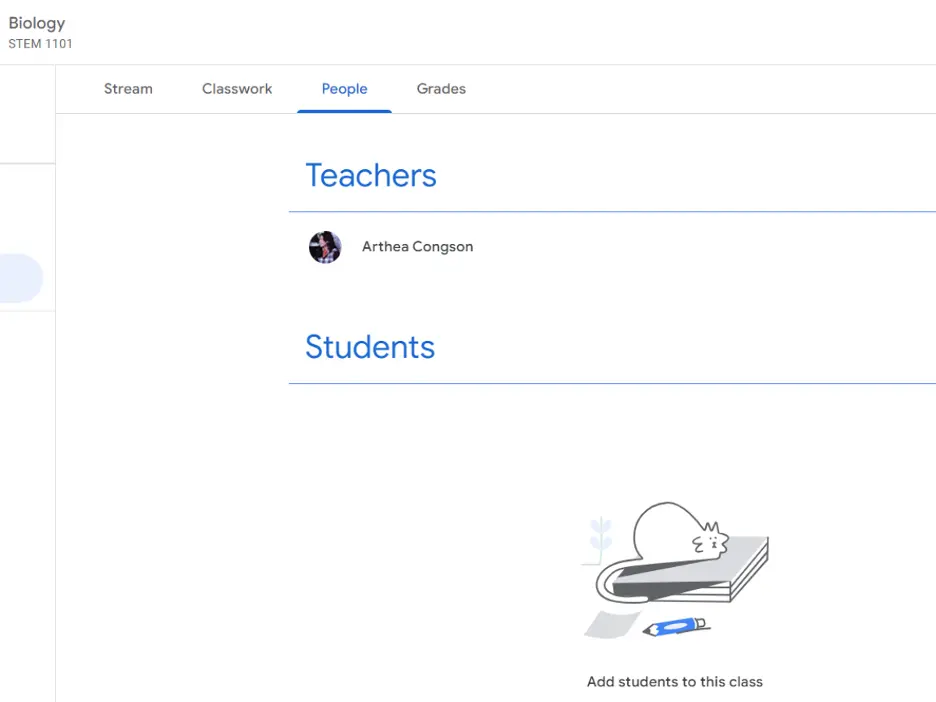
Move to the left side of your screen and click the class you want to add your students into.

After that, click the ‘People’ tab and click the ‘Invite Students’ icon next to the ‘Students’ label to start inviting the students!
Step 2: Adding Your Students
In this step, you need to ensure that your students’ emails are correct. This helps you avoid any confusion or miscommunication. Type in the Google Email of your students whom you want to enroll in the class.

After that, click ‘Invite’ to send them a personal invite via email.

Step 3: Class Code
An alternative way of adding students to your classroom is by giving them the class code. This will help them access your Google Classroom more easily. You just need to give them the class code and they’re all set!
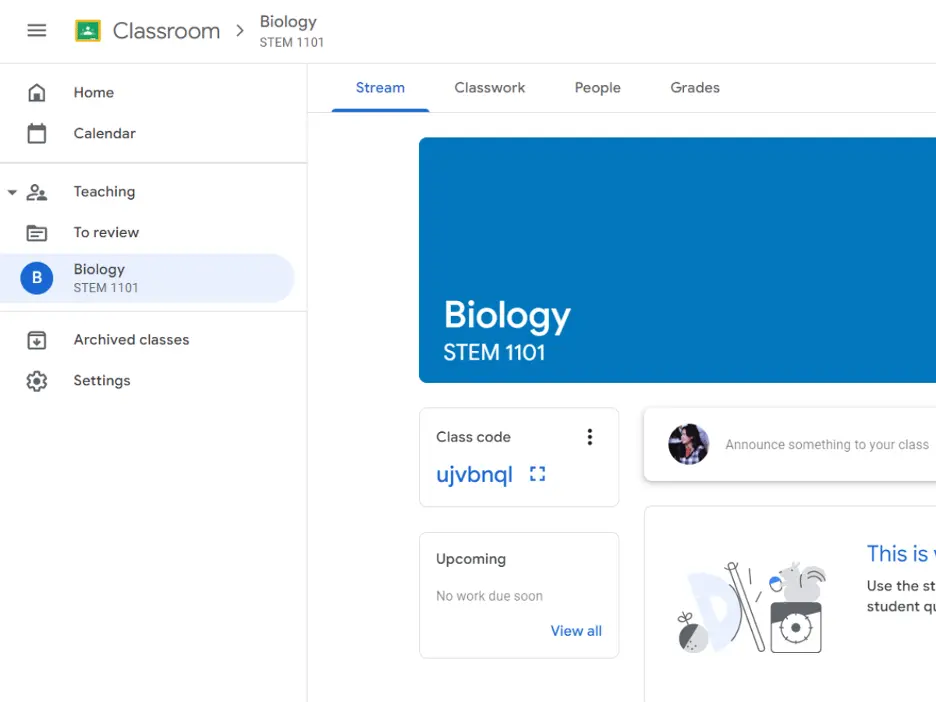
Step 4: Sharing the Online Classroom
You can click the three dots on the right side of the class code to toggle more options for sharing. Copy the link for the invite to the online classroom, copy the class code, reset the class code, or turn it off so no one can enter the class.
OnlineExamMaker: An Alternative Course Making for Teachers

OnlineExamMaker is an all-in-one platform where you can create your Online Class! This platform has stable and secured servers that can handle a lot of users all at once. It’s an Online LMS, Quiz Maker, and more! You can manage your classes and students in one place at the same time. OnlineExamMaker has a built-in AI-powered anti-cheating system that fights against cheating. You won’t have to worry about your servers crashing because of its steadfast software. It can handle multiple classes and multiple students!
OnlineExamMaker has a simple and user-friendly design that’s easy to use! With OnlineExamMaker, you can manage your students, publish quizzes, give them assignments, and create activities for your students in one place. Teachers can teach their students better with the help of automating and making tasks simpler. This platform gives instant and detailed test and course reports to improve your class and teaching. You can manage and add students to your online classroom with OnlineExamMaker!
Create Your Next Quiz/Exam with OnlineExamMaker
How to Add Students in OnlineExamMaker?
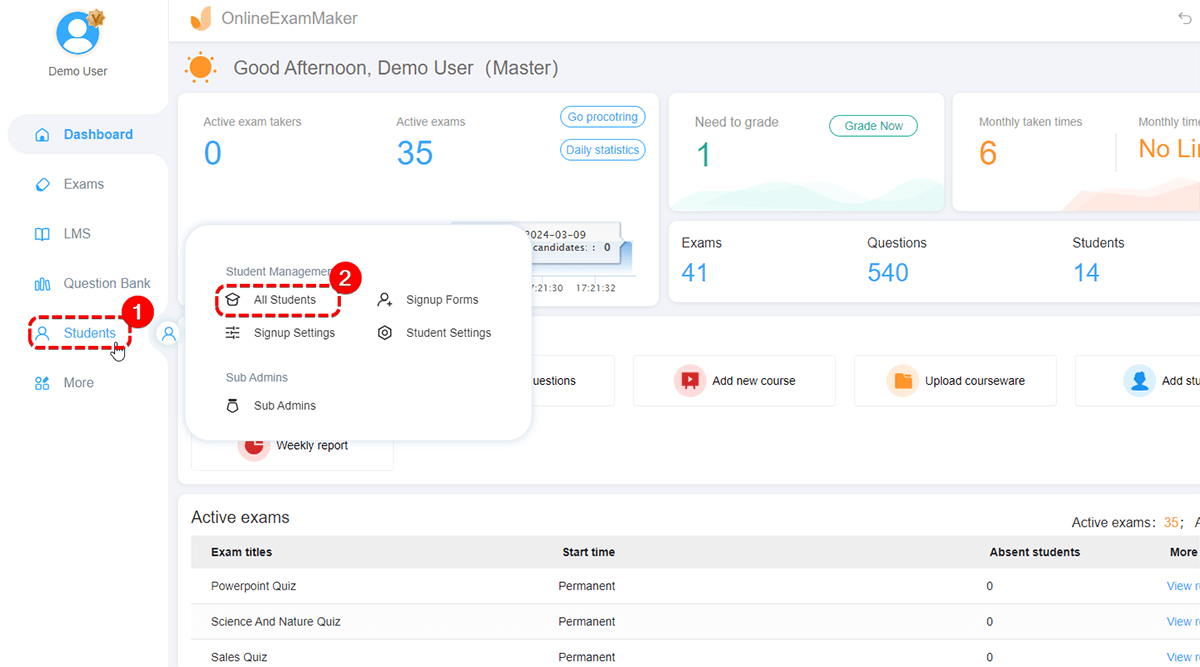
Step 1: Go to Student Management Center
Log onto your OnlineExamMaker account to toggle the new user interface. Go to the bottom side of the new dashboard and click the “Add Students” button to start adding your students to your class.
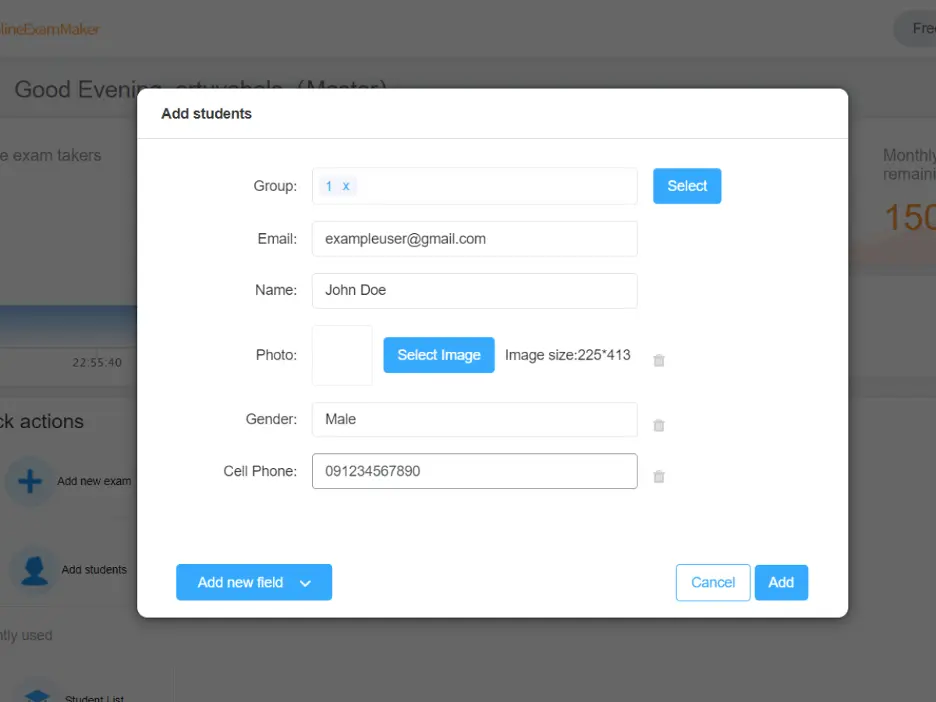
Step 2: Student Email
In this step, you need to fill in the details of the students. You can categorize each student by class through folders. Ensure that their email is correct and their name is complete. The correct spelling is crucial in this part because it will help identify the student.

Once you’ve added the email, you can also add additional information on your student. After that, click ‘Add’ to add the student.
Pro Tip
Want to assess your learners online? Create an online quiz for free!
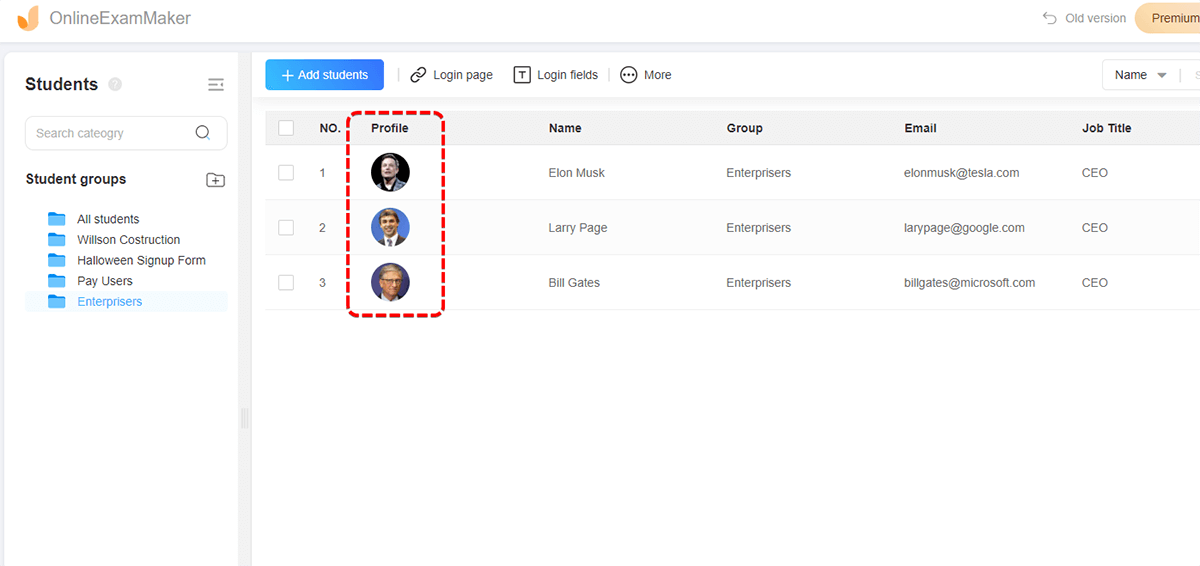
Step 3: Accessing the Student Roster
Go to the left side of the dashboard and hover over “Students” to open a new sub-window. Click the “All Students” to view all of your enrolled students. You can now see everyone who is enrolled under you, and you can also see their details as well.
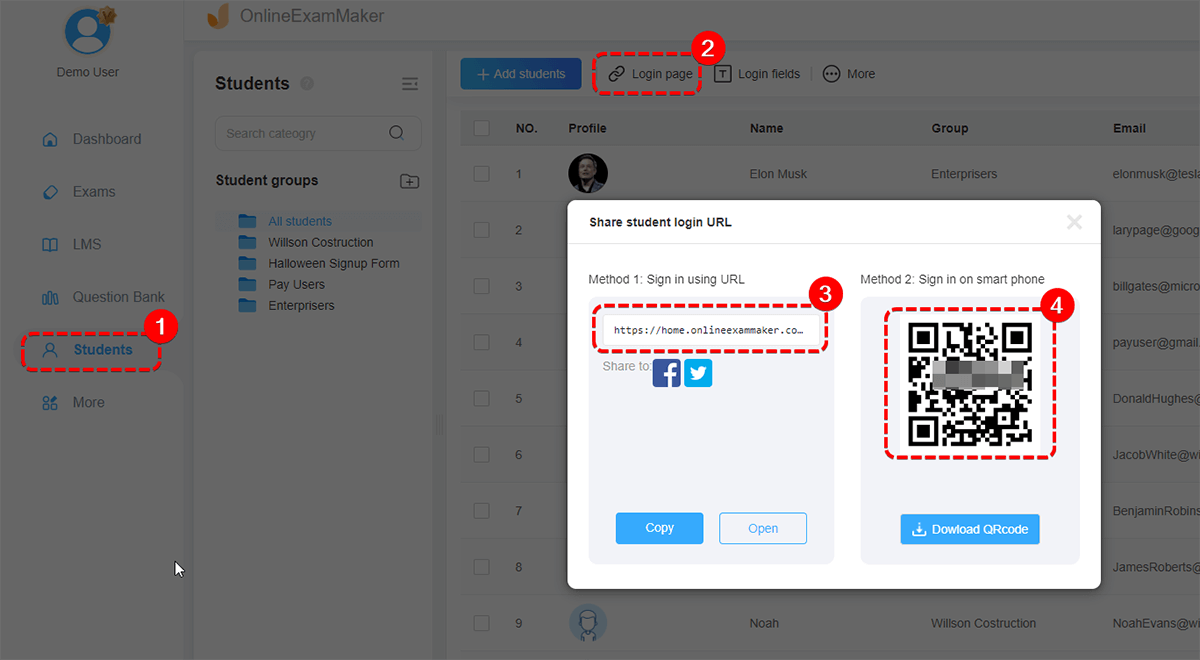
Step 4: Connecting to the Login Page
Copy the link from the All Students page and share it with your students. They need to type in their full name and the email they used to sign up with. Once done, you can copy the customized link or save the customized QR Code. Share them with your students to begin the learning!