Let’s be honest: nobody became a teacher because they love wrestling with paper stacks at midnight. Yet for many educators, creating and grading assessments still feels like a second full-time job. Printing question sheets, collecting papers, manually marking multiple-choice bubbles — it adds up fast.
The good news? According to a Statista report on online education, digital learning tools have seen adoption surge across K-12 and corporate training alike, with online assessments now central to how modern educators measure progress. Whether you’re running a remote class, a hybrid setup, or just want to ditch the Scantron machine, a solid online exam builder changes everything.
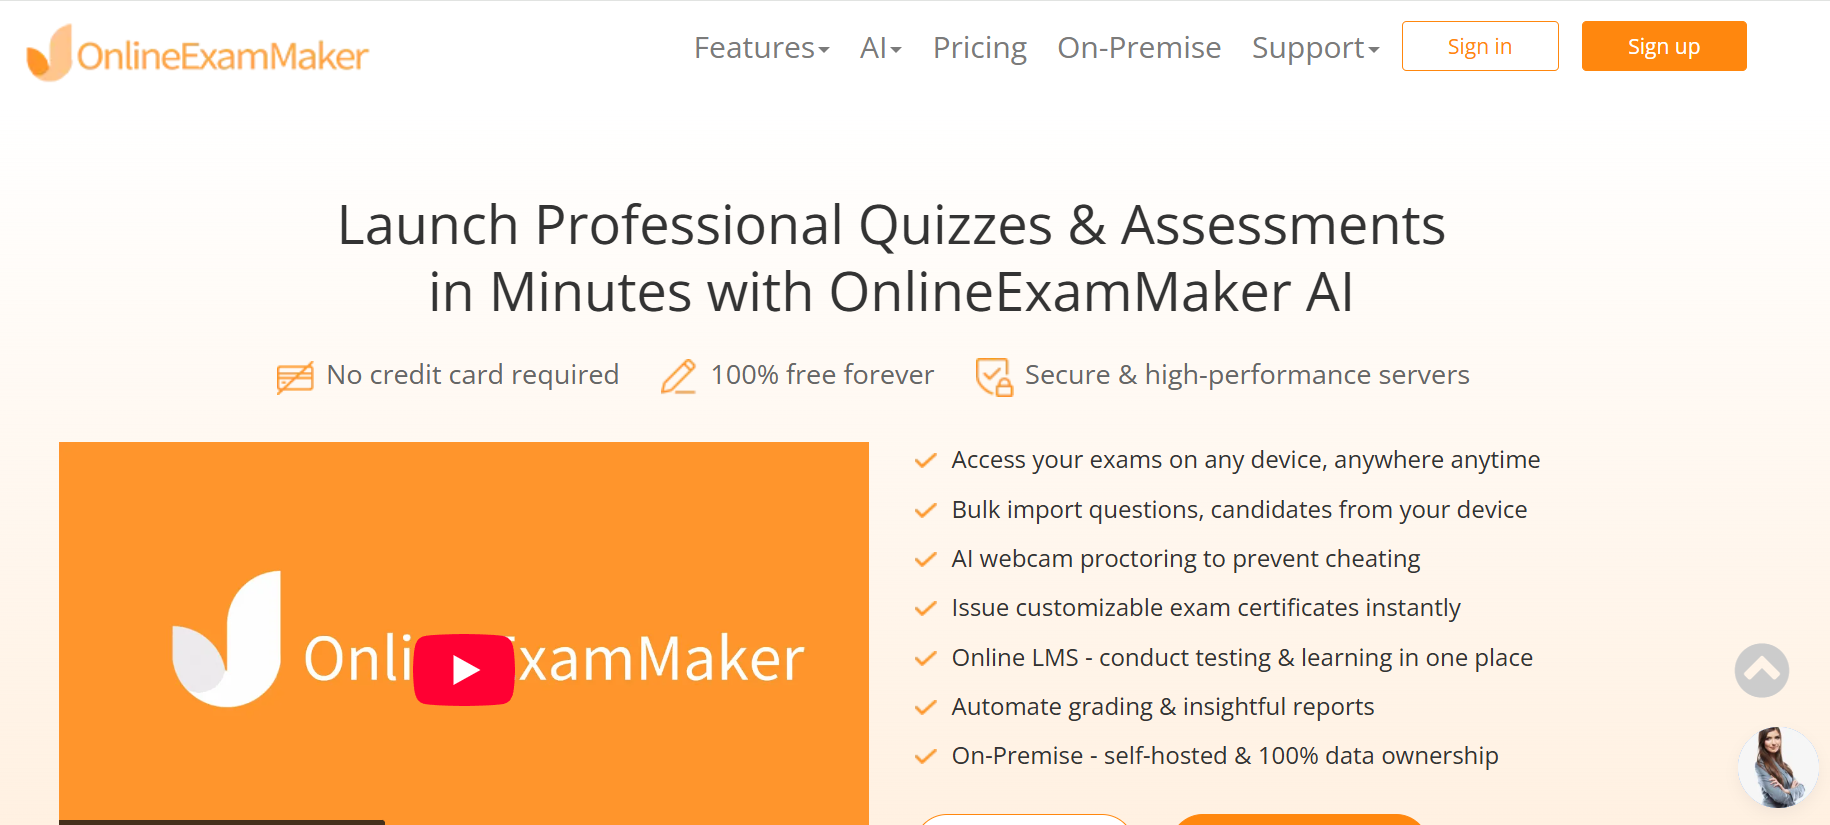
This is exactly where OnlineExamMaker shines. It’s a purpose-built exam platform that lets you create quizzes, graded tests, mock exams, and surveys — all from one clean dashboard, with no steep learning curve. New to it? You’ll have a live exam ready to share with students in under 10 minutes. That’s not a marketing claim; that’s a step-by-step promise we’re about to prove.
What You Need Before You Start?
Great exams start with a clear goal. Before you click anything, spend 60 seconds answering these three questions:
- What is the exam for? A quick 5-question entrance ticket? A 30-question graded unit test? A practice mock ahead of finals?
- Do you have questions ready? If you’ve got a Word or Excel file with questions from a textbook or previous year, perfect — OnlineExamMaker can import them in one go. No file? No problem. You can type questions in directly, or let the AI write them for you.
- Who are your students? If you want to assign the exam to a specific class or group, have that list handy. Otherwise, sharing a simple link works just fine.
That’s it. Three questions, one minute. Let’s build.
STEP 1 Sign Up and Open Your Dashboard (1 Minute)
Head to onlineexammaker.com and create a free account — email, password, done. If you already have an account, just sign in.
Create Your Next Quiz/Exam Using AI in OnlineExamMaker
Your dashboard greets you with a clean left-hand navigation panel:
- Exams — where all your tests live
- Question Bank — your reusable library of questions
- Students — manage class lists and groups
- Reports — see scores and analytics after the exam
Everything is in one place. No toggling between apps, no browser tabs breeding out of control. Once you know the layout, you’ll navigate it on autopilot.
STEP 2 Add Questions in Seconds (3 Minutes)
This is where the real magic happens — and where OnlineExamMaker earns its reputation as a genuinely fast tool. Open the Question Bank and choose how you want to add questions. You have three solid options:
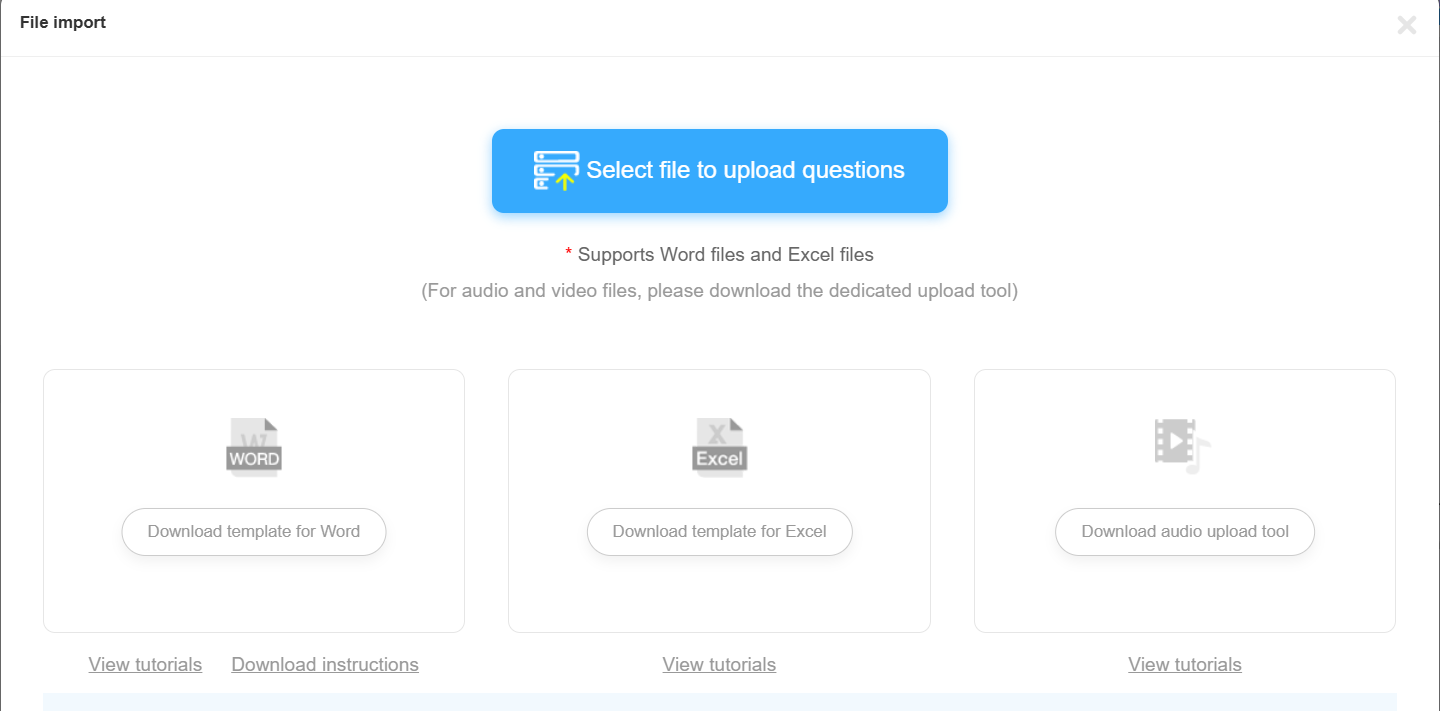
Option A: Import from Word or Excel
Got a pre-made question list in a Word doc or Excel sheet? Upload it once and OnlineExamMaker pulls in your questions automatically. Former paper-based teachers, this one’s for you.
Option B: Create Questions from Scratch
Click “Add Question,” choose your question type (multiple choice, true/false, short answer, fill-in-the-blank, and more), type in your content, set point values, and save. It takes about 20 seconds per question once you’re in the flow.
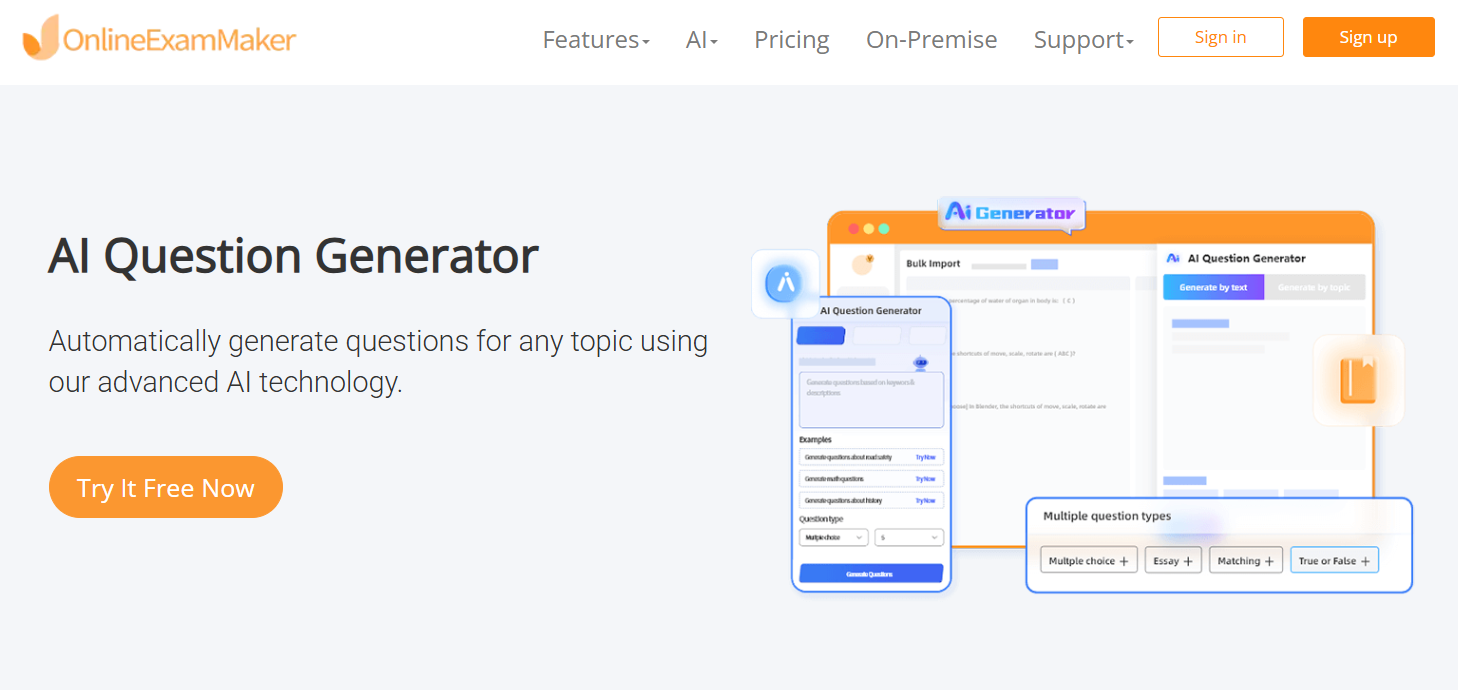
Option C: Use the AI Question Generator ⚡
This is the crowd favorite. The AI Question Generator lets you paste in a topic, upload a document, or describe a subject — and it auto-creates a full set of varied questions in seconds. For busy teachers who need a 20-question quiz on the water cycle by 8 AM tomorrow, this feature is an absolute lifesaver.
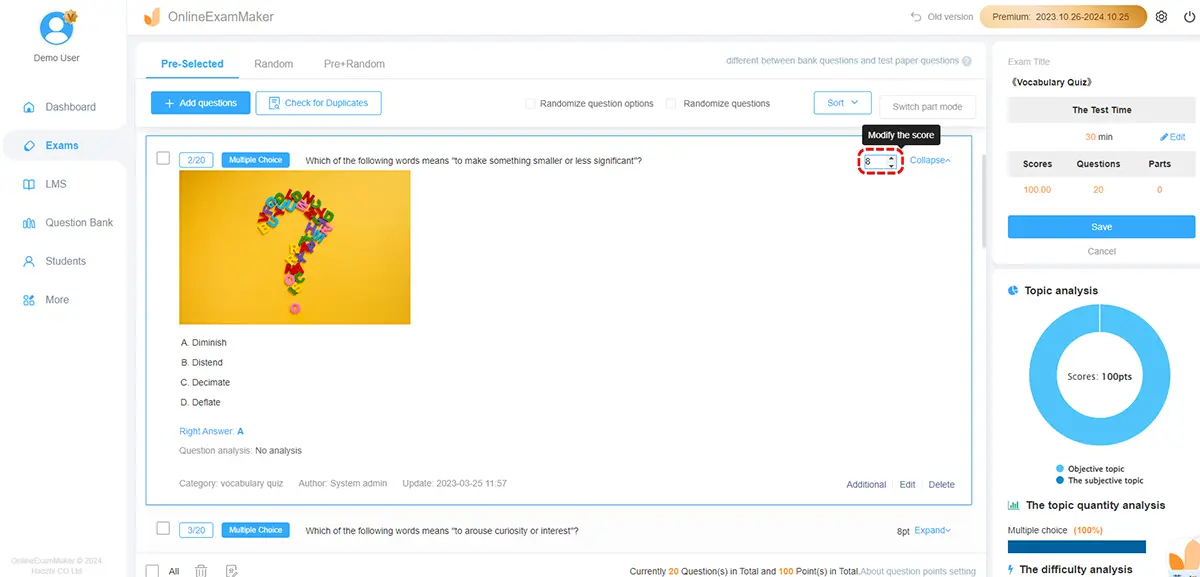
STEP 3 Build Your Exam from the Question Bank (2 Minutes)
Now you’re assembling the actual exam. Hover over Exams in the left nav, select “All Exams,” then hit “+ New Exam.”
- Give your exam a clear title — something like “Grade 7 – Science Chapter 4 Quiz” works great for organization.
- Select a category (helpful when you have dozens of exams later on).
- Click “Add Questions” and pull items from your Question Bank. You can filter by category, type, or search by keyword.
- Drag to reorder questions, adjust point values, and you’re set.
The whole process feels a bit like assembling a playlist — pick your tracks, arrange them, hit save. Two minutes, tops.
STEP 4 Customize Essential Exam Settings (2 Minutes)
This is the “make it yours” phase. OnlineExamMaker gives you a smart set of controls without burying you in options:
| Setting | What to Configure | Why It Matters |
|---|---|---|
| Duration & Time Window | Set exam length (e.g., 30 min) and the date/time it opens/closes | Students know exactly when and how long they have |
| Attempt Limits | 1 attempt (graded test) or multiple (practice quiz) | Controls whether it’s high-stakes or low-stakes |
| Auto Grading | Toggle on for objective questions | Scores appear the moment a student submits — zero marking time |
| Anti-Cheating | Shuffle questions/answers, time limits per question, webcam proctoring | Maintains integrity for graded assessments |
| Feedback Style | Instant feedback vs. score revealed at end | Instant is great for learning; end-reveal is better for formal tests |
The Automatic Grading feature alone saves most teachers hours every week. And if you need to run a secure assessment, the AI Webcam Proctoring tool monitors students in real time — flagging suspicious behavior without requiring a human invigilator watching every screen.
STEP 5 Preview, Publish, and Share with Students (1–2 Minutes)
Before you send it out into the world, always preview. Click the Preview button and walk through the exam exactly as your students will see it. Typos, awkward formatting, a question that makes zero sense at 10 PM — better to catch them now.
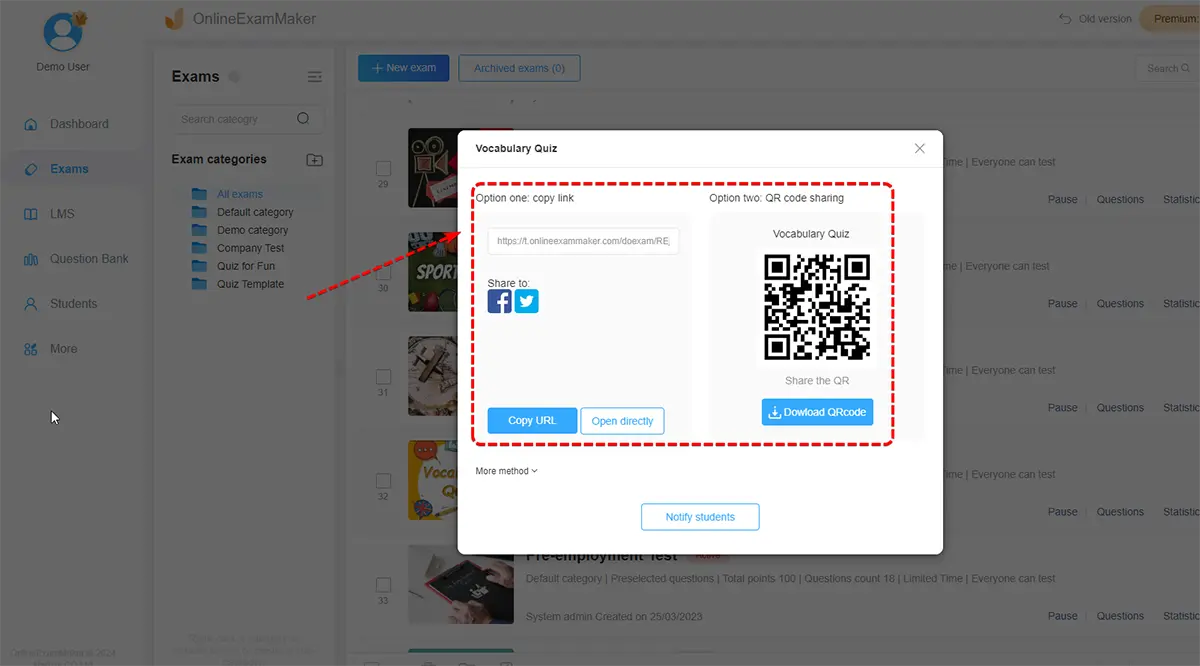
Happy with it? Hit Publish. Your exam is live. Now share it in whatever way fits your classroom:
- 📧 Direct link — paste into an email, Google Classroom, or your LMS
- 🖥️ Embed code — drop a small snippet onto your class website or school portal
- 👥 Group assignment — assign directly to a student group you’ve set up in OnlineExamMaker
STEP 6 Let Students Take the Test
Students click the link (or open the embedded test on your class page), and they’re in. No app download needed, no IT ticket required — it runs right in the browser on laptops, tablets, and phones.
Running it in a live classroom? Project the exam link on the board, let students open it on their devices, and monitor real-time progress from your teacher dashboard. You can see who’s submitted, who’s still working, and how the class is tracking — all from a single screen.
Running it remotely? The timed session and anti-cheating settings you configured in Step 4 do the heavy lifting. Students can’t copy-paste from other tabs, and webcam proctoring keeps remote sessions fair.
STEP 7 View Results and Give Feedback Instantly
The moment a student submits, results are processed. Head to Reports in your dashboard and you’ll find:
- Individual score breakdowns
- Class averages and score distributions
- Question-level analysis — which questions tripped up the most students
- Time-on-task data per student
This last point is underrated. Knowing which questions were hardest isn’t just administrative data — it’s teaching intelligence. If 80% of your class got Question 7 wrong, that’s your cue to revisit that concept tomorrow morning. OnlineExamMaker turns a quiz into a feedback loop, not just a grade.
Time-Saving Classroom Use Cases
Once you’ve built your first exam, you’ll start seeing opportunities everywhere. Here’s how educators and trainers are actually using OnlineExamMaker day-to-day:
- 🎟️ Entrance & Exit Tickets — 5-question check-ins at the start or end of a lesson. Takes 3 minutes to build, tells you exactly where students are.
- 📅 Weekly Quizzes — auto-grade and feed right into your gradebook. No manual entry.
- 📋 Mock Exams — full-length practice tests before standardized assessments, complete with timer and single-attempt rules.
- 🏠 Homework & Makeup Tests — students complete these from home on their own schedule, within a time window you set.
- 🏢 Corporate Training Assessments — HR managers and L&D teams use the same workflow to test employee knowledge after onboarding or compliance training.
Pro Tips to Stay Under 10 Minutes
Your first exam might take 10 minutes. Your tenth will take three. Here’s how to get there faster:
- Build a rich Question Bank first. Think of it as your exam pantry. The more you stock it, the faster you can cook. Organize questions by unit, skill, or standard so you can pull a focused set in seconds.
- Save default settings. If you always run 30-minute, single-attempt, auto-graded tests, save that as your default template. Then the only thing you’re changing each time is the question set.
- Reuse and remix, don’t rebuild. Duplicate a previous exam and swap out a few questions. Done in two minutes.
- Let AI do the heavy lifting. If you’re short on time or inspiration, drop a topic into the AI Question Generator and let it draft a full set. Edit what you don’t like, keep what you do.
Conclusion: Make Online Exams a Routine, Not a Chore
Here’s the honest truth: the first exam you build on OnlineExamMaker might take a full 10 minutes as you get your bearings. The second one might take six. By the time you’ve built a solid Question Bank and saved your preferred settings, you’re looking at two or three minutes per exam — reliably, repeatedly.
That’s the real promise of a tool like this. Not just speed on day one, but efficiency that compounds over time. Every question you add to your bank, every template you save, every student group you configure — it all pays dividends in the next exam you create.
And as you get comfortable, there’s a whole layer of advanced features waiting: rich-media questions with audio and video, remote proctoring with AI Webcam Proctoring, detailed analytics that go beyond simple scores, and integrations with your existing LMS. OnlineExamMaker grows with you.
So whether you’re a classroom teacher looking to modernize your quizzes, a corporate trainer managing compliance assessments, or an HR manager building onboarding tests for a new cohort — the 10-minute exam is not a fantasy. It’s just a workflow. And now you have it.