Setting a time limit for an online quiz can offer multiple advantages, both for instructors and for students. Here are several reasons why you might want to consider doing so:
Maintains Integrity: A timed quiz can discourage cheating because students have less opportunity to consult outside sources or collaborate with peers. This helps to ensure that the quiz reflects a student’s personal knowledge and understanding.
Simulates Real-world Scenarios: Many professional exams, like licensure exams or standardized tests, are timed. By introducing students to this format early on, you’re helping them become familiar with and better prepared for real-world timed testing situations.
Efficient Assessment: Especially in large classes or courses, having timed quizzes allows instructors to assess many students simultaneously without overloading the system or stretching the examination period over too long a timeframe.
Promotes Time Management: Giving students a set amount of time to complete a quiz teaches them to manage their time efficiently and make quick decisions about which questions to tackle first, which to spend more time on, and which to come back to if there’s time left.
Pro Tip
You can build engaging online quizzes with our free online quiz maker.
Ensures Consistency: By providing a uniform amount of time for every student, you’re ensuring that everyone has an equal opportunity and the same constraints. This can help in providing a consistent assessment environment.
Reduces Procrastination: When there’s a time limit, students are less likely to delay and are more focused on completing the task at hand. This can reduce the tendency to second-guess answers or to overthink.
Table of Contents
- Part 1: How to Set Time Limit for A Google Form Quiz?
- Part 2: OnlineExamMaker: An Alternative Platform to Make a Timed Quiz Directly
- Part 3: How to Create a Timed Quiz with OnlineExamMaker?
How to set time limit for a google form quiz?
Using Google Forms Add-ons:
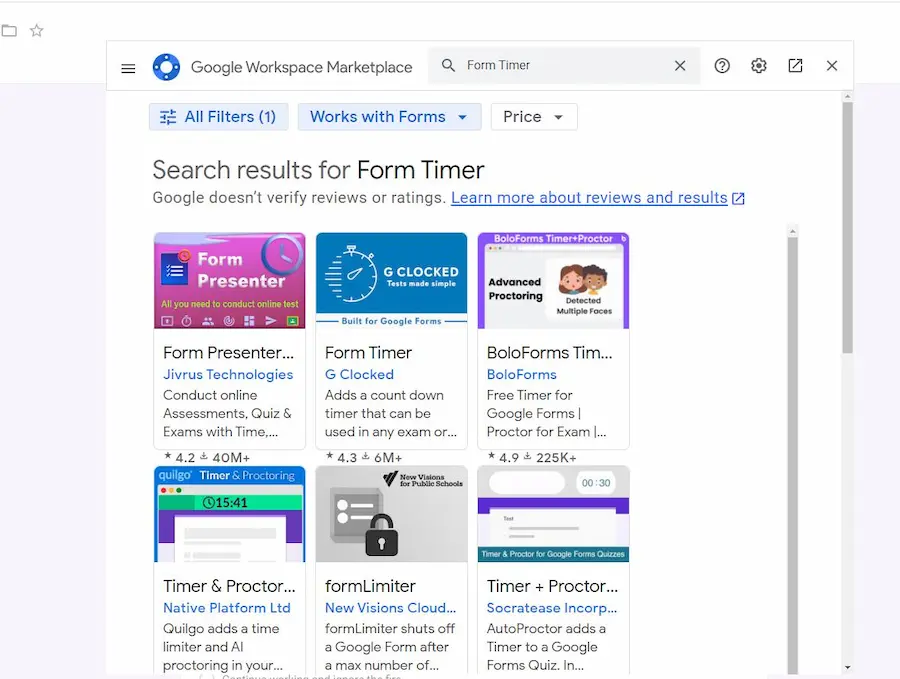
One of the popular add-ons is Form Timer. Here’s how you can use it:
1. Install Form Timer:

• Go to the Google Forms you want to set a timer for.
• Click on the three vertical dots (More) on the upper right side.
• Select “Add-ons.”
• Search for “Form Timer” and install it.
2. Set Up the Timer:
• After installation, the Form Timer icon should appear on the right sidebar of your Google Form.
• Click on it to open.
• You can then set the duration for the timer.
3. Additional Settings:
• You can set up notifications for when the time is about to end.
• You can choose what happens when the time ends, such as auto-submission.
4. Share the Form:
• Once the timer is set up, you can send the form to participants. When they open the form, the timer will start, and they will see the countdown.
Using External Tools:
Google Forms + Google Slides:
• Create a Google Slides presentation with an embedded timer (you can use YouTube videos or GIFs of timers).
• Share your screen during a video call (like on Google Meet or Zoom) and play the Google Slides presentation with the timer.
• Share the Google Form link with your participants.
• When the timer ends, instruct participants to submit.
OnlineExamMaker: An Alternative Platform to Make a Timed Quiz Directly
OnlineExamMaker is a leading assessment management system that has been at the forefront of providing comprehensive and secure assessment solutions since its inception. With OnlineExamMaker, teacher can easily create a timed online quiz and share it to social, websites, or emails.
Key Features
Assign Exam to A Group: Assign the created exam to a group containing multiple candidates to assess particular learners directly.
Time Limit: Set a time limit for the entire exam, for each question, or for each page independently.
Face Id Verification: AI-powered face ID verification technology enables the online exam system to capture the image of the exam taker via webcam, and compare it with the candidate’s profile photo which is uploaded before the exam.
Create Your Next Quiz/Exam with OnlineExamMaker
How to Create a Timed Quiz with OnlineExamMaker?
Step 1: Go to OnlineExamMaker webste.
Step 2: Create a new quiz
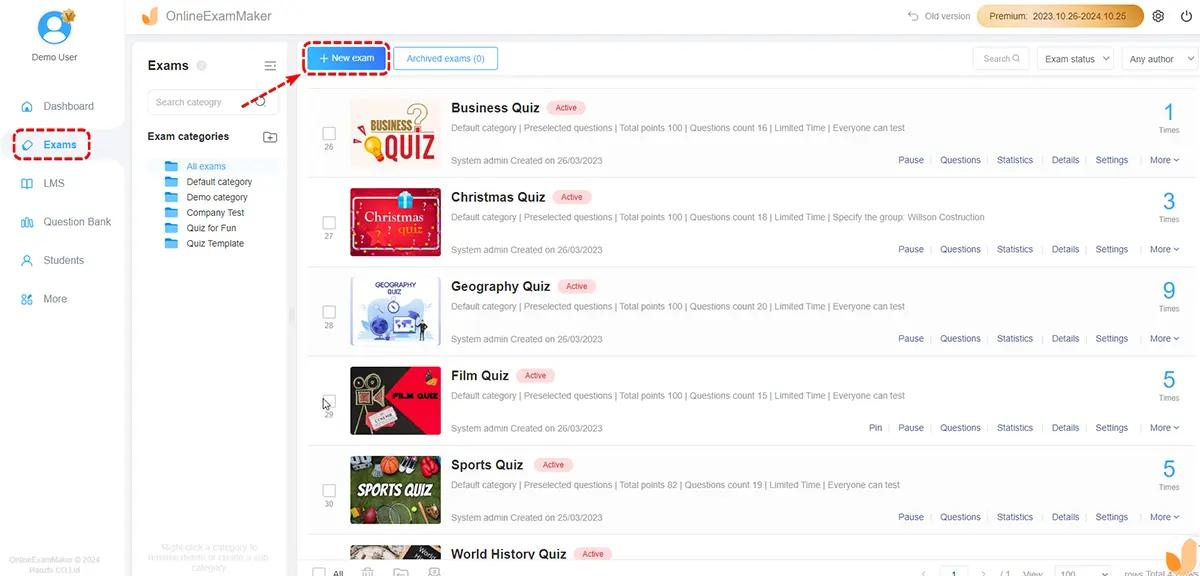
Create a quiz, then add questions, edit quiz information.
Step 3: Configure quiz settings
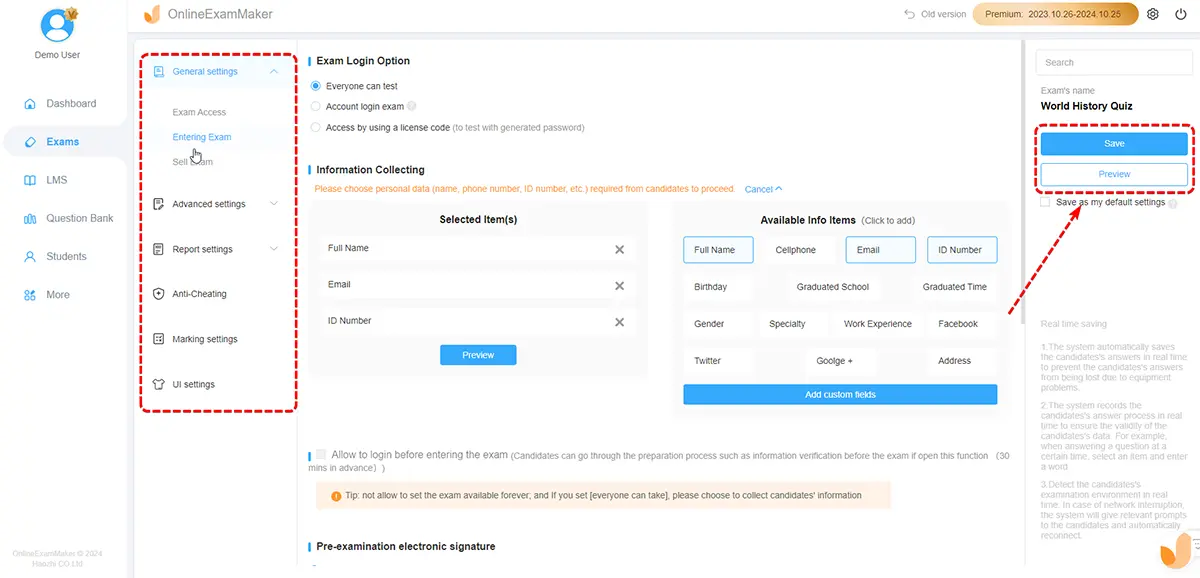
Customized the quiz settings, including themes, quiz time, live day, proctoring and more.
Step 4: Share your timed exam online
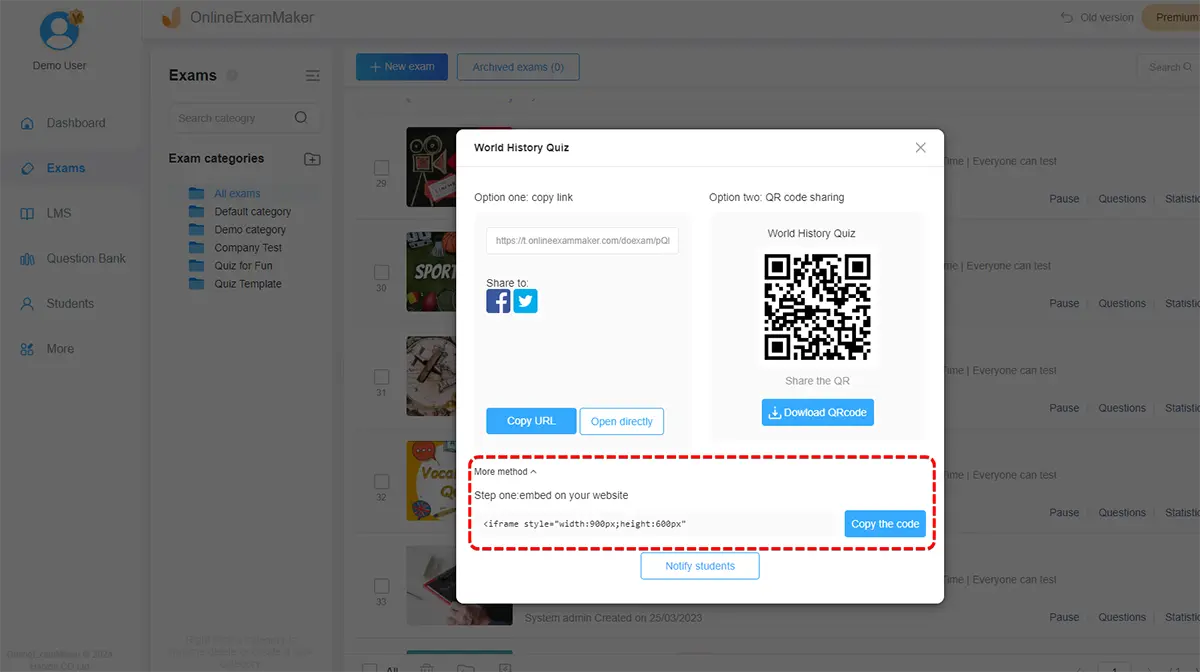
Press the “publish” button beside your exam, answer the prompt question then share the given QR code or link!