PowerPoint, that trusty presentation workhorse, has evolved beyond static slides and bullet points. Today, educators and trainers use it to build interactive quizzes that engage learners in real-time. Whether you’re teaching state capitals, testing corporate training modules, or just making learning a bit more fun, creating quizzes in PowerPoint isn’t just possible—it’s surprisingly accessible.
- Why Multiple Answer Quizzes Matter in Education
- Solution 1: Creating Interactive Quizzes with Animations and Triggers
- Solution 2: Using Microsoft Forms for True Multiple Answer Logic
- OnlineExamMaker: A Powerful Alternative for Quiz Creation
- Comparison: PowerPoint vs. Dedicated Quiz Software
- Best Practices for Multiple Answer Questions
Why Multiple Answer Quizzes Matter in Education
Picture this: You’re a teacher standing in front of a classroom, and you’ve just asked a question. Hands shoot up. But here’s the thing—sometimes the right answer isn’t singular. Sometimes life, like education, demands we think beyond the binary.
That’s where multiple answer questions come in. Unlike their single-choice cousins, these questions challenge learners to identify all correct options from a list. They’re trickier. They’re more realistic. And honestly? They’re far more revealing about what someone actually knows versus what they can guess.
Solution 1: Creating Interactive Quizzes with Animations and Triggers
Let’s start with the DIY approach. This method uses PowerPoint’s built-in animation and trigger features to create an interactive quiz experience without any add-ins. It’s clever, creative, and completely doable—even if you’ve never touched an animation pane before.
Setting Up Your Quiz Structure
First things first: you need a plan. Think about your lesson content. Let’s say you’re teaching about U.S. states and their capitals—a classic example that works beautifully for demonstration purposes.
Step 1: Create Your Title Slide
Open PowerPoint and change your title slide layout to blank. Insert a background image that relates to your topic. For a geography quiz, maybe it’s a map of the United States. The visual context matters—it sets the stage and tells learners what they’re diving into.
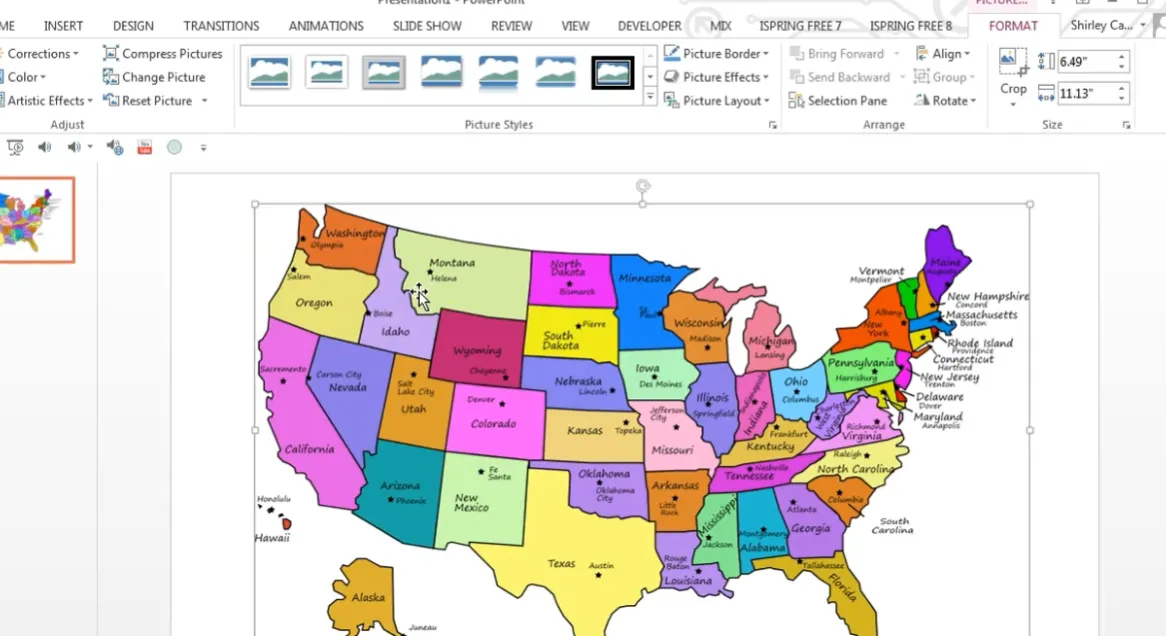
Add a text box with your quiz title. Something simple works: “States and Their Capitals.” Format it nicely—bold it, center it, make it visible. This is your learner’s first impression.
Building Your Question Slide
Here’s where things get interesting. Add a new slide and give it a title—maybe “Springfield, Illinois” if that’s your focus. Insert relevant images that help visualize the content.
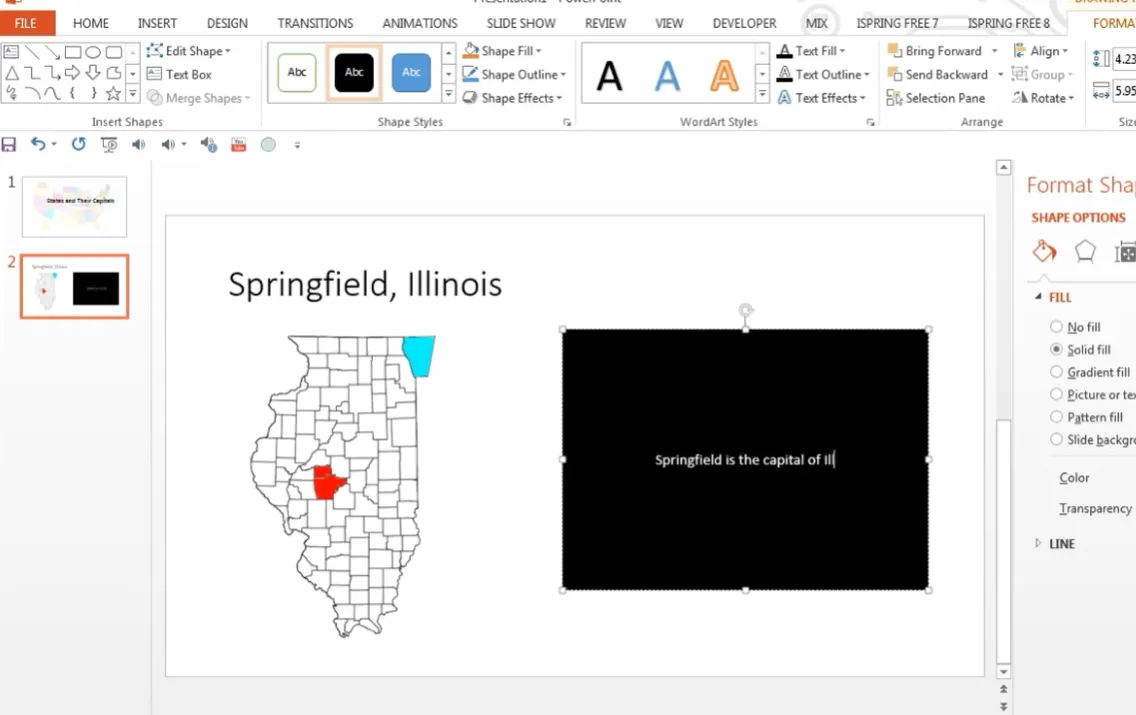
Now add your instructional content. Use text boxes or shapes to present information clearly. If you’re pointing to Springfield on a map, add an arrow. Make it obvious—increase the line weight, change the color to something that pops against your background.
Creating the Multiple Choice Question
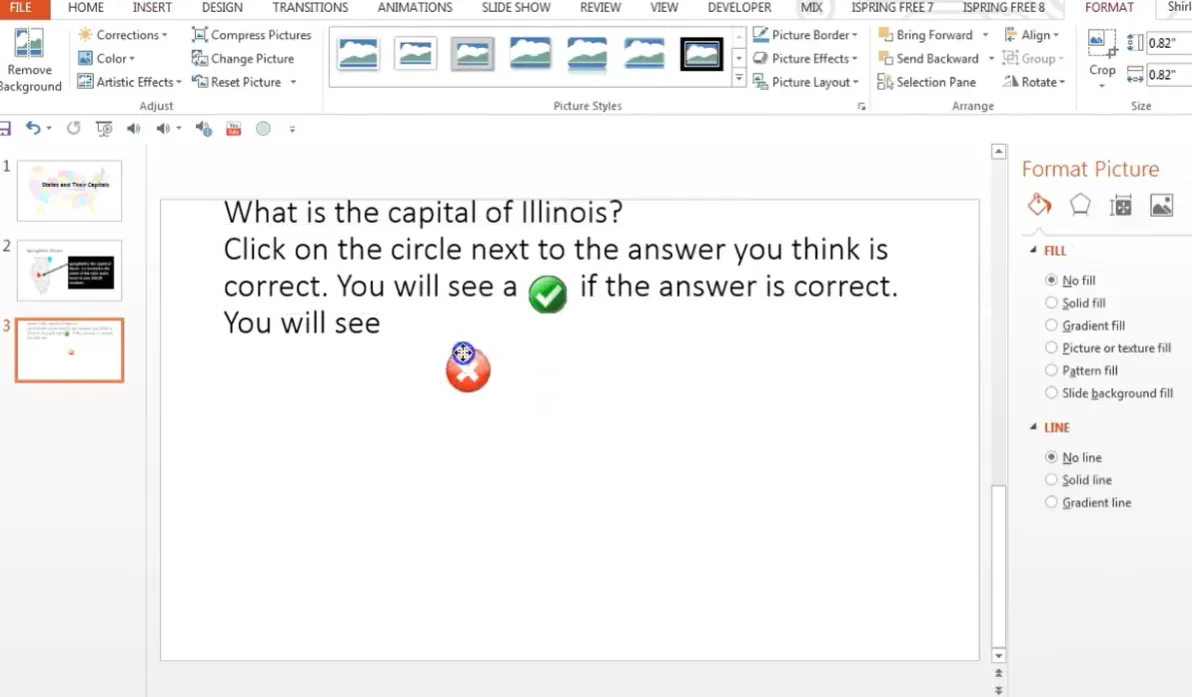
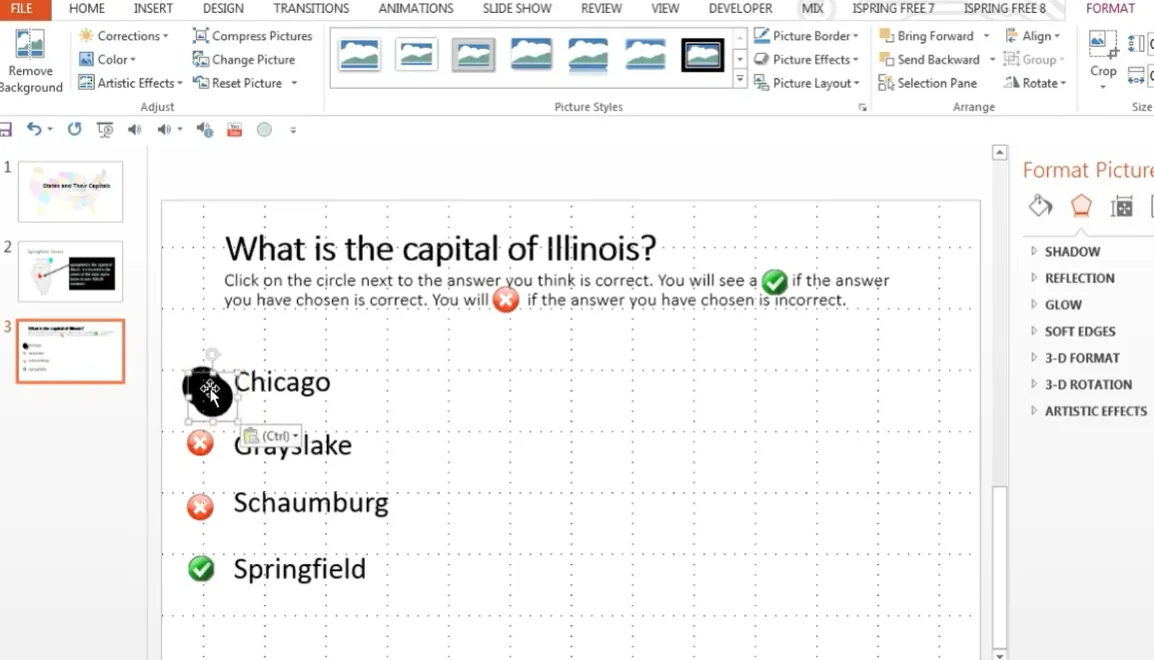
This is where the magic happens. On a new slide, write your question at the top: “What is the capital of Illinois?”
Add clear directions. Something like: “Click on the circle next to the answer you think is correct. You will see a ✓ if your answer is correct, or an ✗ if incorrect.”
Now create your answer choices. Insert text boxes for each option:
- Chicago
- Grayslake
- Schaumburg
- Springfield (the correct answer)
Pro tip: List your distractors (incorrect answers) in a logical order—alphabetically or geographically. This adds professionalism and prevents patterns that savvy test-takers might exploit.
Adding Visual Feedback
Insert online pictures of a green checkmark and a red X. Position these symbols next to each answer choice—the checkmark by the correct answer, and the X by each incorrect option.
But wait—learners shouldn’t see these yet! That’s where the circles come in. Insert black circles (or any solid shape) to cover each symbol. These circles will disappear when clicked, revealing the answer underneath.
Applying Animations and Triggers
This is the technical bit, but stick with me—it’s simpler than it sounds.
Step 1: Open both the Selection Pane and Animation Pane. These give you control over every object on your slide.
Step 2: Click on one of your black circles. Go to Animations > Add Animation > Exit > Disappear.
Step 3: In the Animation Pane, click the dropdown arrow next to your animation. Choose Trigger > On Click Of, then select the picture object you just animated.
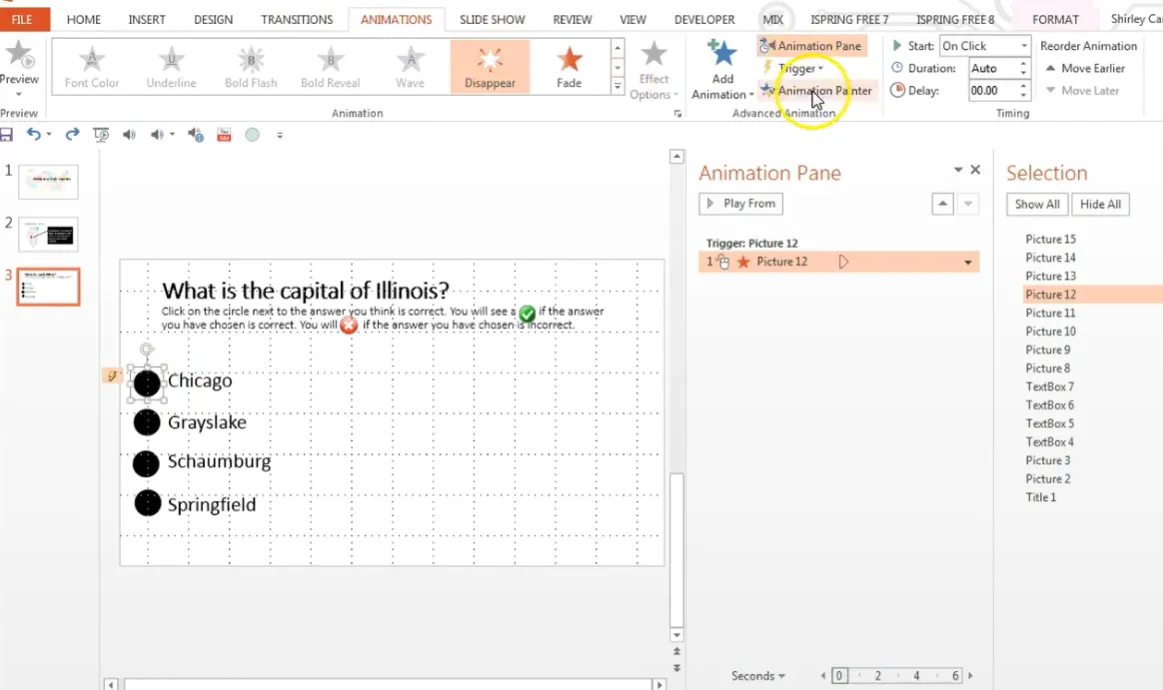
Now here’s the shortcut: use the Animation Painter. Click on your working circle, go to Animations, and double-click Animation Painter. Then click each remaining circle. PowerPoint automatically applies the same animation with the correct triggers.
Test it in slideshow mode. Click each circle—does it disappear to reveal the answer? Perfect.
Solution 2: Using Microsoft Forms for True Multiple Answer Logic
If you want actual multiple-answer functionality—where learners must select ALL correct options—Microsoft Forms is your friend. This method requires a Microsoft 365 work or school account, but it’s worth it for the automatic grading and real-time results.
Creating Your Quiz in Microsoft Forms
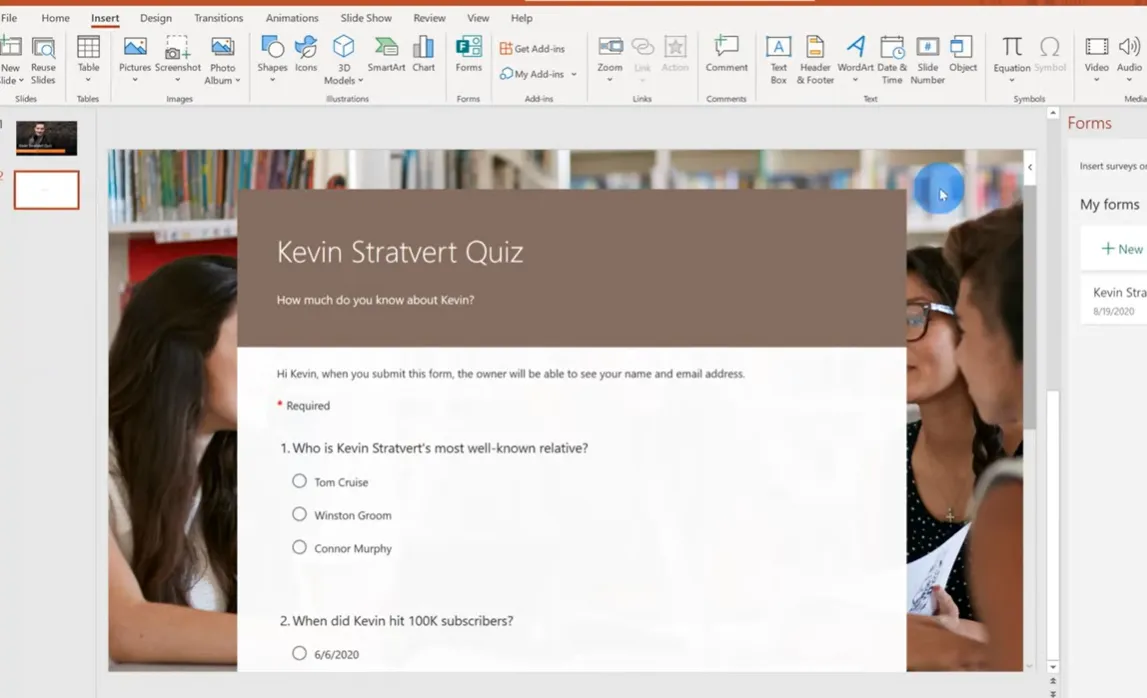
Step 1: Insert a Quiz Slide
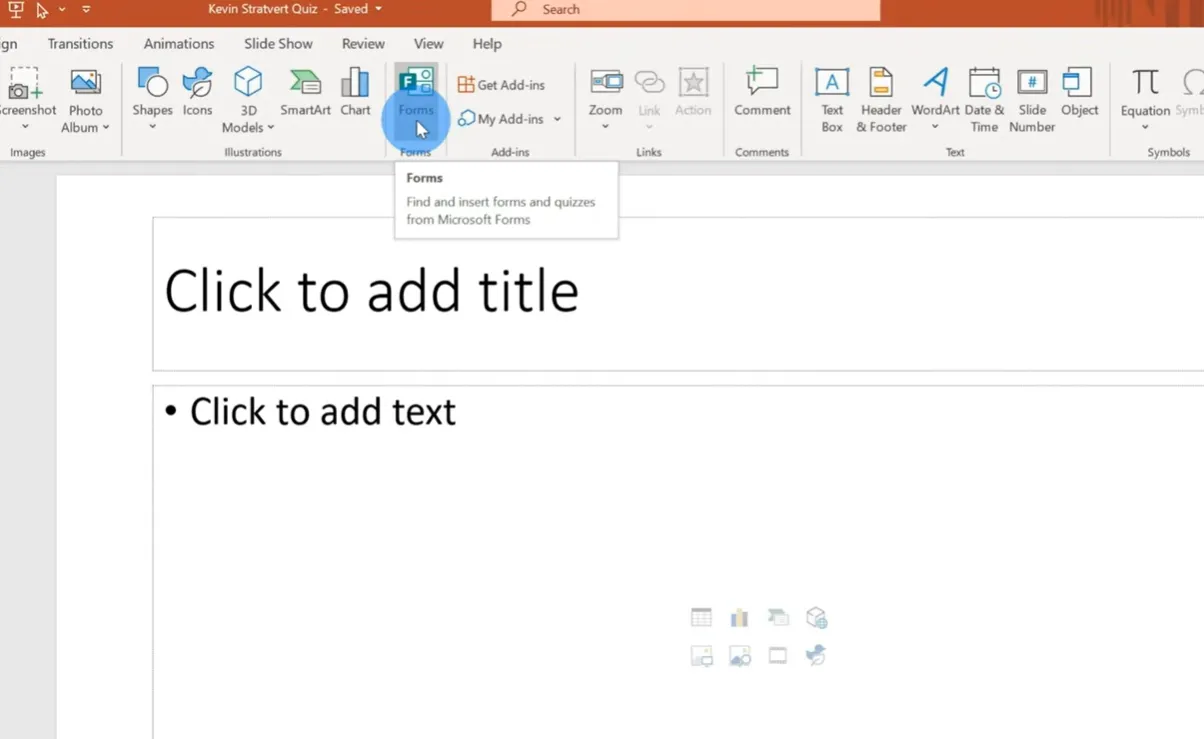
In PowerPoint, click Insert > Forms > New Quiz. This opens Microsoft Forms in your browser.
Understanding Forms vs. Quiz: A form is for surveys or polls without correct answers. A quiz lets you define correct responses and assign points. You want quiz.
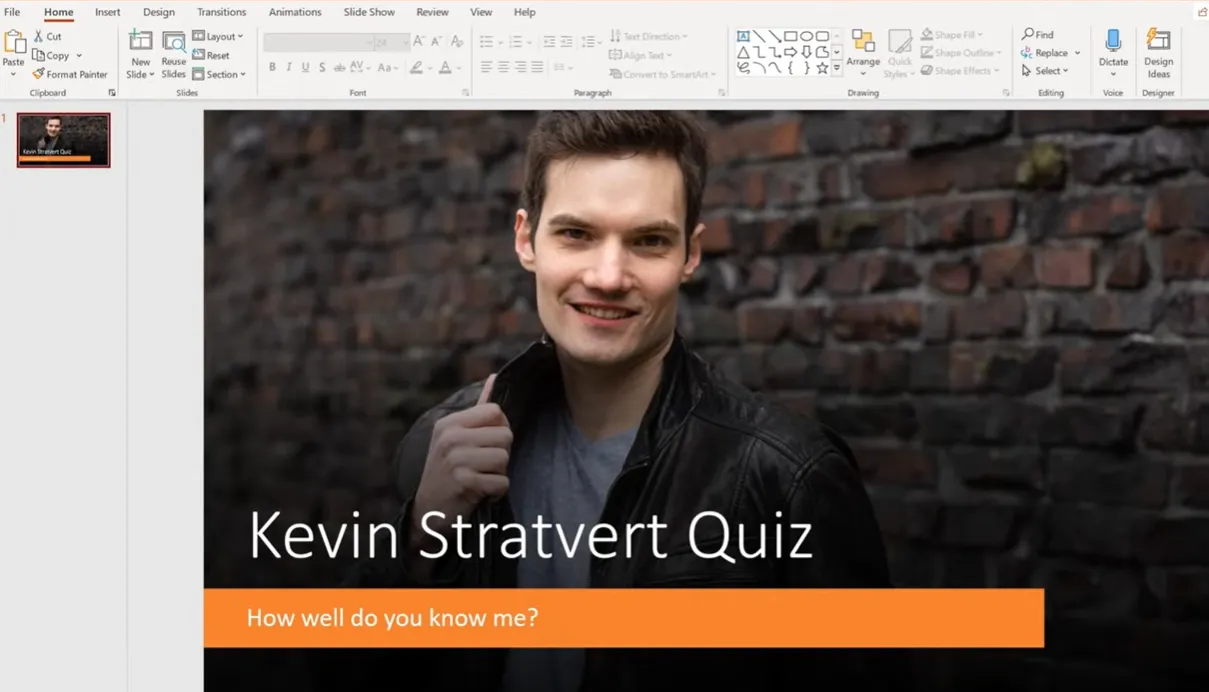
Step 2: Add Your Title and Description
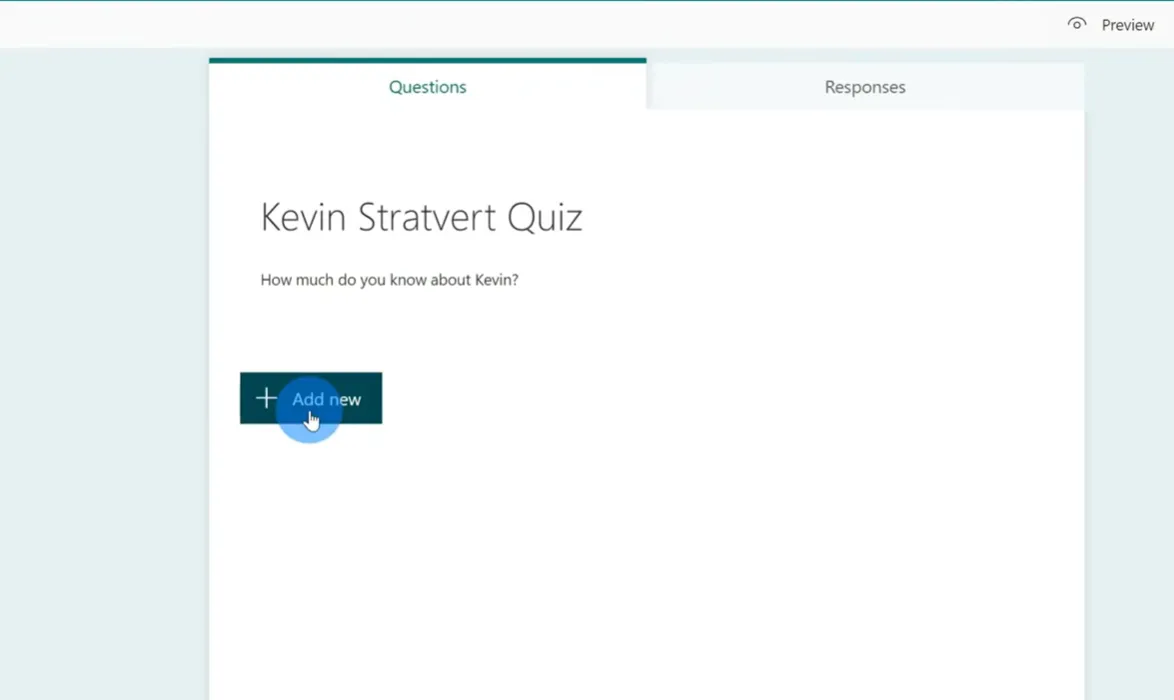
Give your quiz a clear title—maybe “Kevin Stratford Quiz” if you’re feeling creative (or just testing coworkers’ attention). Add a description to set expectations.
Creating Multiple Answer Questions
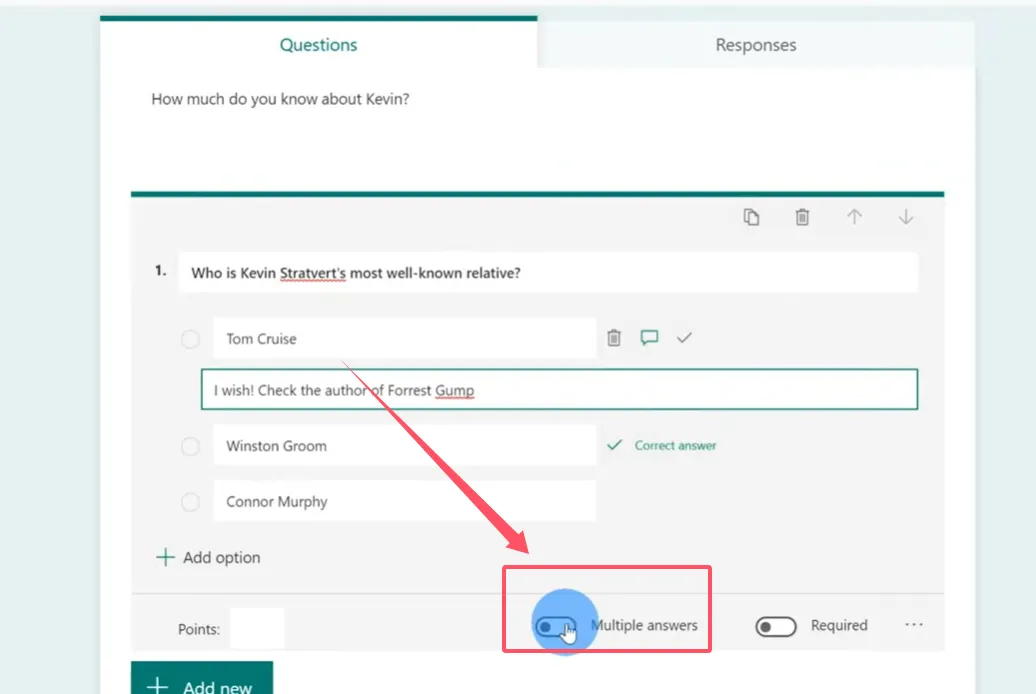
Click Add New > Choice. Type your question in the question field.
Here’s the key part: Toggle on “Multiple answers” in the question settings (click the ellipses icon). Now learners can select more than one option.
Add your answer choices. For each correct answer, click the checkmark icon on the right side of the option. You can mark multiple answers as correct—that’s the whole point!
![]()
Advanced Settings That Matter
Click the ellipses next to each question for additional options:
- Shuffle options: Randomizes answer order to prevent cheating
- Assign points: Weight questions differently based on difficulty
- Message for responses: Add teaching moments for incorrect answers
- Required question: Force responses before submission
Quiz-Wide Settings
Click the ellipses in the top right corner, then Settings. You’ll find three critical sections:
| Setting Category | Key Options | Why It Matters |
|---|---|---|
| Results Display | Show results automatically | Control when learners see their scores—immediately or after everyone finishes |
| Permissions | Anyone vs. organization only; Record names; One response per person | Prevents duplicate submissions and maintains accountability |
| Additional Options | Accept responses; Start/end dates; Shuffle questions; Custom thank you message | Fine-tune the quiz experience and set boundaries |
Inserting Your Quiz Into PowerPoint
Once you’ve built your quiz in Forms, return to PowerPoint. The quiz automatically appears on your slide with the theme you selected. During slideshow mode, participants can interact with the quiz directly—selecting multiple answers, submitting responses, and seeing results in real-time.
Want to edit your quiz later? Go to Insert > Forms, find your quiz, and click Edit. It reopens in your browser for modifications.
An AI-Powered Solution: Make a Multiple Answer Quiz Using OnlineExamMaker
OnlineExamMaker treats quiz creation as its primary function, not an added feature. The platform specializes in question bank management, automatic grading, and detailed analytics—things PowerPoint simply wasn’t designed to handle.
Creating Multiple Response Questions in OnlineExamMaker
OnlineExamMaker natively supports multiple response questions—their term for what we’ve been calling multiple answer questions. Here’s how it works:
Step 1: Log into OnlineExamMaker and navigate to your Question Bank.
Step 2: Click Create Question and select Multiple Response from the question type dropdown.

Step 3: Enter your question text, then add answer options. Check the box next to each correct answer—you can select as many as needed.
Step 4: Configure scoring options. You can set whether partial credit is awarded for selecting some correct answers, or if learners must select all correct options to earn points.
According to OnlineExamMaker’s documentation, multiple response questions offer advanced settings including:
- Randomization of answer order
- Penalty for incorrect selections
- Rich media support (images, videos, audio)
- Detailed feedback for each option
- Auto-grading with customizable rubrics
Create Your Next Quiz/Exam Using AI in OnlineExamMaker
Why Educators Choose OnlineExamMaker?
The platform shines in several areas where PowerPoint falls short:
- Question bank management: Build a library of questions you can reuse across multiple exams
- AI-assisted question generation: The AI can help draft questions based on your content
- Anti-cheating features: Randomized questions, time limits, and browser lockdown options
- Comprehensive reporting: See exactly which questions students struggled with and identify learning gaps
- Mobile-friendly: Learners can take quizzes on any device
Comparison: PowerPoint vs. Dedicated Quiz Software
So which should you use? It depends on your needs, audience, and comfort level with technology.
| Feature | PowerPoint (Animation Method) | PowerPoint (Forms Integration) | OnlineExamMaker |
|---|---|---|---|
| Ease of Setup | Moderate (requires animation knowledge) | Easy (if you have Microsoft 365) | Easy (purpose-built interface) |
| True Multiple Answer Logic | No (visual only) | Yes | Yes |
| Automatic Grading | No | Yes | Yes |
| Detailed Analytics | No | Basic | Comprehensive |
| Question Bank Management | No | No | Yes |
| Anti-Cheating Features | No | Limited | Extensive |
| Cost | Free (if you own PowerPoint) | Requires Microsoft 365 subscription | Free tier available; paid plans for advanced features |
Best Practices for Creating Multiple Answer Questions
Creating effective multiple answer questions is an art. Here are some guidelines that separate mediocre quizzes from excellent ones:
1. Make All Correct Answers Defensible
Each correct answer should genuinely be correct. Don’t create “trick” questions where the correctness is debatable. That frustrates learners and undermines trust.
2. Ensure Distractors Are Plausible
Incorrect options should be believable. If you’re asking about state capitals and include “Mickey Mouse” as an option, you’re not testing knowledge—you’re wasting time.
3. Order Matters
Arrange answer choices logically—alphabetically, chronologically, or by some other rational system. Random ordering looks sloppy and can confuse learners.
4. Provide Clear Instructions
Always tell learners how many answers to select. “Choose all that apply” is clear. “Pick the right answers” is ambiguous—right how? Right how many?
5. Use Feedback Strategically
Don’t just say “Wrong.” Explain why it’s wrong and point toward the correct information. This turns assessment into instruction.
6. Test Your Quiz
Run through it yourself. Click every option. Does everything work? Are your triggers firing correctly? Is your feedback helpful? Better to catch errors now than during the actual presentation.
7. Consider Partial Credit
If a question has three correct answers and a learner selects two of them, should they get partial credit? There’s no universal answer—it depends on whether you’re testing precise knowledge or general understanding.
Conclusion
Creating quizzes with multiple answer questions in PowerPoint isn’t just possible—it’s practical, powerful, and surprisingly versatile. Whether you choose the animation method for complete creative control, Microsoft Forms for automatic grading, or OnlineExamMaker for professional-grade assessments, you have options that fit different needs and skill levels.
The animation method gives you unlimited customization. You control every click, every reveal, every piece of feedback. It’s perfect for presentations where the quiz is part of a larger narrative.
Microsoft Forms offers the perfect middle ground—it’s integrated, it’s automatic, and it provides real-time results without requiring animation expertise.
OnlineExamMaker takes things further with question banks, advanced analytics, and anti-cheating features that matter when assessments have real stakes.
The best choice? The one you’ll actually use. Start simple. Build a basic quiz using whichever method feels most comfortable. Test it with a small group. Gather feedback. Iterate.
Because here’s the thing about quizzes—they’re not just about measuring what people know. Done right, they’re teaching tools. They reveal gaps, reinforce concepts, and give learners a chance to engage actively with content rather than passively consuming it.
And in education, that engagement is everything.
So go ahead. Open PowerPoint. Create that quiz. Make it interactive. Make it meaningful. Your learners will thank you for it—even if they don’t ace every question on the first try.