Need help sharing your Microsoft Forms quiz with students? No problem! Creating a quiz on Microsoft Forms is just easy, but sharing it with students can be a bit puzzling. Imagine when your students would easily access their recent quiz. How super fast and easy would it be if they were all over taking up your quiz? Don’t stress out as I share how your students will get your Microsoft Forms quiz in no time, making life easier for both yourself and your audience.
If you’re an educator, a marketer or simply looking for fun quizzes, here’s how to share your Microsoft Forms quiz link like a pro.
- How to Share a Microsoft Forms Quiz Link to Candidates?
- OnlineExamMaker: The Best Alternative Tool to Make A Sharable Quiz
- How to Create A Sharable Quiz in OnlineExamMaker?
How to Share a Microsoft Forms Quiz Link to Candidates?
Step 1: Create Your Microsoft Forms Quiz
Before sharing your quiz link, you first need to have a quiz using Microsoft Forms. Log in to your Microsoft account, go directly to “Quiz”, and start creating your quiz by adding questions and options.
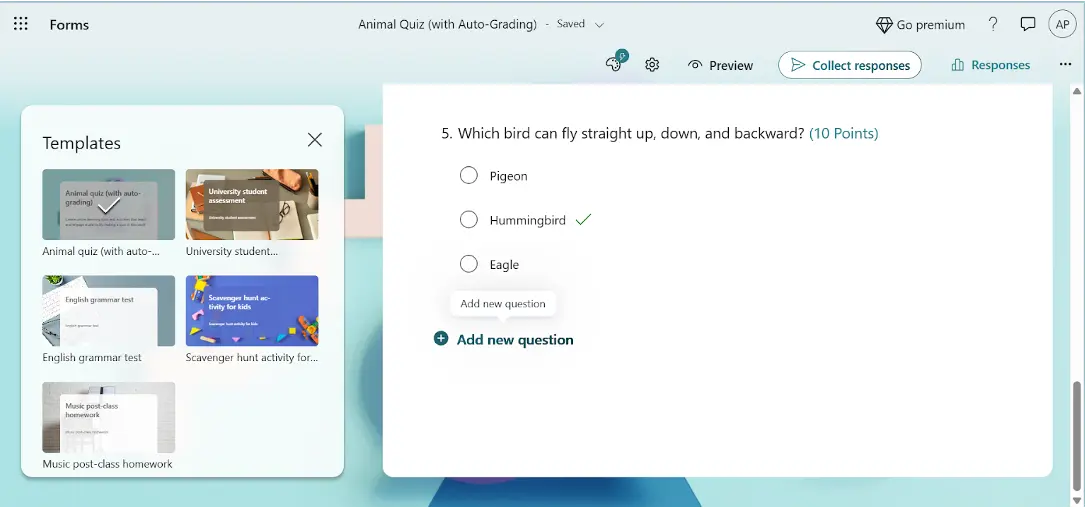
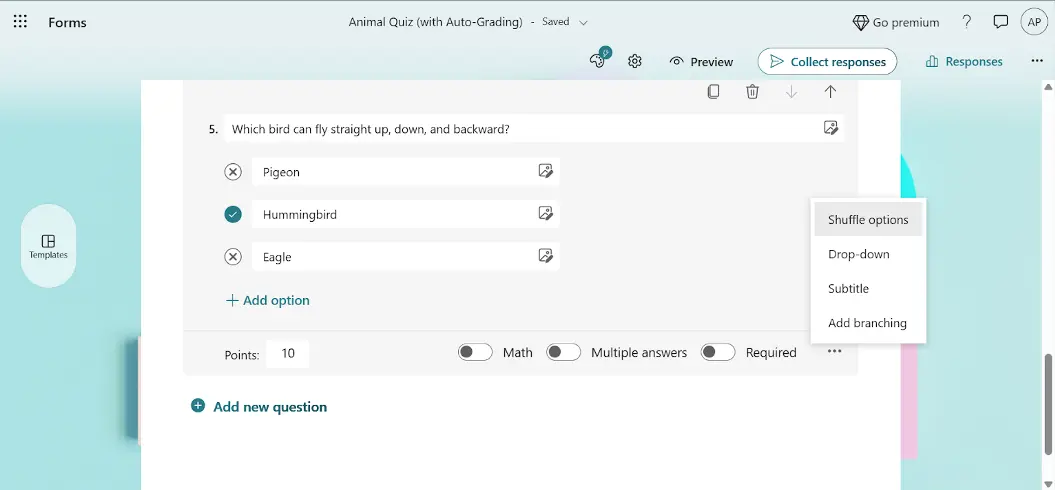
Step 2: Customize Your Quiz
For the next step, it’s time to adjust it to your own liking to make it more catchy but suitable for your students. You can choose the theme, add images and videos, and even include branching to make your quiz more interactive.
Step 3: Share Your Quiz Link
After customizing your quiz, you’re ready to share it with your audience. To share the quiz link, simply click on the “Collect responses” button in Microsoft Forms and copy the link provided.
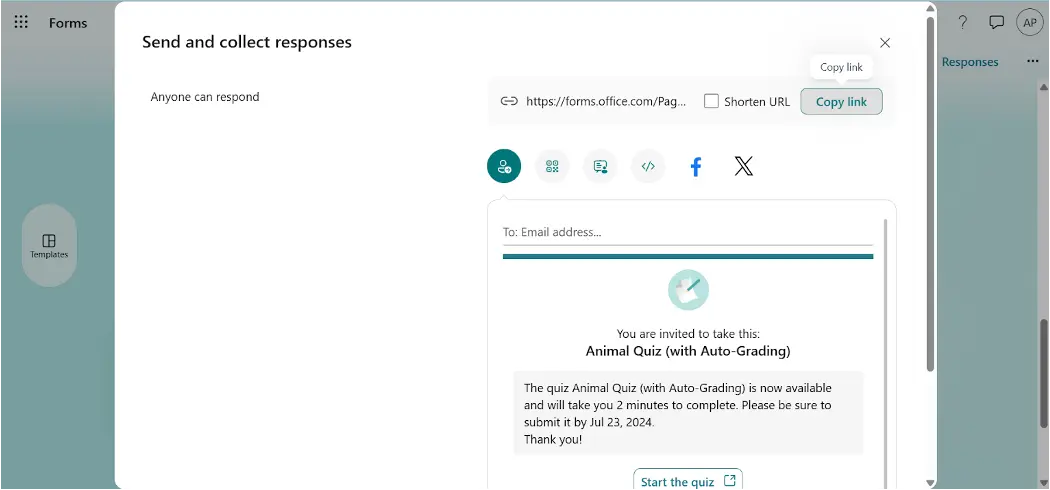
Step 4: Embed the Quiz Link in Your Blog Article
Now that you have copied the quiz link, it’s time to send it to your preferred audience. Simply paste the link wherever you want the quiz to be accessed. You have a lot of options for sharing the Microsoft Forms Quiz link.
You can try sending it through email or send it as an invitation on Outlook.
● You can also share a QR Code;
● Present the QR Code or URL link on your device;
● Embed it in a website;
● Share it on Facebook and X;
Sharing these Microsoft Forms quiz links with your audience is a good way to help in engaging your students and make your quizzes more interactive. Plus, it’s a fun and easy way to gather important feedback and insights from your audience!
So, the next time you create a quiz using Microsoft Forms, don’t forget to share the link in your favorite platform to make your quizzes more engaging and interactive!
Remember, simplicity is key when it comes to sharing your quiz link. By following these easy steps, you can easily share your Microsoft Forms quiz link with your students and enhance their overall learning experience.
OnlineExamMaker: The Best Alternative Tool to Make A Sharable Quiz
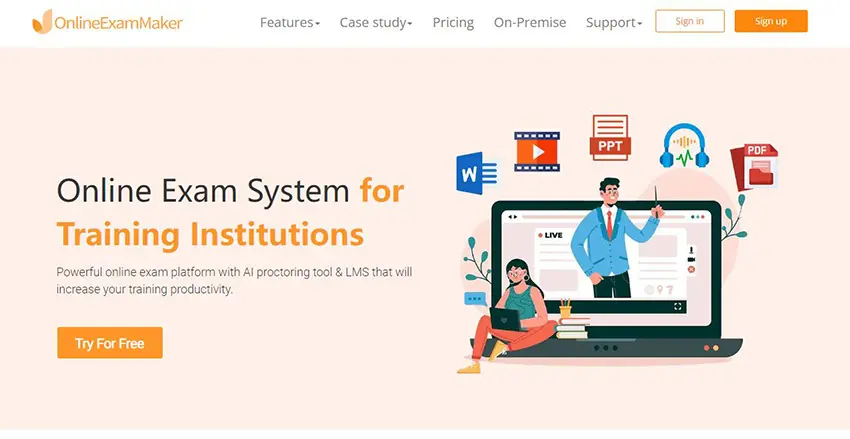
Need a better way to share quiz links? Look no further! Check out this awesome platform, OnlineExamMaker with great features to make sharing and accessing quiz links a breeze for your students. Keep reading to learn how to get started sharing your quizzes!
Create Your Next Quiz/Exam with OnlineExamMaker
How to Create A Sharable Quiz in OnlineExamMaker?
Want to share an interactive quiz with your audience in X, Facebook, or WhatsApp? Apart from Microsoft Forms, you can have a trial of OnlineExamMaker.
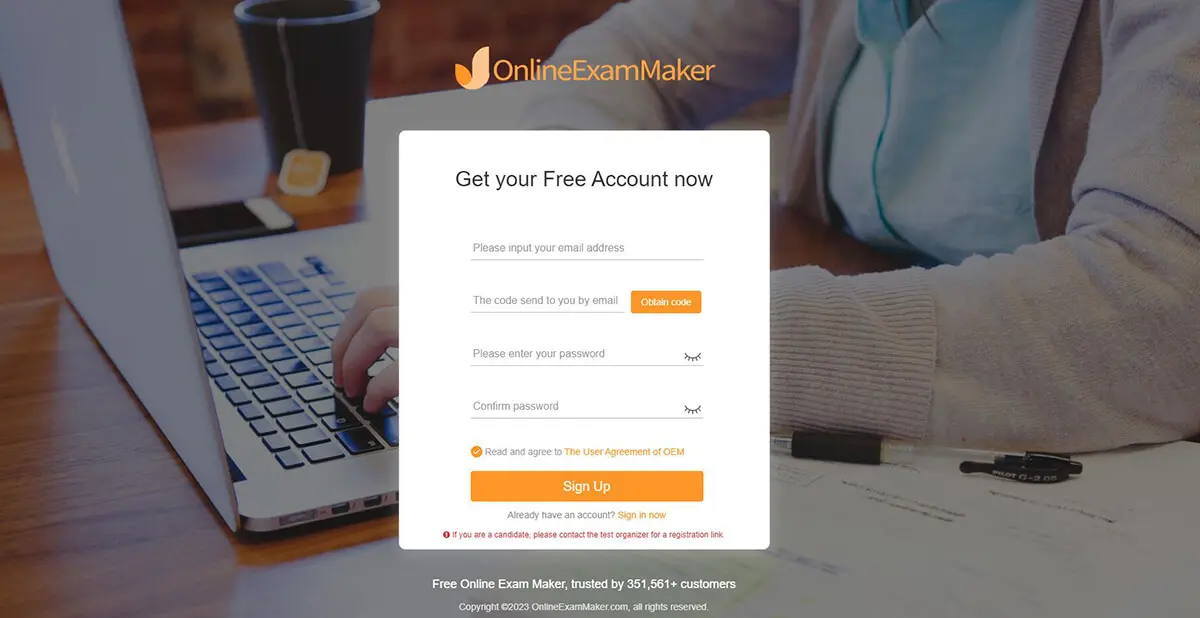
Step 1: Signup A New Account
OnlineExamMaker provides eveything you need to make an outstanding online quiz, just go to OnlineExamMaker, then click “Signup” button, and enter your email to create an account.
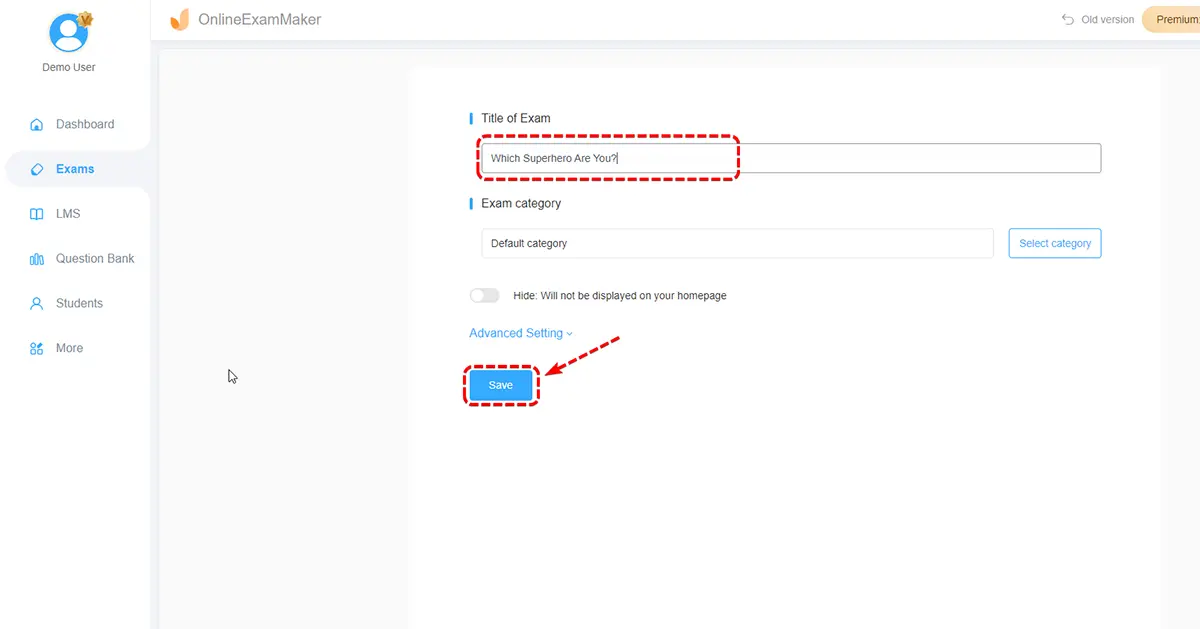
Step 2: Create A Quiz
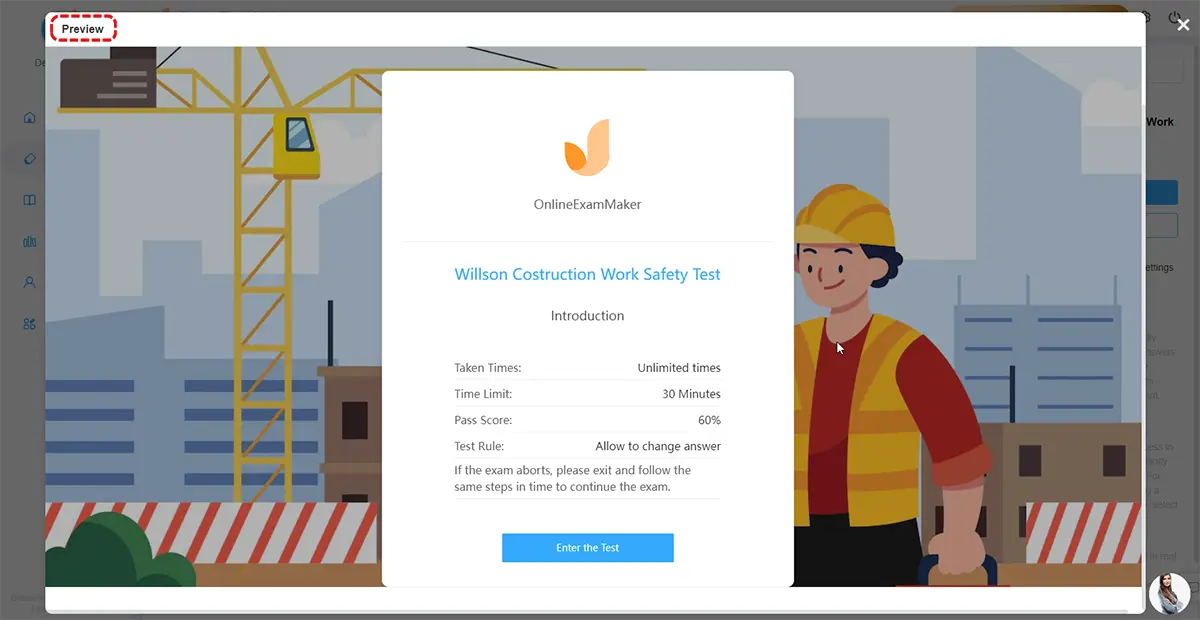
Log in to your OnlineExamMaker account then click on “Exams” under “Dashboard”; click “+New exam”; type your quiz title, add a brief description, and save.
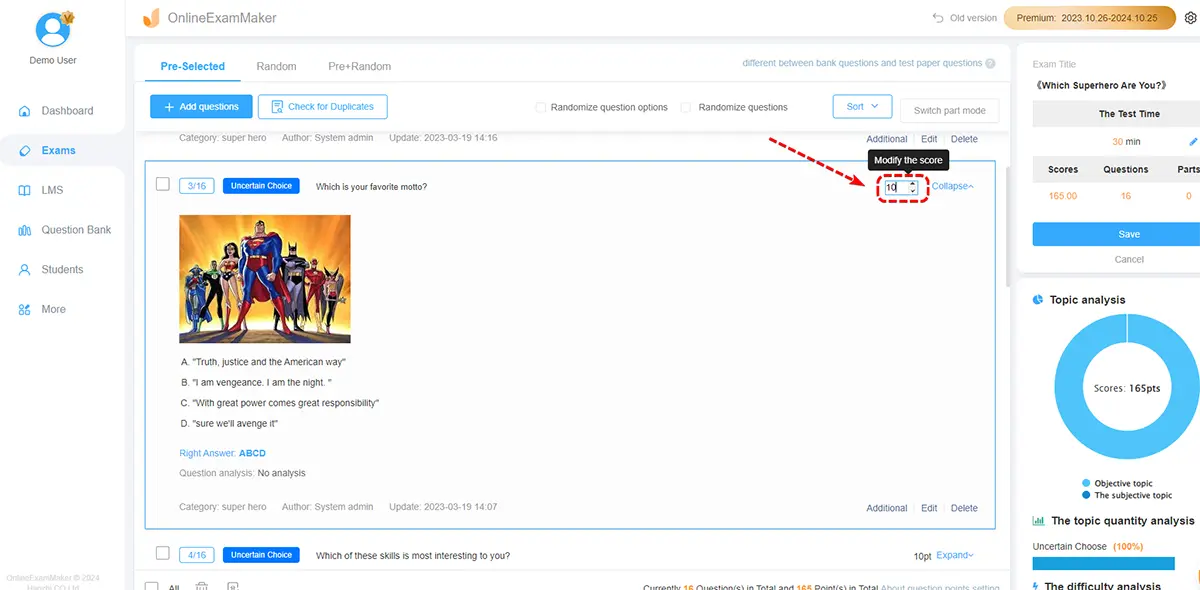
Step 3: Add Quiz Questions
The second step is to make questions, you can use different types of questions like multiple choice, true/false, or short answer. You can also set time limits and difficulty levels for each question to challenge your participants.
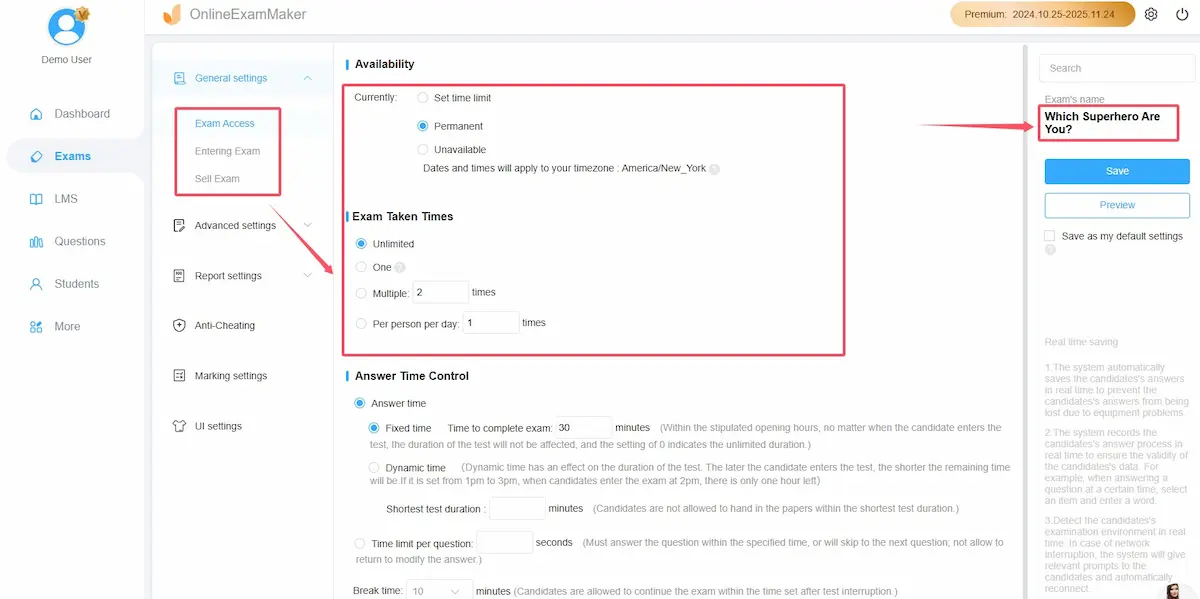
Step 4: Configure Quiz Settings
After putting all the questions, you can adjust the quiz settings like making questions in random order or letting people see their scores immediately. Include clear instructions and then click on “Save” at the bottom.
You may want to add pictures, videos, or sound clips. These can make it easier to understand difficult ideas and make the questions more fun!
Step 5: Share Quiz Link
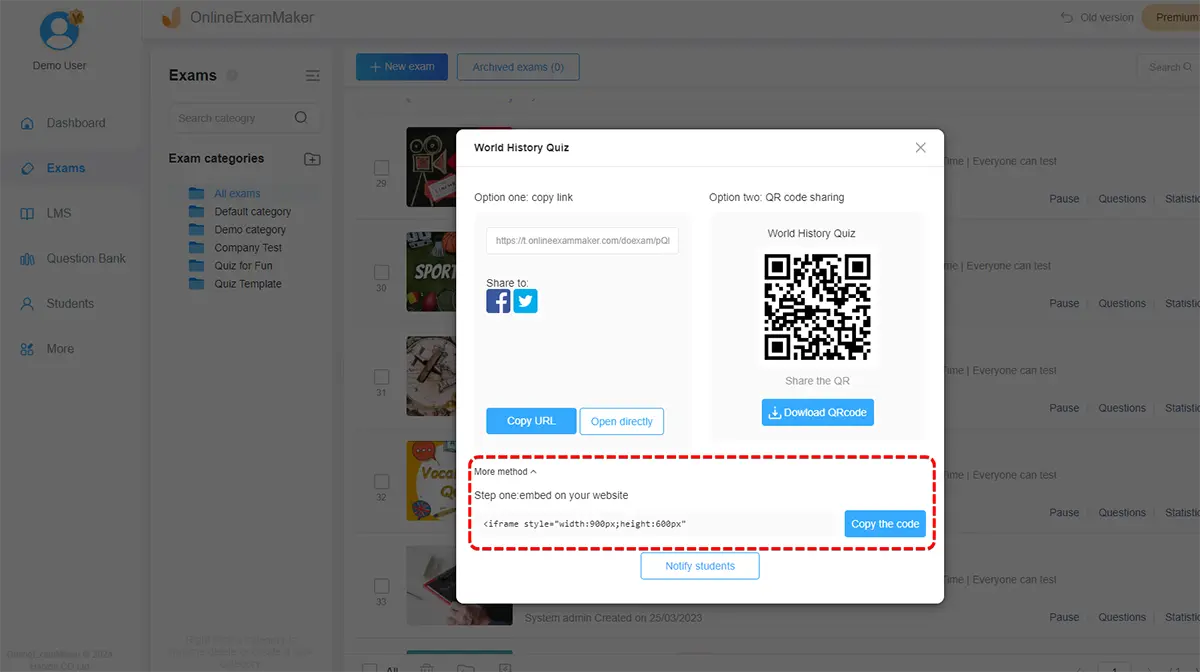
Finally, this is the easiest way to share your Quiz link! Find the quiz to be shared from the “Exams” section, then click “More”; and choose “share exam” to find the link or the QR code of the quiz.
Copy the URL link, share your quiz on Facebook or Twitter, or download the QR code. Share these access with your audience through email or personal message then you’re good to go.
Step 6: Embed Quiz into Website
It is also possible to embed the quiz into website, just simply copy and insert a few lines of embed codes to display your online exams on your website or WordPress blog.
Create Your Next Quiz/Exam with OnlineExamMaker
Sharing a Quiz link has never been this easy, especially with OnlineExamMaker! It’s intently designed to help educators and students to make learning accessible and worthwhile. Explore OnlineExamMaker’s user-friendly features now and see how you will improve on making exams, assignments, and quizzes and sharing access through links with your students in just no time!