Do you want to have more interactive learning in class? Media content is here to help you improve your teaching methods to explain, illustrate, and give your students a first-hand experience of your subject matter. Embedding media content on your website is through a block of HTML placed on your page that renders a visual and audio element – photo, video, recording, sound, social media post, form, file, or page from another source or website. Embedding content also makes your website visitors stay longer on your page because they won’t be redirected to the other site. This could be challenging sometimes but with the simple instructions to follow, you will surely enjoy adding media content as your instructional materials. Let us explore now how to embed media content in Canvas LMS.
- How to Embed Media Content in Canvas LMS?
- OnlineExamMaker: An Alternative Way to Create Courses with Multimedia
- How to Embed Media Contents in OnlineExamMaker?
How to Embed Media Content in Canvas LMS?
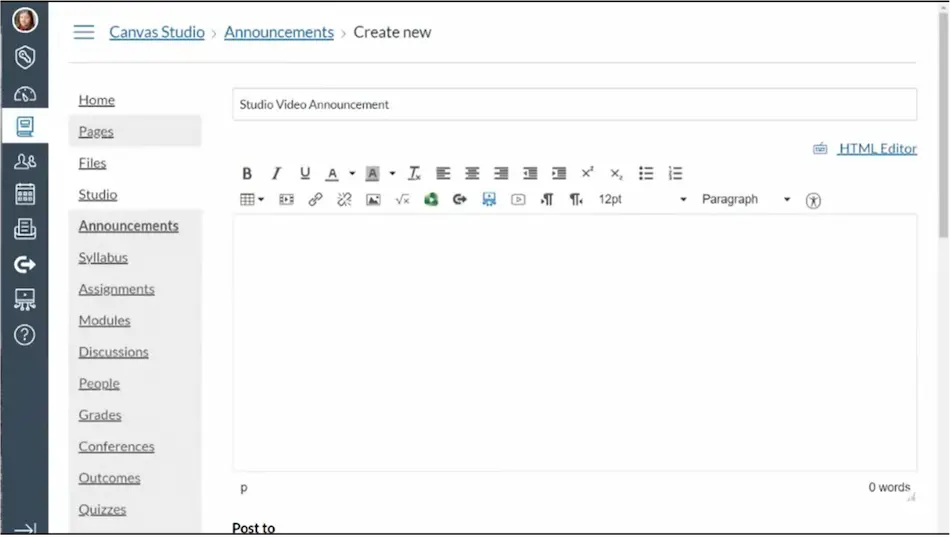
Step 1:
The first step is to log in to your Canvas account and then choose where you like to embed media content. Let’s say you want to upload a video for an “Announcement”, on the left side of the icons under your account choose “Announcements; click on “Create new”; and fill in the announcement’s information.
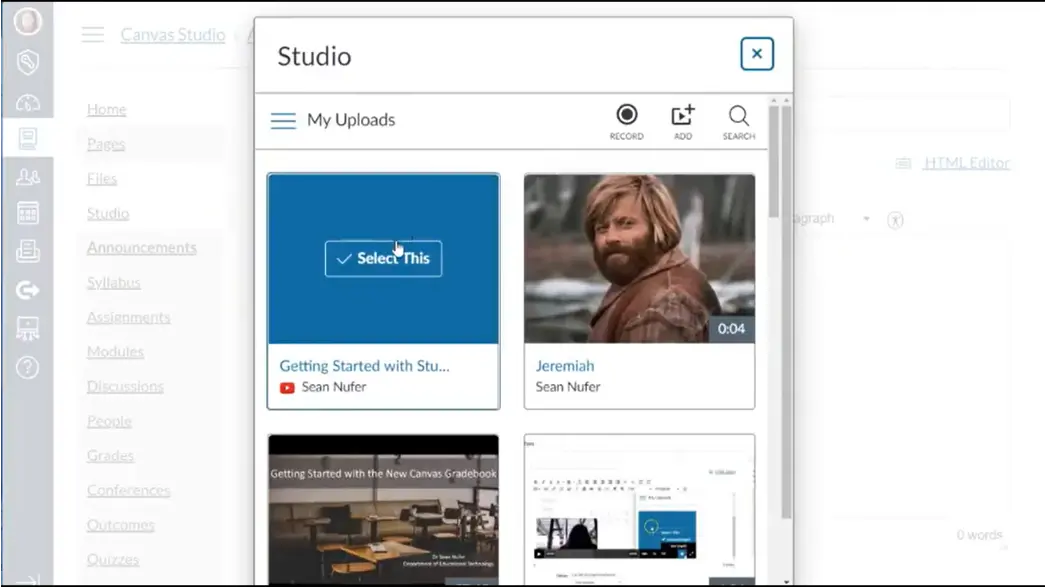
Step 2:
Once you completed your announcement’s info, go to the media source icon to embed a video. Then, choose the video you want to embed in your announcement. There you have options where to get your video: your uploads, record, add, and search.
![]()
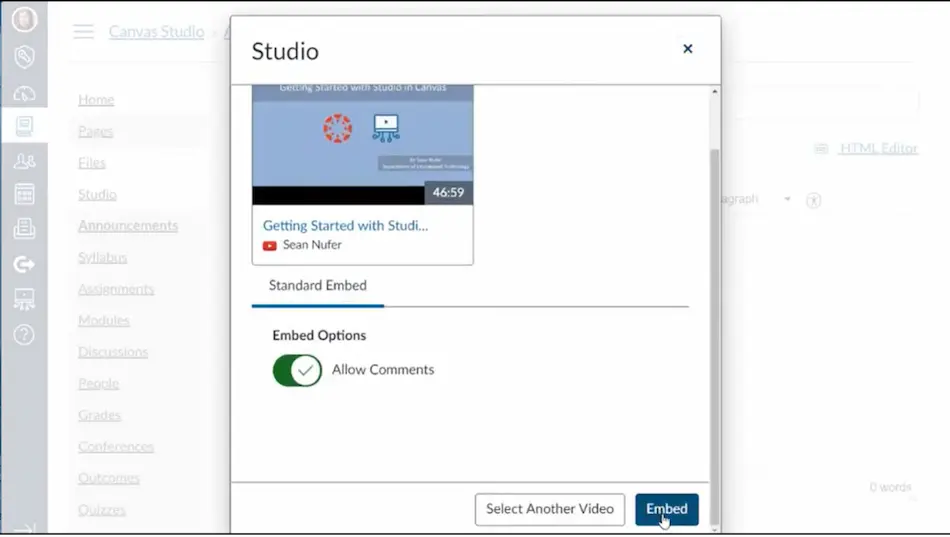
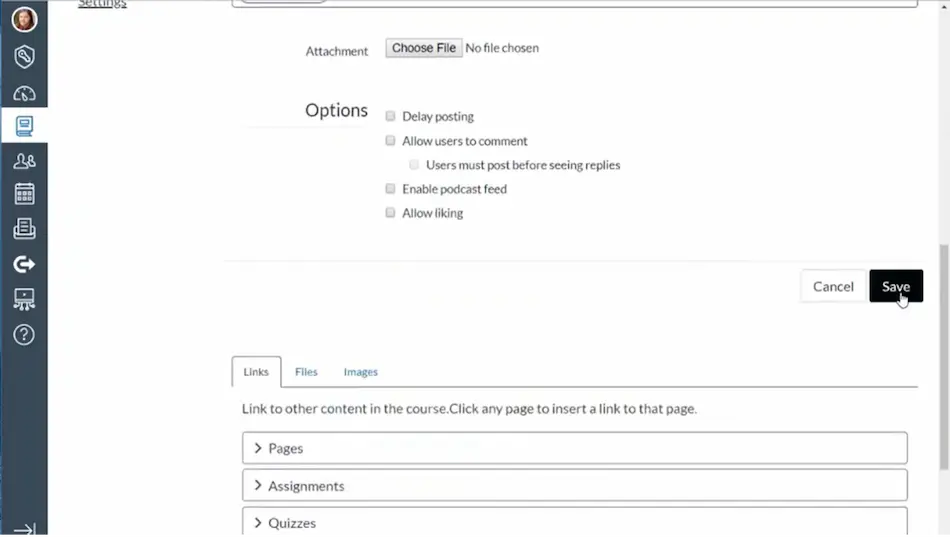
Step 3:
The last steps are to tap on “Embed” and then click on “Save” after selecting an option that is included in the announcement.
You can explore more with the media options in Canvas that are suitable for your method of instruction, you just need to look at the icons for each media content and select from there.
Isn’t this cool? You can now have a one-stop shop for your learning experience with all the diverse media content even websites which you can attach to Canvas features.
OnlineExamMaker: An Alternative Way to Create Courses with Multimedia
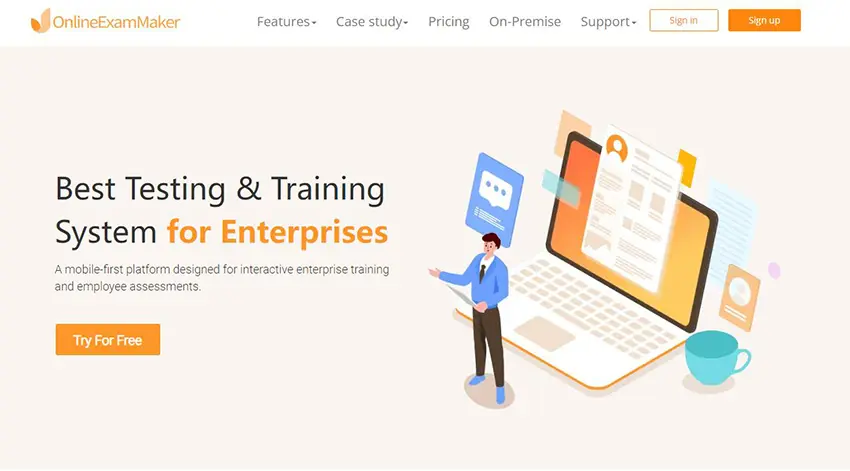
Teaching students has really been made easy by the available online learning platforms! From a traditional approach now to a vast array of media content that can help teachers and students have the best education they could ever have. Here’s another way to embed media content in this new online learning platform which is called “OnlineExamMaker”. Let’s talk about the steps to easily embed your media resources into OnlineExamMaker.
Create Your Next Quiz/Exam with OnlineExamMaker
How to Embed Media Contents in OnlineExamMaker?
Step 1:
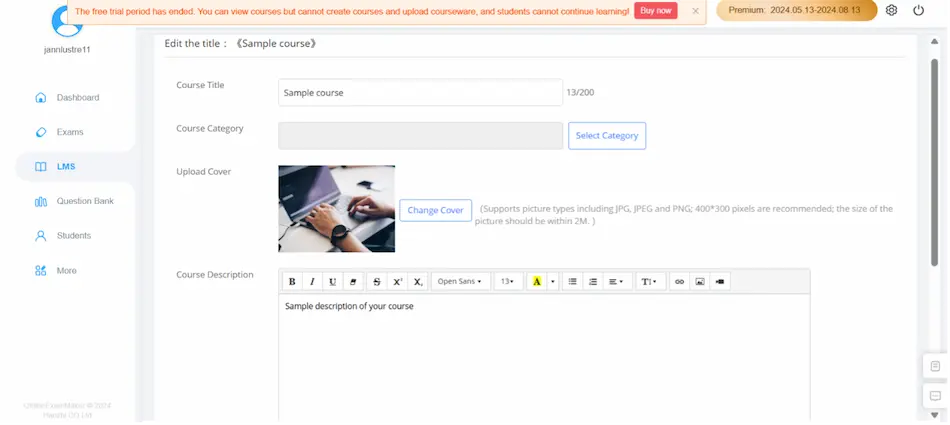
The first step is to log in to your OnlineExamMaker account; then go to the “Courses” to embed your content into.

Step 2:
Next is to choose the course where you like to embed content. Let’s say, for instance, you want to embed a video in the description of your course. What you would do is to click on the icon on the leftmost of the “Course Description” tabs.
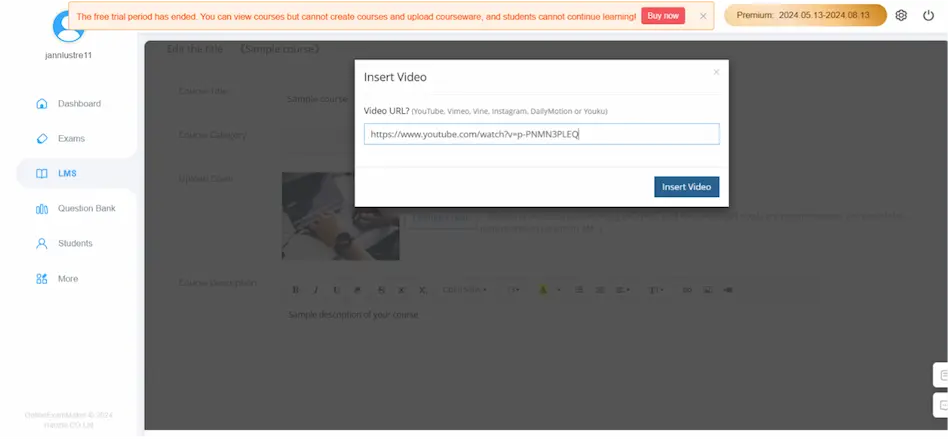
Step 3:
After clicking on the video icon, you will paste the URL of your chosen video from the website you like, and then hit the “Insert Video” button.
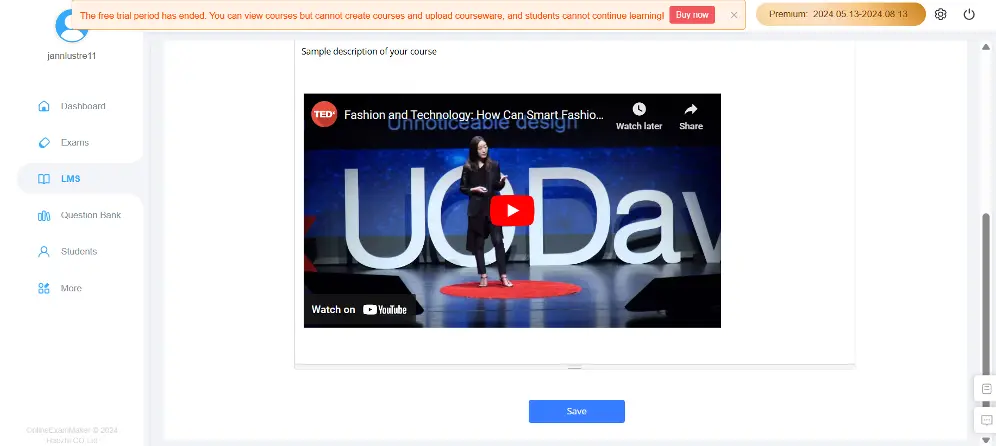
Step 4:
When you’re finished inserting the video, make sure to “Save” it, then complete the details of your course – type the title its title, and descriptions.
Benefits of Embedding Media Contents to Your Platform
Increases Engagement in Learning
Learners have different learning styles that must be met by the different media tools you can use. There are available resources to boost their learning interactions. This could be through videos, infographics, educational songs and lectures, fun games, relevant articles, and many more.
Saves Your Website Bandwidth
One of the reasons why media content won’t load fast is because of the heavy bandwidth it contains when uploaded. Embedding your media content would lessen its bandwidth for it will load from the sharing platform. This will reduce traffic as you access media content while your student stays on your website.
Avoid Copyright Violations
When you upload any content on your website without permission from its owner you will surely get a copyright notice. On the other hand, embedded media content allows you to attach almost everything to your website, so you won’t need the owner’s permission because you are already giving credit to the source.
Embedding media content makes a big difference in the education scene because these tools make your life so much easier, so instead of uploading content, you may now embed your chosen media content to an online learning platform! The cool features of OnlineExamMaker are readily available and accessible on the Internet!