Google Docs was developed by the well-known firm Google, which offers a range of other tools like text editor that used globally. As a product of Google, most of the features in Google Docs are self-integrating from other services provided by Google, making this tool very adaptable for users who like to operate inside the Google ecosystem. Google Docs is also a strong tool for creating effective quizzes and is free of cost.
For many people, Google Docs is a favorite because of its clean layout, which allows one to easily create quizzes and move around within the program. It also supports long—and short-answer forms, as well as multiple-choice questions. Besides, there are plenty of ready-made templates that can be easily used to create tests and quizzes tailored to your needs. Eventually, with its customization of color palette, specifically font color and even styles, Google Docs becomes quite adaptable to any favorite theme.
- Benefits of Using Google Docs for Quiz Creation
- A Step-by-step Guide to Creating Your Quiz in Google Docs!
- Go Better by Using OnlineExamMaker!
- How to Make An Interactive Quiz Using OnlineExamMaker?
Benefits of Using Google Docs for Quiz Creation
There are several advantages to using Google Docs to create quizzes, making it very useful for trainers, educators, and anybody else creating an evaluation.
The following are the first benefits that can be derived from using Google Docs in creating quizzes:
Anybody can access a document using Google Docs at any time. This would be useful in quiz forms and questions when instructors or training teams need to collaborate. With real-time collaboration, all the edits are shown immediately to the participants, so it encourages good teamwork with quick feedback.
There are many ready-made templates and formatting options already provided in Google Docs that help create balanced and beautiful tests. You can either follow yours or the other prepared templates to ensure uniformity in style and layout for your quizzes. Tools for optimization will help change fonts, colors, headers, footers, and many more elements to give unique differences to your quizzes.

Google Docs will scale for any need, whether you are creating a quiz for a huge online course or a small, face-to-face classroom. This type of software will not cause problems with both small and full-scale quiz creation projects since it can maintain papers of different sizes and support many collaborators at once.
Strong security safeguards are available in Google Docs to safeguard your documents. It offers choices for two-factor authentication, encryption, and safe data centers. To make sure that only people with permission may read or edit your quizzes, you can also manage access levels.
Since Google Docs is a cloud-based application, it works on any device connected to the internet. That means you can open, create, edit, or view quizzes anywhere: at home, in the office, or on your mobile device. It supports several devices, such as tablets, smartphones, laptops, and desktop computers.
A Step-by-step Guide to Creating Your Quiz in Google Docs!
Google Docs is one of the most flexible and useful for building tests that cater to various needs different instructors and trainers have. Creating a quiz on Google Docs with or without bullets is quite easy; this step-by-step guide details how to do it.
Step 1: Access Google Docs
Open Google Docs in your web browser to Create a quiz. Log in to your Google account if you have not already signed in. This will open Google Docs. Google is an integrated workspace that hosts various productivity applications that are accessible from anywhere on any device with an internet connection.
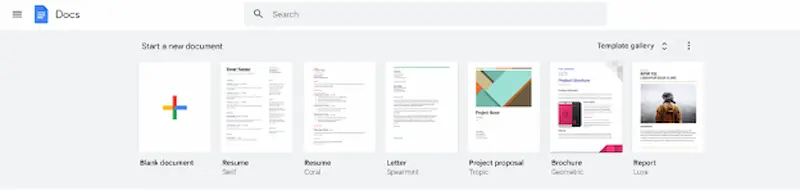
Step 2: Start a Google Docs
After logging in to Google Docs, click the + button at the upper left corner of the dashboard. Alternatively, if you’re going to start your quiz document from scratch, choose Blank from the other template options.
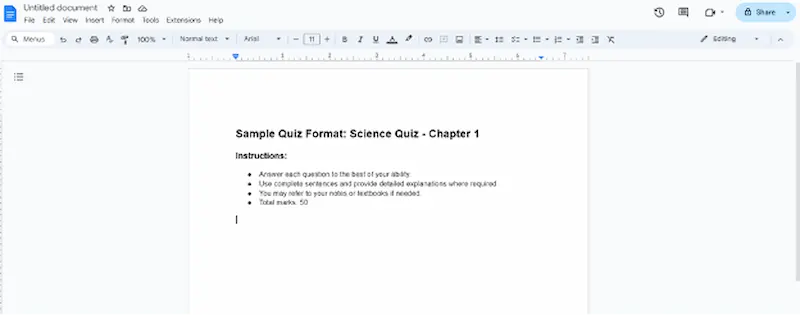
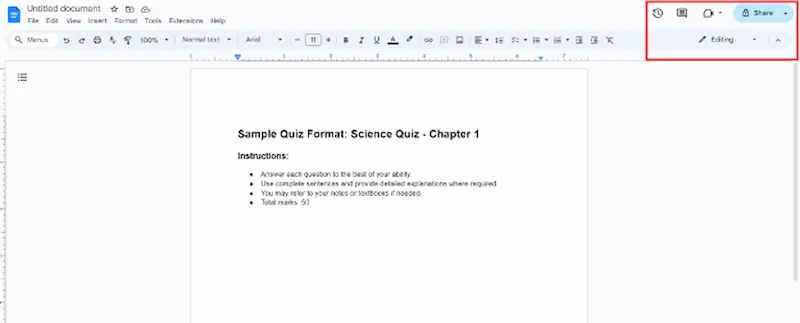
Step 3: Set Up Your Quiz Format
Head your quiz document with a title or header that allows the user to know what to expect. This heading should include the specific subject and scope of the quiz, such as which chapter or topic is covered. Below the headline, place any instructions or guidelines pertinent to the quiz taker.
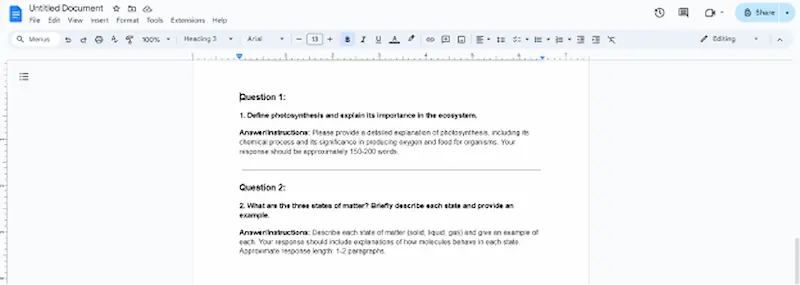
Step 4: Formulate and Create Quiz Questions
Begin writing out your quiz one question at a time. Each of the questions must be simple. Format your questions and answers using Google Docs in such a way that everything is neat, clear, and separated visually. Consider using headings, bolding, or numbered lists rather than bullets to separate several different sections or question types.

Step 5: Add Answer and Instructions on Answering
Place an answer, choice, or instructions after each question as appropriate to the question type. State explicitly all possible alternative answers for multiple-choice questions. For short answer and essay questions, indicate the form and approximate length of a desirable response. Use indentation or separate paragraphs, not bullets, for clarification of an answer.
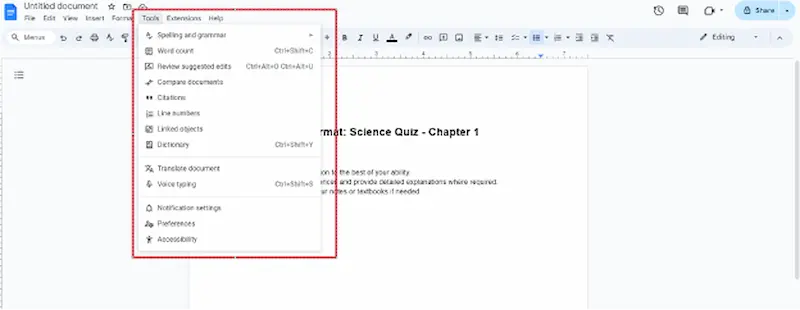
Step 6: Add Media Types to Your Google Docs
You can insert pictures, graphs, or charts into your quiz if those are required for the understanding of the text or the support of questions using the top menu in the Google Docs interface. Make sure that the graphics you add are relevant to the test questions and that the reader clearly understands the subject matter.

Step 7: Proofread Your Question!
Check each question for accuracy, clarity, and applicability. Check the spelling and grammar in the whole quiz. Consider the general structure and flow of the quiz to ensure the information presented is clear and logically sequenced. Take this as an opportunity to revise any formatting or instructions that require correction so that test takers understand what is expected out of them.
Step 8: Share Your Quiz
If you’re happy with the overall format and content of your quiz, you can share it with others for distribution or feedback. At the top right of the Google Docs interface, click Share. To share the quiz with others, enter their email addresses, then click on what rights you would like them to have, for example, See only Remark Modify.
Go Better by Using OnlineExamMaker!
OnlineExamMaker is a powerful yet easy-to-use platform designed to conduct online exams efficiently. It is designed for trainers, teachers, and organizations looking to deliver assessments to candidates and students alike. With the help of this tool, users can easily create custom exams with multiple-choice, true/false, and essay questions through its given interface.
It offers various powerful features, from auto-grading to detailed analytics and examination environment security, to ensure that there is ease and integrity. OnlineExamMaker also offers multimedia elements, whereby test-taking can be more enriching and engaging. Whether they are academic tests, professional certification exams, or employee training assessments, OnlineExamMaker has a solution to administer and experience online exams comprehensively.
Making an online quiz with OnlineExamMaker will require several steps to have your quiz properly set up and engaging for your participants. The step-by-step approach in detail is as follows:
Create Your Next Quiz/Exam with OnlineExamMaker
How to Make An Interactive Quiz Using OnlineExamMaker?
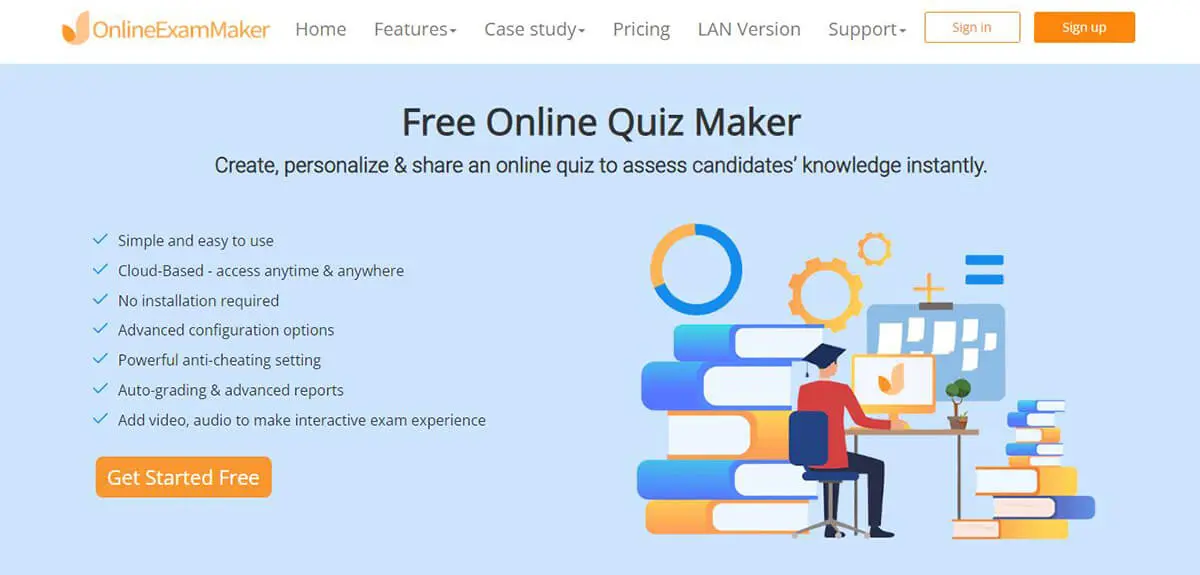
Step 1: Access OnlineExamMaker
First, open any web browser like Chrome, Firefox, or Safari and go to OnlineExamMaker. If you had signed up earlier, then log in with your username and password. If you are new to OnlineExamMaker, click on “Sign Up” and fill out the form accordingly.
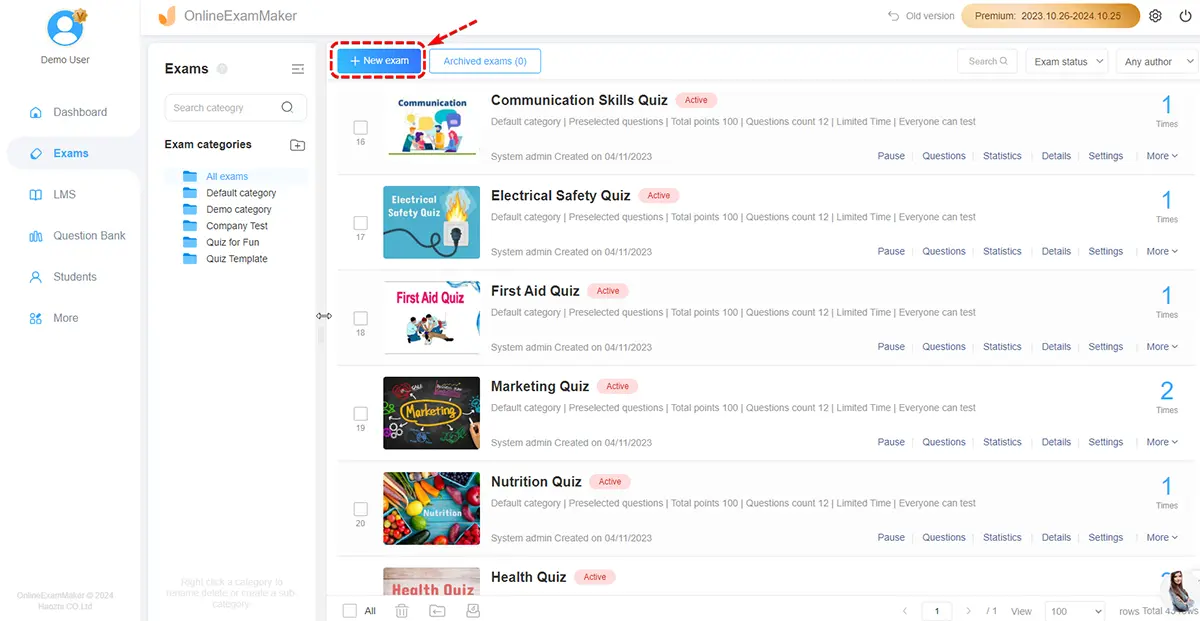
Step 2: Create a New Quiz
Upon successful login, you will be taken to the dashboard view. Click “Create Exam” or “New Exam” to get started creating a new quiz. You’ll then be asked to fill in the general details of your quiz, including the title and description of what the quiz is, along with any special instructions that should be given to participants to let them know the intent and guidelines of the quiz.
Step 3: Add Questions
Add questions to your quiz by clicking “Add Question.” You can then select multiple choice, true/false, short answer, essay, or the type of question you would like to have. Type the question you want to ask in the text box provided. For multiple-choice or checkboxes, enter the possible answer choices in the fields provided. Make sure to indicate one correct answer among the choices and assign correctly pointed answers with it so that it will be graded correctly.

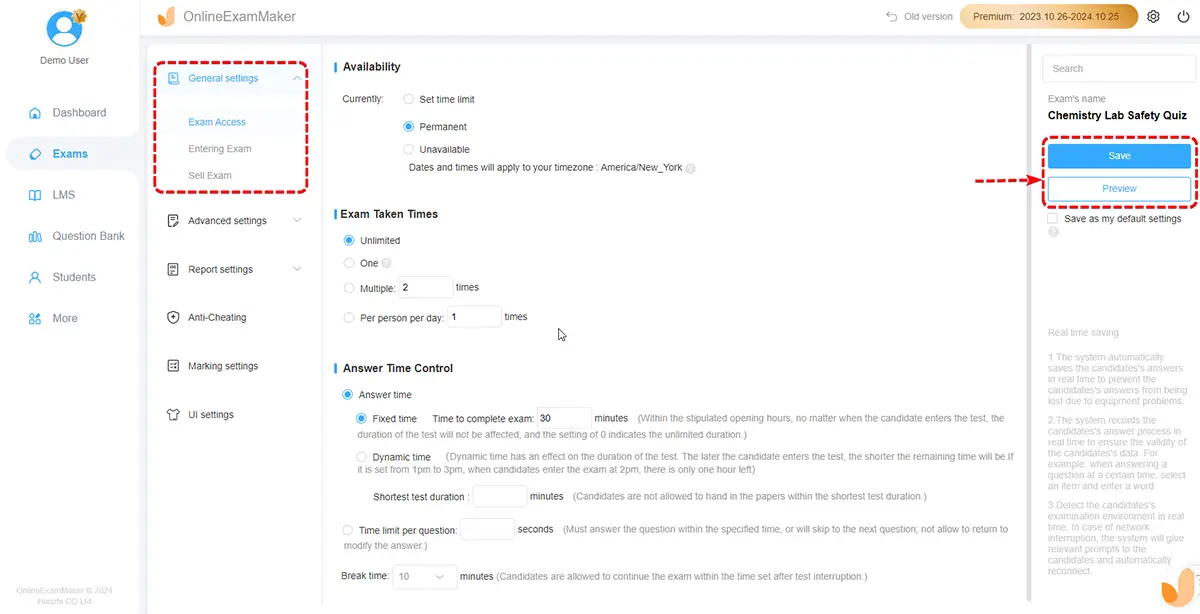
Step 4: Quiz Settings Customization
On the “Settings” or “Quiz Settings” link, there is a plethora of settings to customize your quiz. You could set the time that it will take for the quiz, allow or restrict moving to any question, and randomize the questions for the elevation of security and fairness. At the same time, you will be able to configure some security features like browser lockdown, IP restriction, and proctoring, which restrain cheating within the quiz.
.
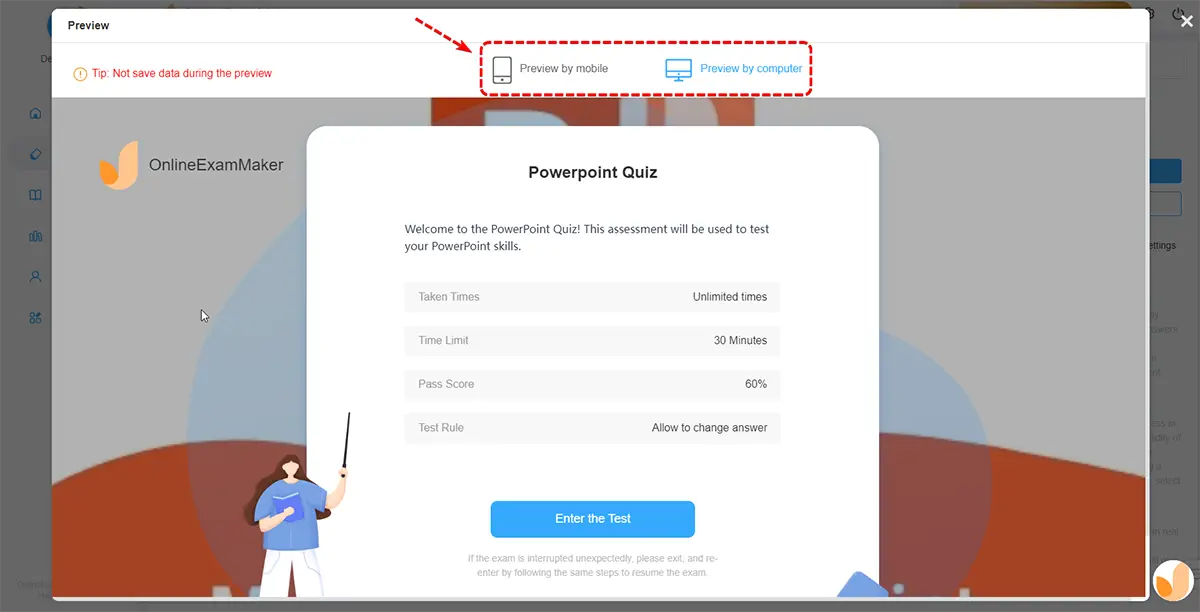
Step 5: Preview and Test
Finally, before you settle on your quiz, click “Preview” to view what the participant will actually see. This helps one to double-check that the questions are all loading properly and rendering correctly. You may also want to take the quiz yourself or forward it to a colleague to test and find out any problems like misspellings, confusing instructions, or technical issues.
Step 6: Publish the Quiz
Once you are completely satisfied with your quiz, hit the “Publish” or “Save and Publish” button to publish it—to make it live—for participants. Enter the start and stop dates and times of the quiz, specifying when it will become available. Apart from that, mention who can access your quiz: public, restrict access to, or send email invitations with only the participants named.
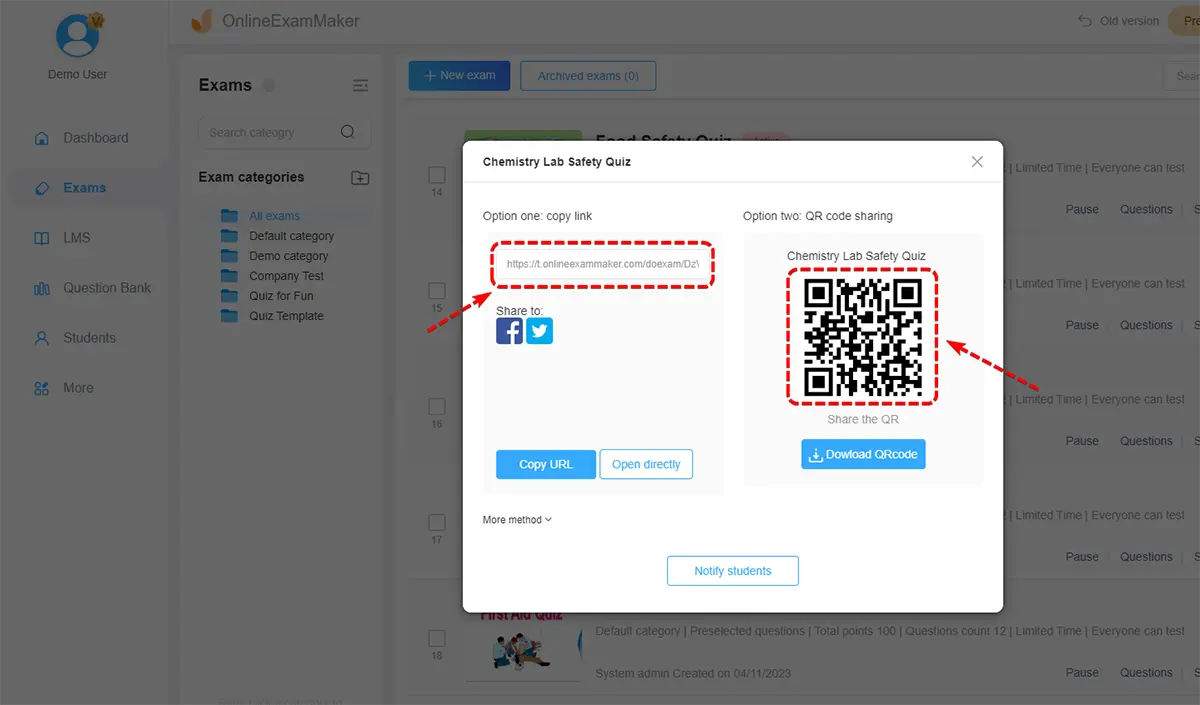
Step 7: Share the Quiz
Share the link of the quiz with participants through email, social networks, or on pages. You may take the embed code offered by OnlineExamMaker and put it on your site, learning management system, or any other channel of this nature. Through this method, the quiz will reach your audience.
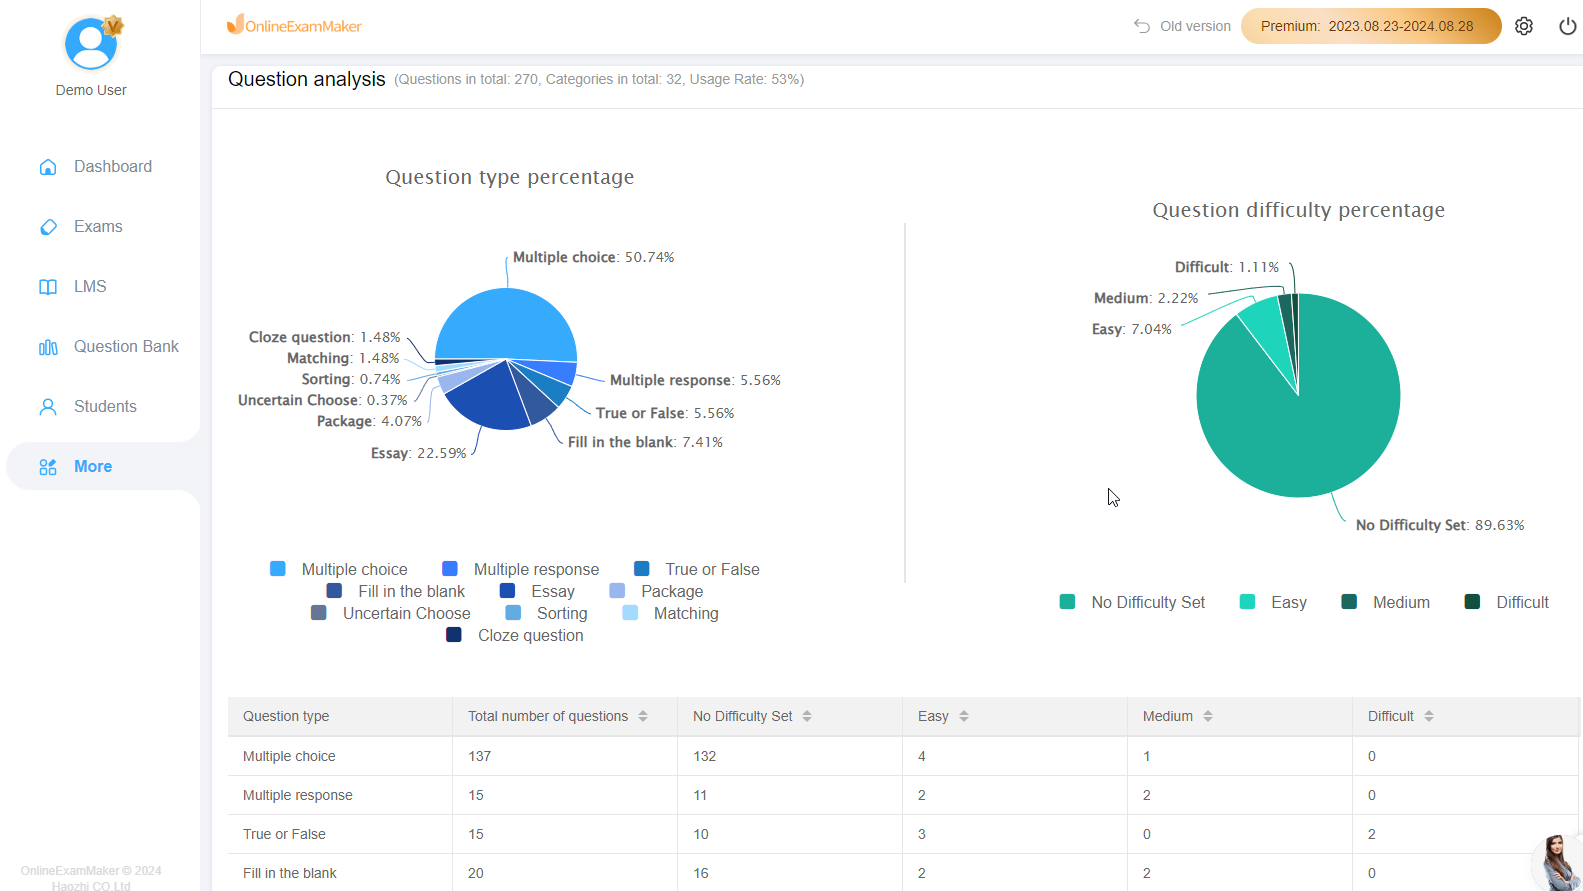
Step 8: View Participant Responses and Result Analysis
Monitor the progress and submissions in real time from within the dashboard. You can use this to track whether participants have engaged or completed an activity. Get into detail with the reports summing up individual and overall performance, outlining how well the material was understood. Results and data can then be further analyzed by exporting these into CSV or Excel files to keep records or share them with relevant stakeholders.
Conclusion
Creating a quiz online is now the modern way of conducting quizzes for students and quiz takers alike; thus, choosing the right software app will make the process easier and much more productive as a teacher or proctor. Google Form is a formidable tool offering a vast range of tools provided by Google and able to connect, but in terms of specialty in quizzes and capabilities in security and features, we have to favour the OnlineExamMaker as a go-to quiz-making software tool. The OnlineExamMaker specialty in making quizzes is one of the best, as you have a wide range of tools for you to use to customize, personalize, and ensure security. The security of the OnlineExamMaker is one of the go-to features of the user, as well as its ability to ensure the integrity of the quiz, which is a must to ensure accurate assessment and grades for the students. Overall, if you need a specialized quiz or exam-making tool, you can never go wrong with OnlineExamMaker.