Whether you’re a teacher trying to make geography less painful for your students, a trainer looking to reinforce key concepts, or an HR manager who needs to assess employee knowledge, PowerPoint quizzes offer a surprisingly elegant solution. The best part? Once you understand the basic mechanics, you can whip up a quiz faster than you can say “Is Pluto still a planet?”
- Why PowerPoint for Making True/False Quizzes?
- Method 1: The Hyperlink Approach—Classic and Clickable
- Method 2: The Transition Magic—Smooth and Simple
- Creating True/False Quizzes with AI: OnlineExamMaker
- How to Create a True/False Quiz in OnlineExamMaker?
Why PowerPoint for Making True/False Quizzes?
Here’s the thing: PowerPoint wasn’t designed to be quiz software. It was designed to make corporate presentations slightly less excruciating. But that limitation is also its superpower—it forces you to keep things simple.
No complex databases. No server requirements. No “this plugin only works on Windows 7” nightmares. Just slides, shapes, and a bit of creativity. It’s the Swiss Army knife of presentation tools—not perfect for everything, but surprisingly capable when you know the tricks.
The catch? PowerPoint quizzes work best for small to medium-sized quizzes (think 5-20 questions). If you’re building a 100-question standardized test with complex branching logic, you might want to look elsewhere. But for most educational and training scenarios, PowerPoint hits the sweet spot between “ridiculously simple” and “actually useful.”
Method 1: The Hyperlink Approach—Classic and Clickable
This is the OG method. The tried-and-true. The “if it ain’t broke, don’t fix it” approach to PowerPoint quizzes. It uses hyperlinks to navigate between slides, creating an interactive experience without a single line of code.
Setting Up Your Foundation
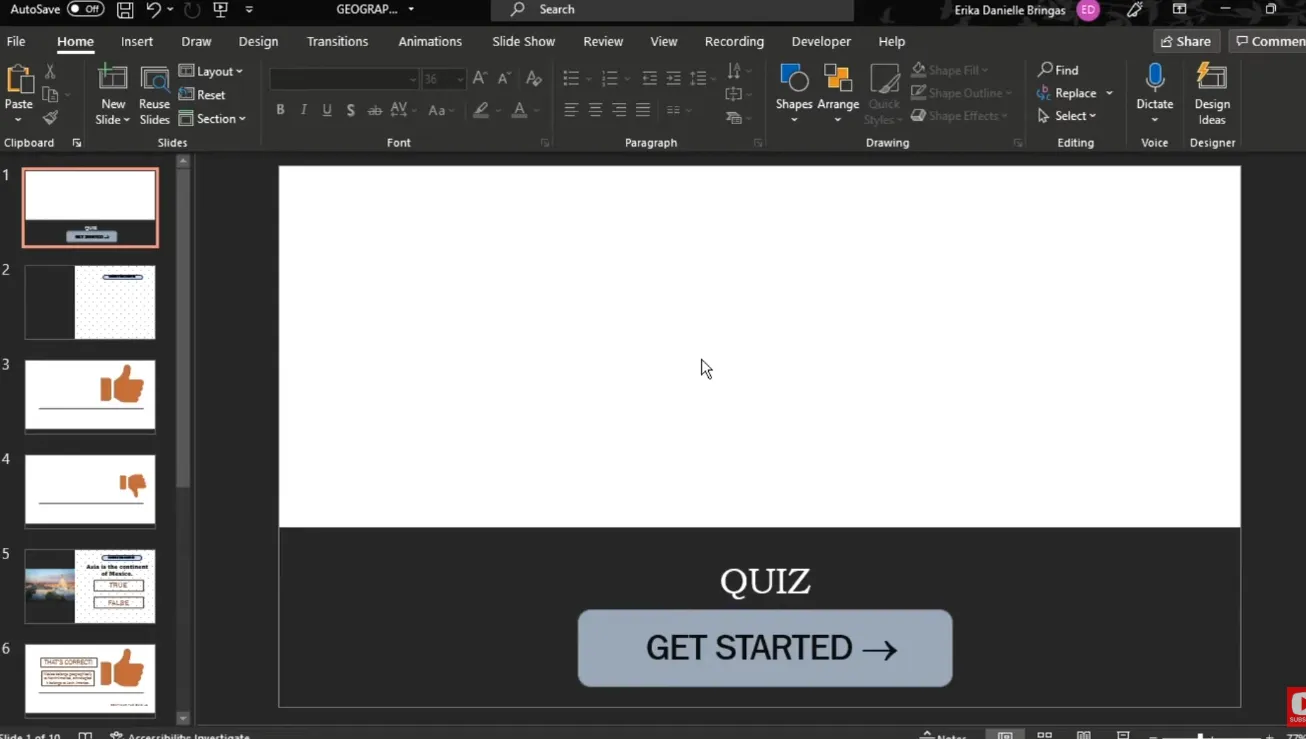
Start with a clean slate. Open PowerPoint, create a new presentation, and begin with your title slide. This is your quiz’s front door—make it inviting but not overwhelming. Add a title like “Geography True/False Challenge” or “Test Your Knowledge: Science Edition.” Keep it straightforward.
Now here’s where it gets interesting. For each question, you’ll need three slides:
- The question slide with True and False options
- The “Correct!” feedback slide
- The “Incorrect” feedback slide

Building the Question Slide
Create a new slide and type your question in the title box. Something like: “The Earth revolves around the Sun.” Then, navigate to Insert > Shapes and select a rectangle or circle—whatever tickles your fancy. Draw two shapes and label them “True” and “False.”
Pro tip: Make these shapes large enough to click easily. Nobody wants to squint and hunt for a tiny button during a timed quiz.

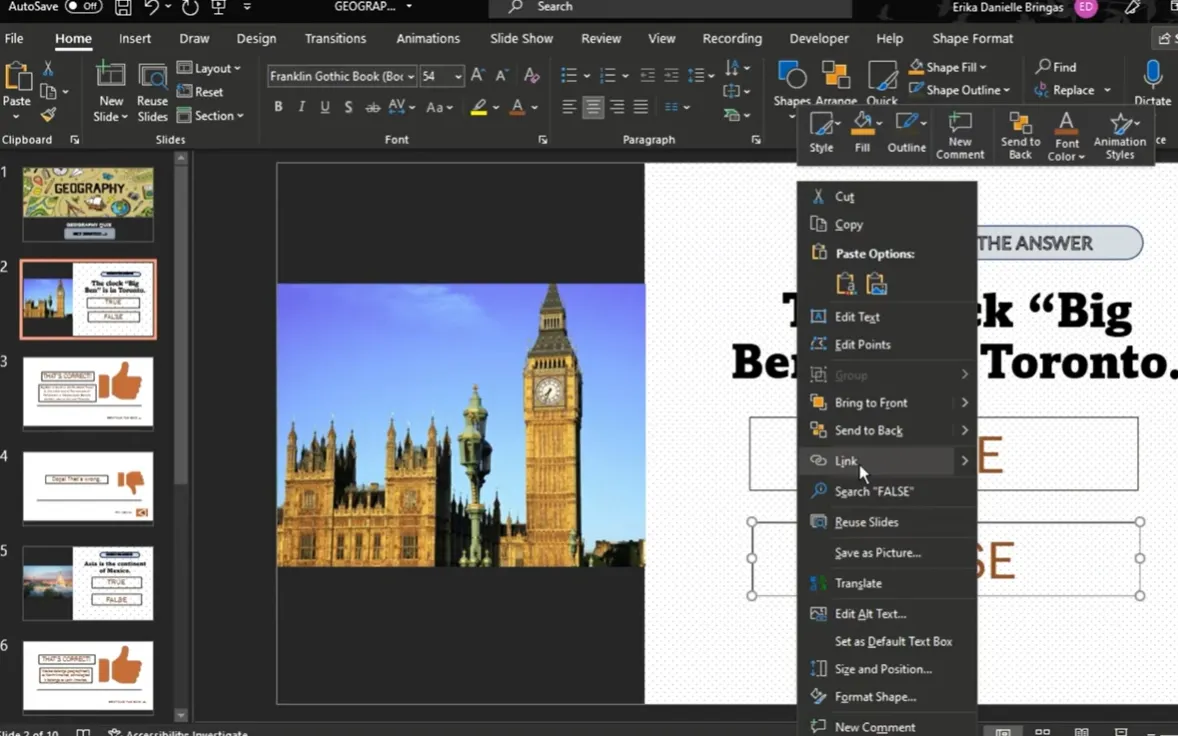
Creating the Hyperlink Magic
Right-click on your “True” shape and select Hyperlink. In the dialog box, choose “Place in This Document” and select the appropriate feedback slide. If “True” is the correct answer, link it to your “Correct!” slide. If it’s wrong, link it to your “Incorrect” slide. Repeat for the “False” shape.
Designing Feedback Slides
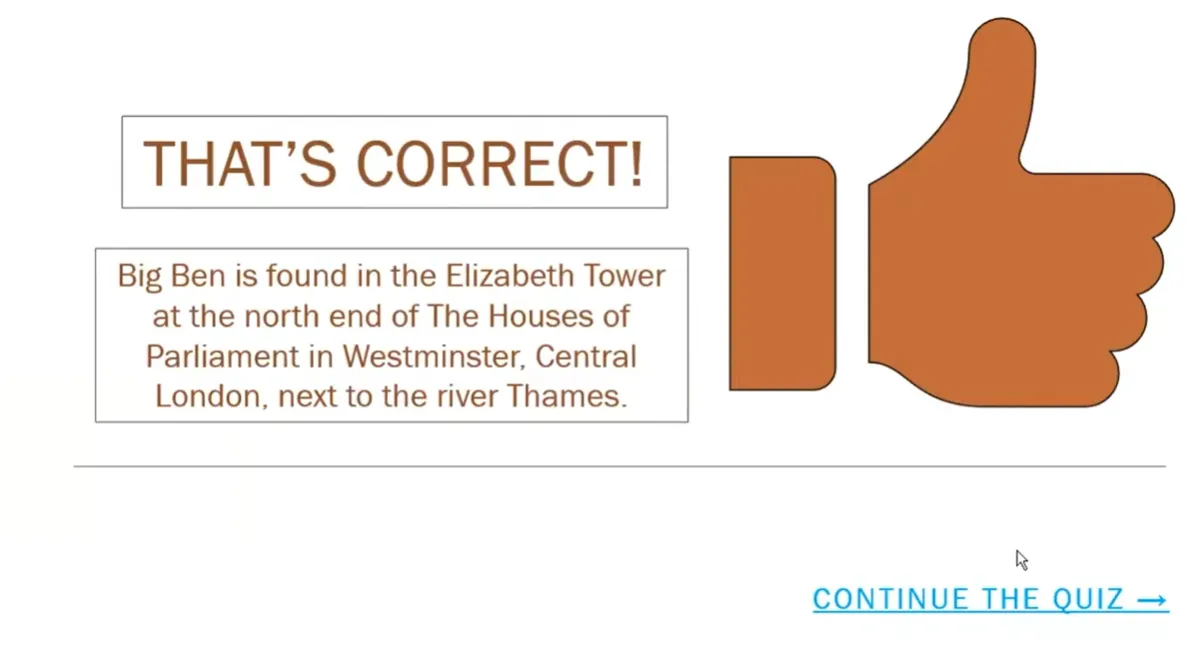
Your “Correct!” slide should be encouraging. Add a green background (the universal color of success), throw in a checkmark icon, and include text like “Well done! That’s right!” Add a “Continue” button that links to the next question.
The “Incorrect” slide needs a different approach. Use red or orange, add an X icon, and give them another shot. Create a “Try Again” button that hyperlinks back to the question slide.
Navigation Flow
Here’s where organization saves your sanity. Use PowerPoint’s Insert > Action Buttons for navigation. These pre-built buttons come with hyperlink functionality baked in. Select “Action Button: Custom” and draw it on your feedback slides. Set it to hyperlink to “Last Slide Viewed” for the “Try Again” button, or to the next question for the “Continue” button.
| Slide Type | Button Label | Hyperlink Target |
|---|---|---|
| Correct Feedback | “Continue” | Next Question Slide |
| Incorrect Feedback | “Try Again” | Last Slide Viewed (back to question) |
| Final Question | “Finish Quiz” | Results/End Slide |
Testing Your Quiz
Before you unleash this masterpiece on unsuspecting learners, test it. Press F5 to start the slideshow from the beginning. Click through every possible path—correct answers, wrong answers, the whole nine yards. Nothing deflates quiz excitement faster than a broken hyperlink that sends everyone to slide 47 when they should be on slide 3.
Method 2: The Transition Magic—Smooth and Simple
Now, if the hyperlink method feels too “2005” for you, let me introduce you to the elegant world of Morph transitions. This method creates buttery-smooth animations that make your quiz look professionally designed, even if you’re just winging it.
The Minimalist Setup
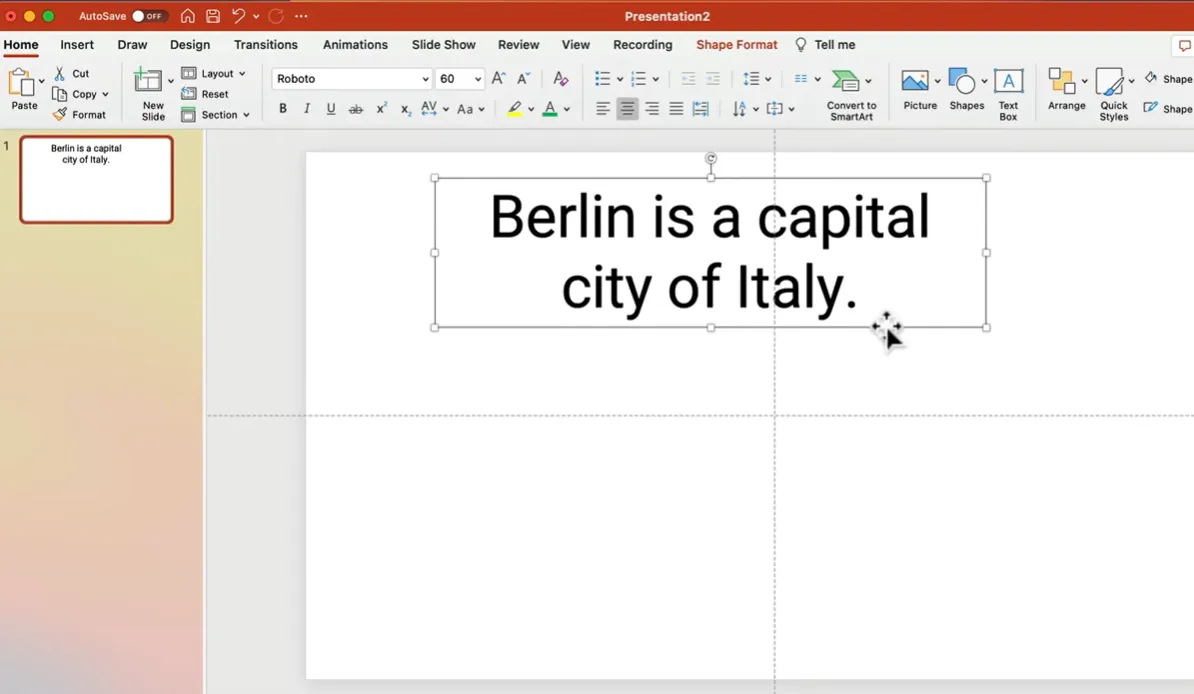
Start simple. Create a slide with your question at the top. Then, insert two rectangles covering the bottom half of the screen—one for “True” (make it green) and one for “False” (go with red). No fancy gradients, no distracting patterns. Just clean, readable colors.
Type “True” in one rectangle and “False” in the other. Use a bold, simple font—something like Roboto or Century Gothic. Make the text slightly darker than the background for that subtle, professional look.

The Duplicate Trick
Here’s where it gets clever. Duplicate your entire slide (right-click on the slide thumbnail and select “Duplicate Slide”). On this new slide, resize the rectangles to show the correct answer. If “False” is correct, make the False rectangle huge and shrink the True rectangle to almost nothing.

The beauty? You don’t need to worry about animations or triggers. The Morph transition does all the heavy lifting.
Applying the Morph Transition
Select your second slide (the one showing the answer). Go to Transitions > Morph. That’s it. PowerPoint automatically detects matching objects between slides and creates a smooth transformation animation.
When you present, click to move from the question slide to the answer slide, and watch as the correct answer smoothly expands while the incorrect one shrinks away. It’s almost unfairly easy.
Scaling Up
Want five questions? Create ten slides—two for each question. Want ten questions? Twenty slides. The pattern is simple: one slide shows the balanced question, the next shows the answer. Duplicate, modify, repeat.
OnlineExamMaker: Creating True/False Quizzes with AI
Now, let’s talk about the elephant in the room. PowerPoint quizzes are great for small-scale, presentation-style assessments. But what if you need automatic grading, detailed analytics, and AI-powered question generation? What if you’re managing quizzes for 100 students instead of 10?
Enter OnlineExamMaker, an AI exam-making platform that takes the tedium out of quiz creation.
Why AI for True or False Quiz Creation?
Here’s the reality: writing good true/false questions is harder than it looks. You need to avoid ambiguity, test meaningful knowledge, and ensure your “false” statements aren’t misleading. A well-designed AI can generate dozens of quality questions in minutes, complete with varied difficulty levels and topic coverage.
OnlineExamMaker uses natural language processing to:
- Generate contextually relevant true/false questions from your content
- Ensure questions test conceptual understanding, not just memorization
- Provide automatic distractor statements that are plausible but incorrect
- Adjust difficulty based on your target audience
Create Your Next Quiz/Exam Using AI in OnlineExamMaker
How to Create a True/False Quiz in OnlineExamMaker?
Step 1: Sign Up and Set Up
Create a free account at OnlineExamMaker. The interface is intuitive—no 45-minute tutorial required. Click “Create New Exam” and select “True/False Quiz” as your question type.
Step 2: Use AI Question Generation
Here’s where it gets interesting. Instead of manually writing each question, upload your course materials, training documents, or even paste in text. The AI analyzes the content and generates relevant true/false questions automatically.
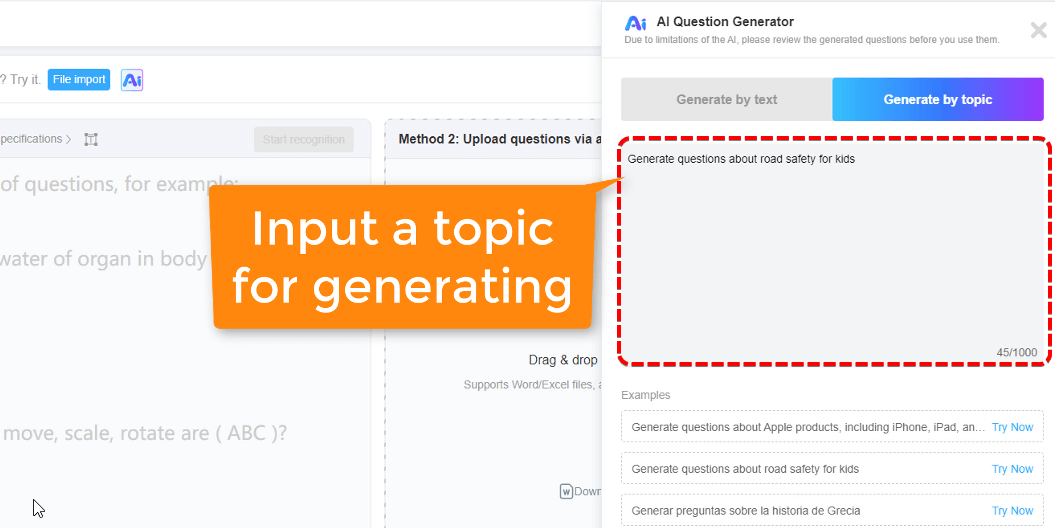
For example, upload a PDF about renewable energy, and the AI might generate:
- “Solar panels convert sunlight directly into electricity through photovoltaic cells.” (True)
- “Wind turbines can only generate electricity during daylight hours.” (False)
- “Geothermal energy harnesses heat from the Earth’s core.” (True)
Step 3: Customize and Refine
Review the AI-generated questions. Edit any that seem unclear or too easy. Add your own questions to fill gaps. The AI handles the heavy lifting; you provide the human touch.
Step 4: Configure Quiz Settings
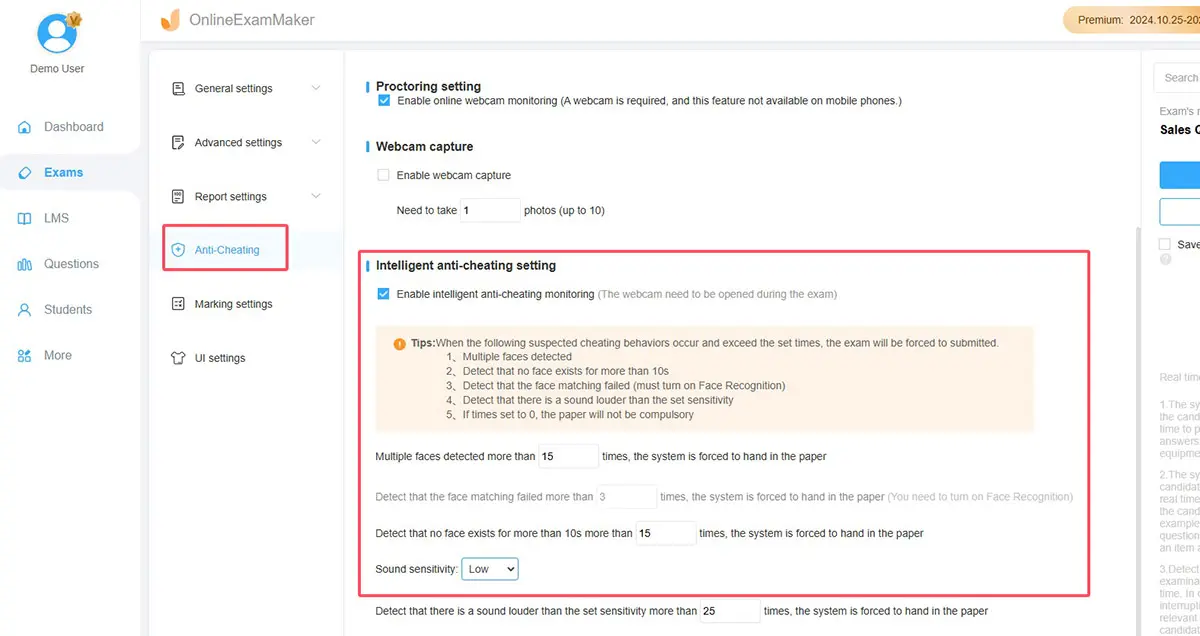
Set time limits, randomize question order, enable or disable backtracking. OnlineExamMaker offers flexibility that PowerPoint simply can’t match.
Step 5: Deploy and Analyze
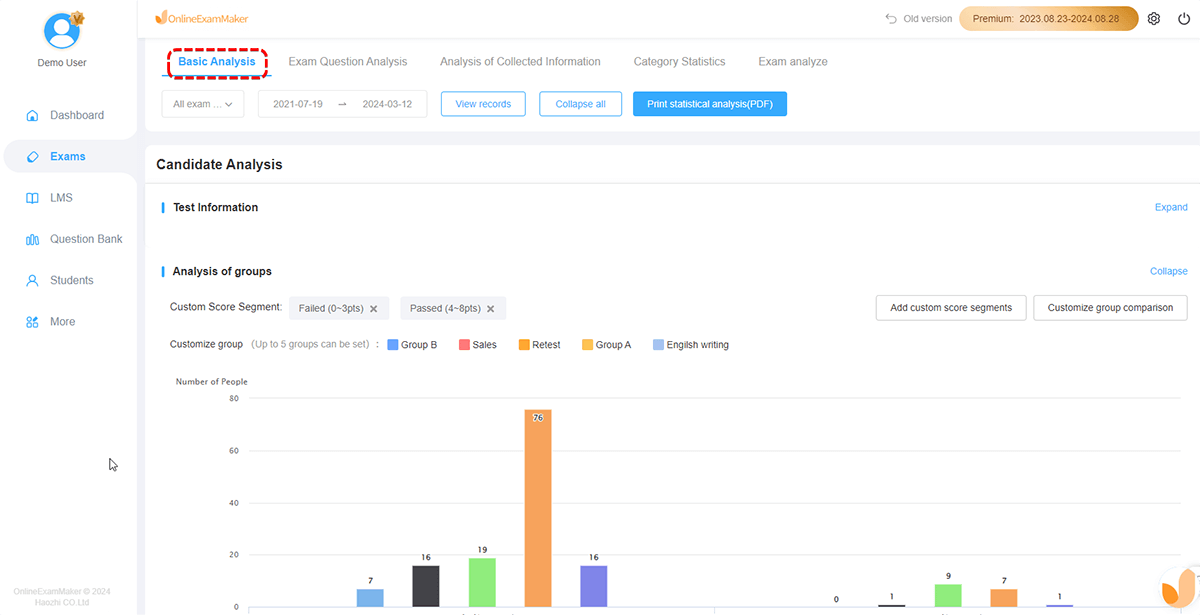
Share your quiz via link or embed it on your website. As responses come in, OnlineExamMaker automatically grades answers and generates performance analytics. You’ll see which questions stumped students, average completion times, and individual learner progress.
When to Use OnlineExamMaker vs. PowerPoint
| Feature | PowerPoint | OnlineExamMaker |
|---|---|---|
| Presentation-style quizzes | ✓ Excellent | ○ Basic |
| Automatic grading | ✗ Manual only | ✓ Automated |
| Analytics and reporting | ✗ None | ✓ Detailed insights |
| AI question generation | ✗ Not available | ✓ Advanced AI |
| Remote testing | ✗ Requires sharing files | ✓ Cloud-based |
| Cost | ✓ Free (with Office) | ○ Freemium model |
The bottom line? Use PowerPoint for live, interactive presentations where you’re guiding learners through material. Use OnlineExamMaker for assessments where you need scalability, grading automation, and robust analytics.
Final Thoughts
Creating a true/false quiz in PowerPoint isn’t rocket science, but it does require a bit of finesse. Whether you go with hyperlinks for simplicity, Morph transitions for elegance, or animation triggers for interactivity, the core principle remains the same: make it clear, make it functional, and make it engaging.
PowerPoint quizzes shine in live settings—classrooms, training sessions, workshops. They’re immediate, visual, and don’t require internet connectivity. But for large-scale assessments, automated grading, or AI-assisted question generation, tools like OnlineExamMaker offer capabilities that PowerPoint can’t match.
The best tool is the one that fits your needs. Sometimes that’s PowerPoint. Sometimes it’s specialized quiz software. Often, it’s a combination of both.
So go ahead—build that quiz. Test your learners. Make learning interactive. And remember: if your quiz is more confusing than the material it’s testing, you’ve missed the point entirely.
Now, true or false: You’re ready to create your first PowerPoint quiz?