Teachers may meet this kind of trouble: static worksheets uploaded to learning management systems feel about as exciting as watching paint dry. Your students click, they download, they forget. But what if assignments could actually move? What if kids could drag, drop, type, and interact right there on their screens?
That’s exactly what interactive assignments in Schoology deliver. And the best part? You don’t need to be a tech wizard to make it happen.
- Why Interactive Assignments Change Everything?
- Two Real Examples That Actually Work
- Creating the Assignment in Schoology
- Beyond Schoology: Creating Even Better Assessments
- Common Hiccups And How to Fix Them
Why Interactive Assignments Change Everything?
Think back to your own student days. Remember those moments when you got to do something instead of just reading about it? That’s the magic we’re tapping into here.
Interactive assignments in Schoology transform passive learning into active engagement. Whether you’re teaching kindergarteners to sort sounds or helping high schoolers reflect on their goals, these activities meet students where they are—on their devices, ready to click and explore.
Two Real Examples That Actually Work
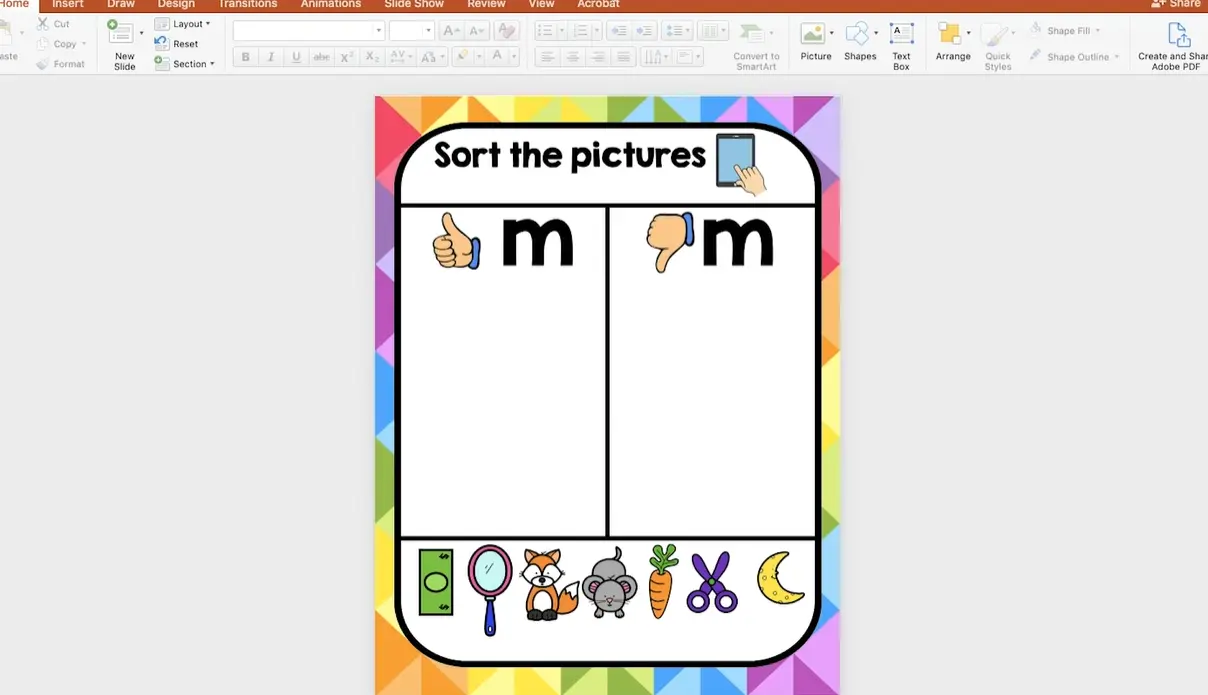
For the Little Ones: Phonics Sorting Mats
Imagine a digital mat with the letter “M” at the top. Around it, various pictures float—some start with M, some don’t. Kids grab each picture with their cursor and drag it to the correct spot. The background stays put (you’ve locked it), but those images? They move wherever tiny fingers direct them.
It’s simple. It’s tactile. It works.
For Older Students: All About Me Slideshows
Getting to know a new class shouldn’t feel like pulling teeth. Instead of paper surveys that get lost in backpacks, try an interactive slideshow. Students type directly into pre-designed slides, adding their favorite foods, hobbies, dreams, and quirks. You get authentic insights. They get to express themselves creatively.
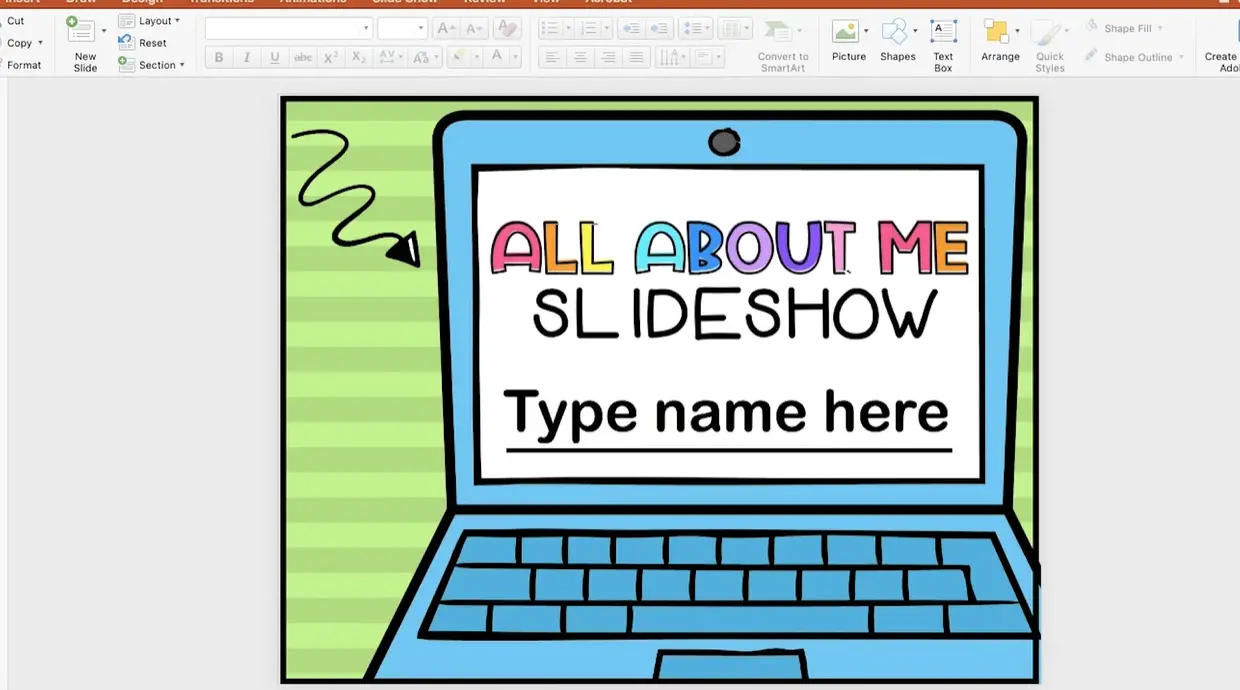
The beauty? You can customize these templates before assigning them. Delete irrelevant slides. Add questions specific to your curriculum. Make it yours.
The Setup: Getting Your Files Ready
Before your students can interact with anything, you need to get your files into the right place. Enter Microsoft OneDrive—your digital filing cabinet that plays nicely with Schoology.
Step 1: Access Your OneDrive
You’ve got two paths here:
- The Waffle Method: Open any Microsoft app (like your email). See that grid icon in the top left corner? Click it. There’s your app launcher, and OneDrive is sitting right there waiting for you.
- The Direct Route: Navigate to Office 365 and click straight into OneDrive.
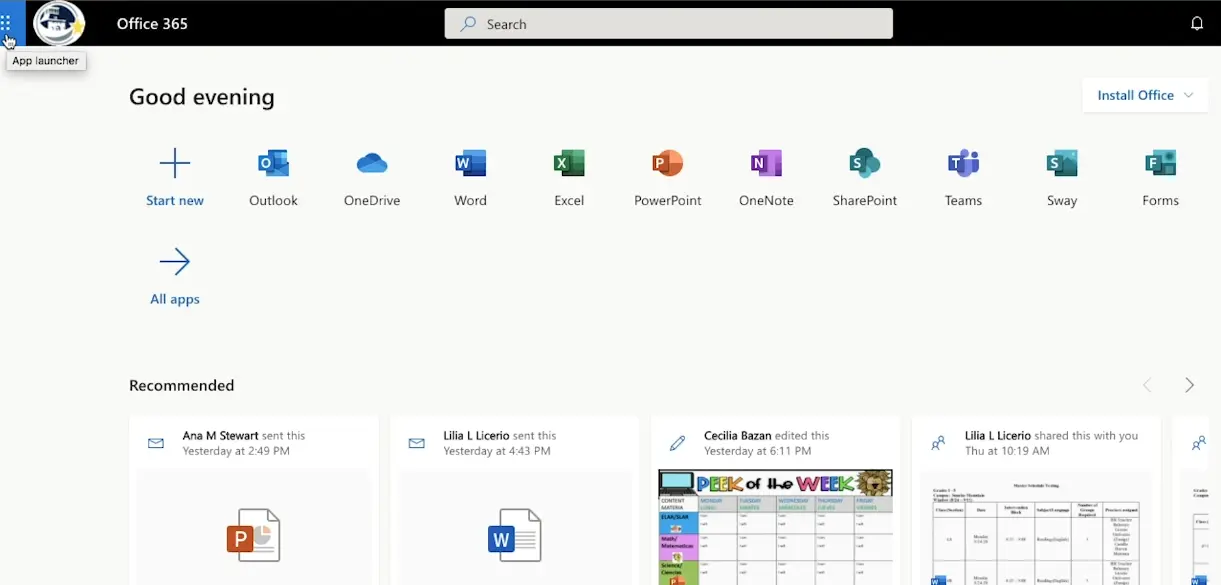
OneDrive is essentially Microsoft’s answer to cloud storage. Think of it as a virtual backpack where all your digital resources live, accessible from anywhere.
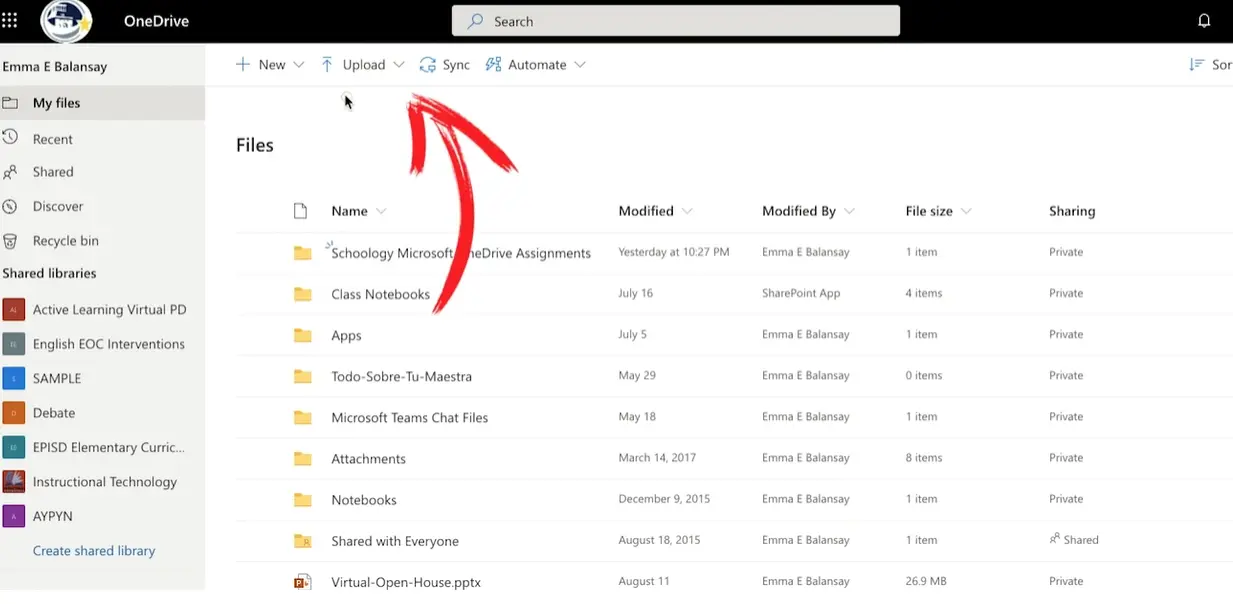
Step 2: Upload Your Interactive File
Click Upload. Select your file—let’s say that “All About Me” slideshow you customized. Watch it transfer to your OneDrive.
That’s it. Seriously. The hard part is over.
Creating the Assignment in Schoology
Now comes the fun part—actually assigning this to your students.
Step 3: Build Your Assignment
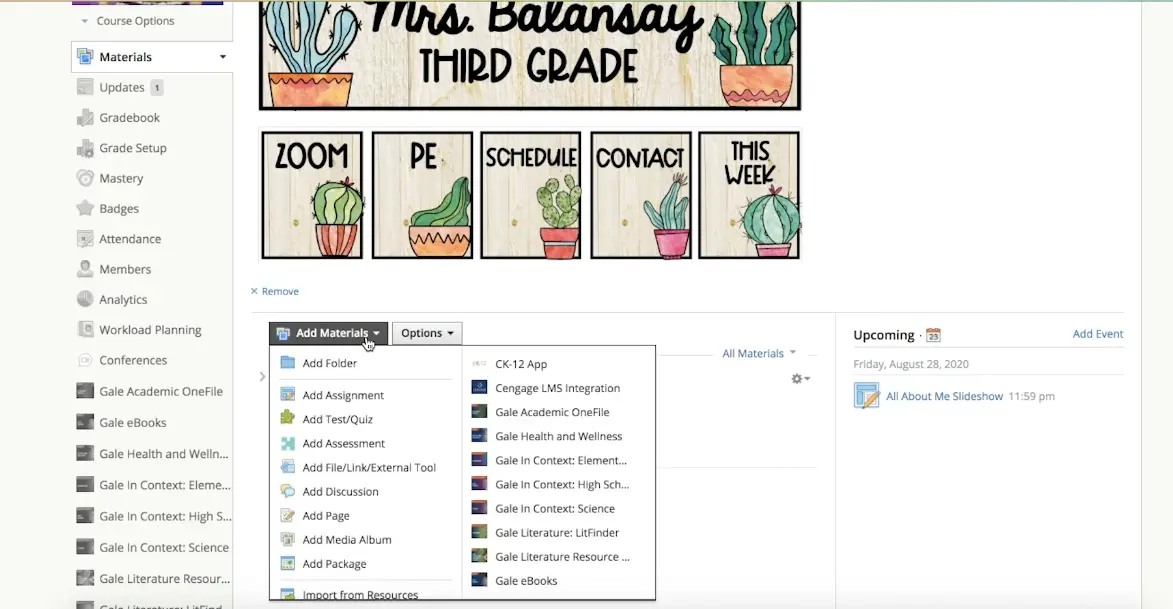
- Navigate to your Schoology course.
- Click Add Materials, then Add Assignment.
- Fill in the assignment name and description. Be clear about what you expect—vague instructions lead to confused students and midnight emails.
Step 4: Connect Your OneDrive File
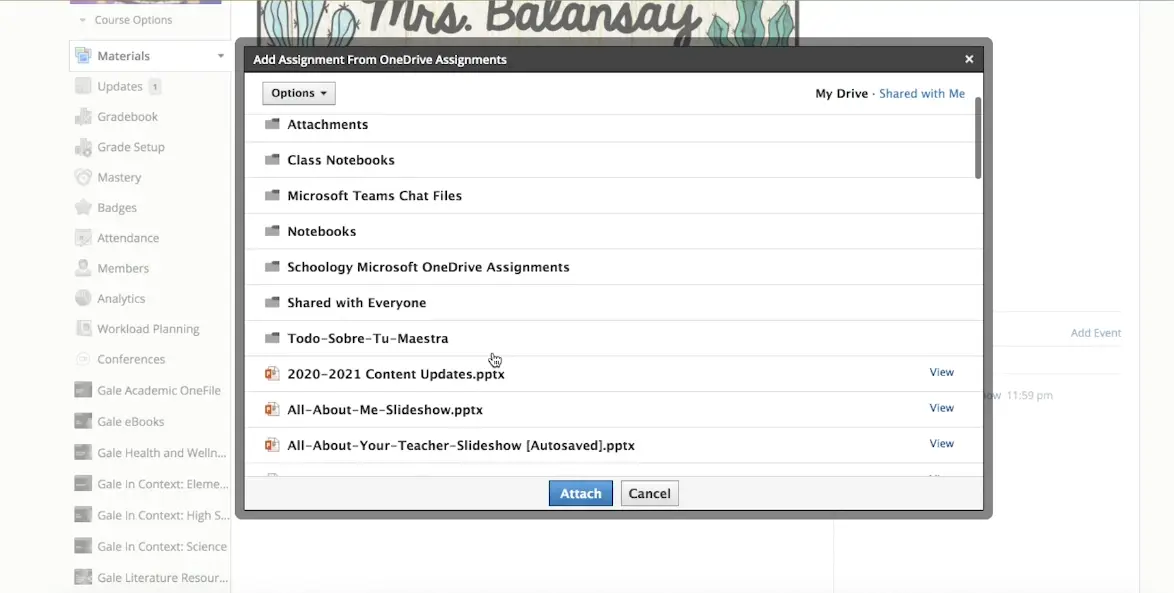
Here’s where the magic happens. Look for Assign from App and select OneDrive. You’ll see everything you’ve uploaded.
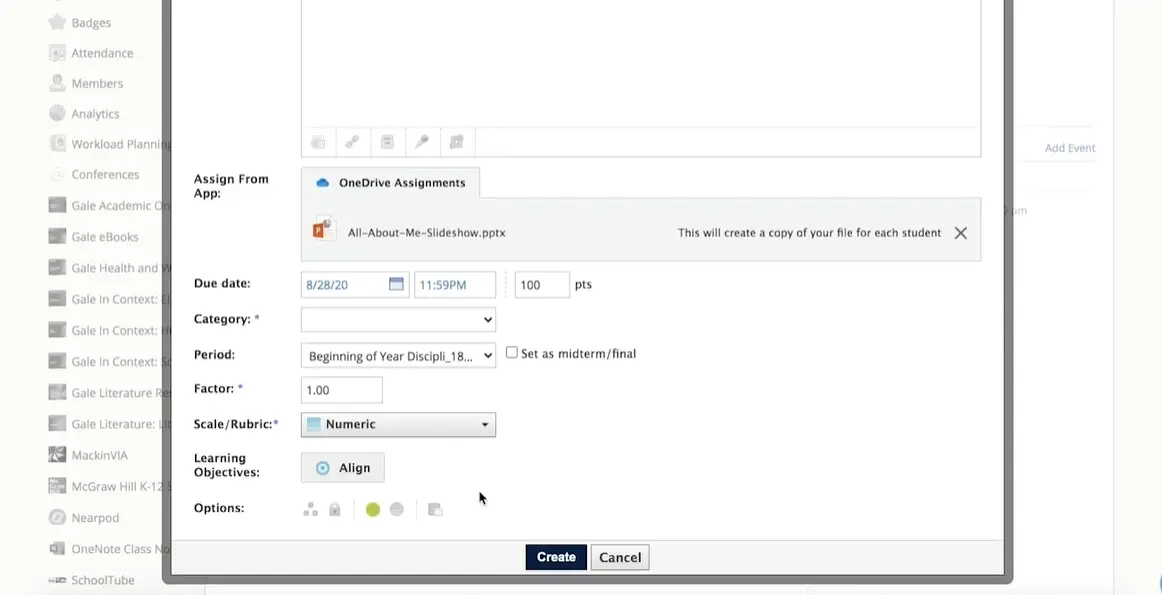
Choose your interactive file. Schoology will show you a message that makes all the difference: “This will create a copy of your file for each student.”
Why does this matter? Because each student gets their own personal copy. No fighting over one shared document. No accidental deletions of someone else’s work. Just clean, individual submissions.
Step 5: Set Your Due Date and Create
Add your deadline. Then hit Create. Your interactive assignment is now live.
The Student Experience: What They’ll See
Let’s walk through this from your students’ perspective. Understanding their journey helps you troubleshoot when they inevitably raise their hands (or send those frantic messages).
Logging In and Accessing the Assignment
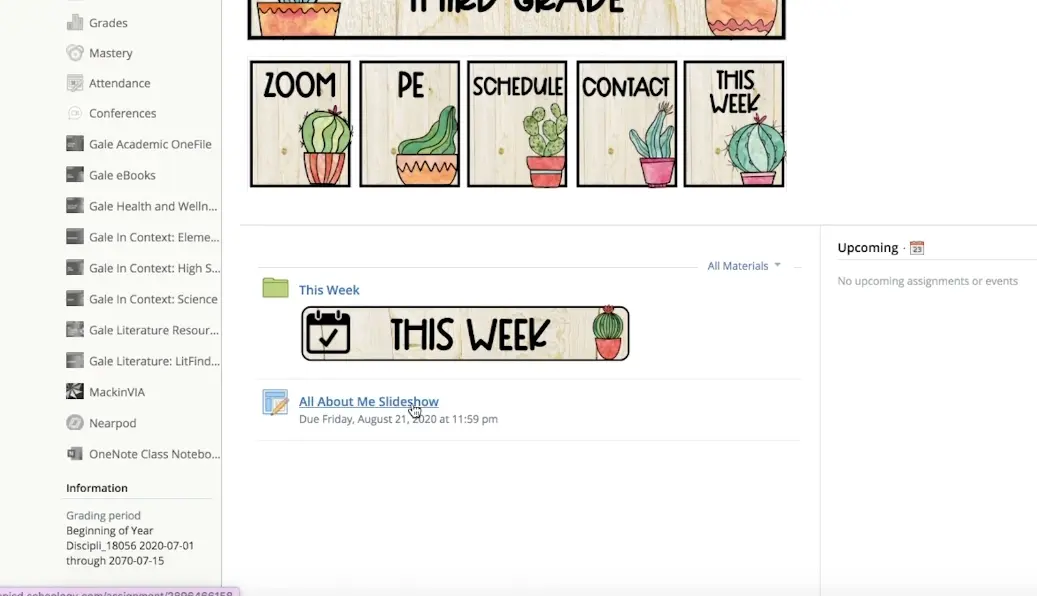
Students log into Schoology and see your assignment. They click on it. So far, so familiar.
But here’s the catch: even though they’re logged into Schoology, they need to connect their OneDrive too. This trips up students every time if you don’t warn them. They’ll see a login prompt on the right side. One click, they’re in.
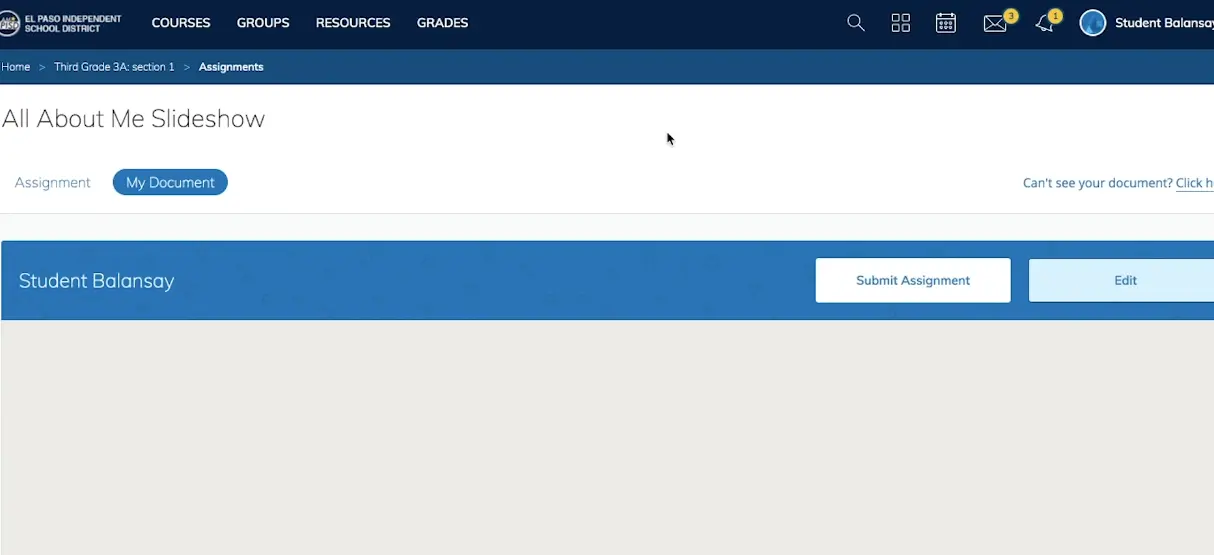
Opening and Editing the Document
Once connected, students see your instructions and the attached document. The crucial step: they must click Edit.
Remind them. Put it in bold in your instructions. Make it the first thing they see. “Click Edit to begin.”
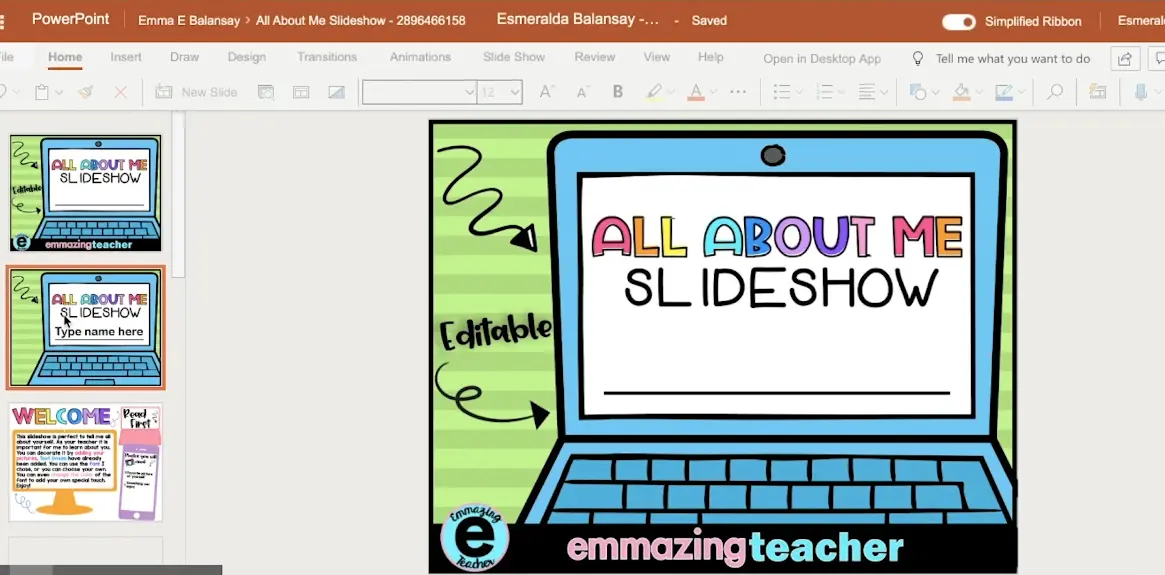
After clicking Edit, the PowerPoint (or whatever format you chose) opens in browser-based editing mode. Students can now type, drag images, and complete the activity right there.
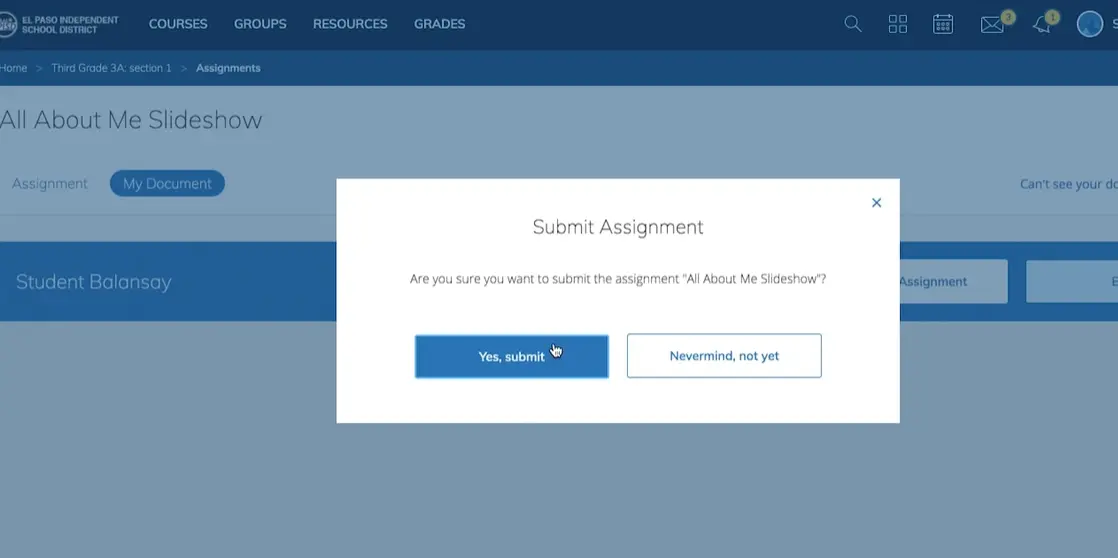
Submitting the Assignment
When students finish, they click Submit. A confirmation pops up: “Are you sure?” They confirm. Done.
Their work instantly appears in your gradebook, ready for review.
Your Turn: Reviewing and Grading
Switch back to teacher mode. Click on your assignment. Schoology shows you everything at a glance:
- Who’s submitted
- Who’s still working (shown as “In Progress”)
- Who hasn’t started
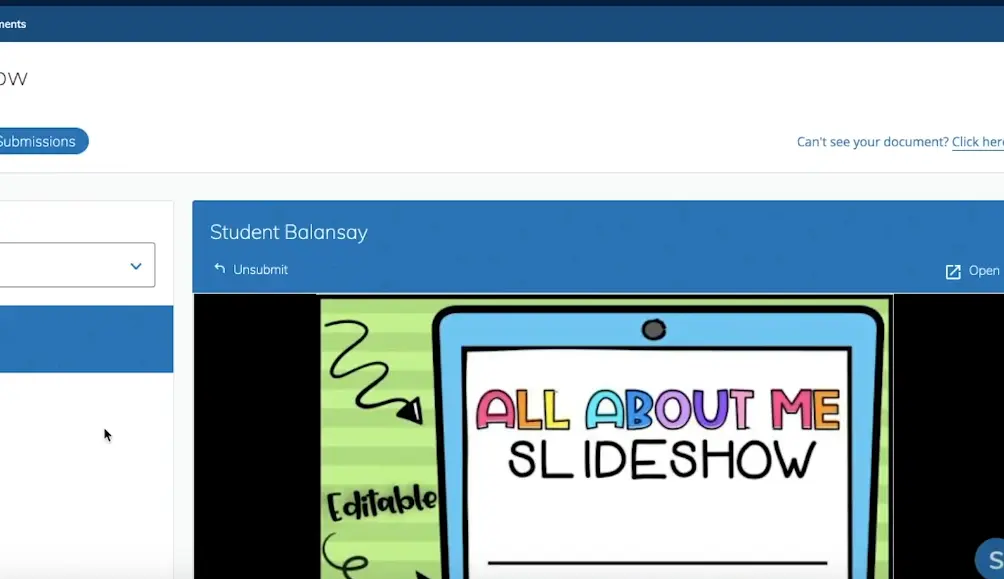
Click on any student’s name, and their assignment opens. You see exactly what they did—every typed word, every moved image. From this same screen, you can grade, leave comments, or even unsubmit work if it needs improvement.
The left sidebar shows your entire roster. Click through students one by one, grading efficiently without jumping between different windows.
Beyond Schoology: Creating Even Better Assessments
Interactive assignments in Schoology work beautifully, but what if you want to take assessment to the next level? What if you need auto-grading, detailed analytics, or more sophisticated question types?
This is where tools like OnlineExamMaker come into play. While Schoology handles interactive documents brilliantly, OnlineExamMaker specializes in creating comprehensive, AI-powered assessments that save teachers serious time.
What Makes OnlineExamMaker Different
Think of OnlineExamMaker as your assessment assistant. Need to create a quiz with 30 questions? Instead of typing each one manually, you can use the AI question generator. Upload your course materials, and the software crafts relevant questions automatically.
Create Your Next Quiz/Exam with OnlineExamMaker
It doesn’t stop there. OnlineExamMaker offers:
- Automatic grading that frees you from drowning in papers
- Multiple question formats: from traditional multiple choice to interactive matching and drag-and-drop
- Instant analytics showing which concepts students struggle with
- Flexible delivery options, whether online, offline, or blended
For teachers juggling multiple classes and hundreds of students, this kind of automation isn’t just convenient—it’s sanity-saving. You spend less time creating and grading assessments, more time actually teaching.
Pro Tip: Use Schoology for collaborative, creative assignments where you want to see student thinking processes. Use specialized tools like OnlineExamMaker for knowledge checks and formal assessments where objective grading matters most.
Common Hiccups And How to Fix Them
Students can’t log into OneDrive: Make sure they’re using their school Microsoft accounts, not personal ones. Also check that OneDrive is enabled in your district’s Microsoft settings.
The Edit button isn’t appearing: This usually means the file didn’t upload correctly or the student’s permissions are wrong. Re-upload the file and double-check that “Create a copy for each student” was selected.
Students accidentally submitted too early: No problem. Click “Unsubmit” from your teacher view. The assignment returns to them for continued work.
Making It Your Own
The examples in this guide—phonics mats, About Me slideshows—are just starting points. The real power comes when you adapt these techniques to your unique curriculum.
Teaching math? Create drag-and-drop equation solving. History class? Build interactive timelines where students place events in order. Science? Design digital labs where students move through experimental steps.
The template is simple: take any concept that benefits from hands-on manipulation, translate it to a PowerPoint or similar editable format, lock the backgrounds, and let students interact with the movable pieces.
Why This Matters More Than You Think
We talk a lot about engagement in education. But real engagement isn’t about bells and whistles—it’s about giving students agency. When they can click, drag, type, and manipulate their assignments, they’re not just consuming information. They’re actively constructing knowledge.
That difference—between passive and active—is everything.
Interactive assignments in Schoology give you a bridge. They take the convenience of digital learning and add the tactile satisfaction of hands-on work. Your students get assignments that feel less like homework and more like, well, actually doing something.
So grab that sorting mat template. Customize that slideshow. Upload it to OneDrive, assign it through Schoology, and watch your students engage in ways that static PDFs never could.
Because at the end of the day, teaching isn’t about filling heads with facts. It’s about sparking curiosity, building skills, and creating moments where learning feels less like work and more like discovery.
And if you can make that happen with a few clicks and a draggable image? That’s technology doing exactly what it should—getting out of the way so the learning can shine through.