Imagine you have prepared a perfect Microsoft Forms quiz, full of thought-provoking questions and helpful information. But how do you ensure that it is viewed only by the right people? Password protection can help a professional safeguard crucial examinations or educators trying to keep their kids’ exams safe. This guide will walk you through the process of adding a password to your Microsoft Forms quiz. Because this step adds extra protection, the fact that it is like a key means only those who have it will access your carefully curated content. You shall feel confident about sharing your quiz. Let’s get started to make your quiz safe and interesting!
- Step-by-step Guide on Securing Your Quiz with A Password
- OnlineExamMaker: An Exam Maker with Robust Security Features
- How to Create A Secure Online Exam in OnlineExamMaker?
Step-by-step Guide on Securing Your Quiz with A Password
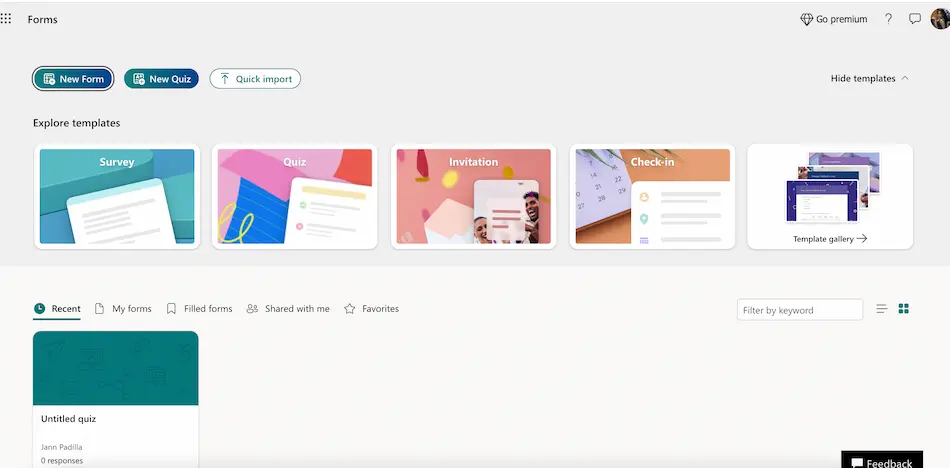
Step 1: Create Your Quiz
Open the Microsoft Forms website and log in with your Microsoft account. Open Microsoft Forms. Start a new quiz by clicking “New Quiz,” then add questions and change anything else as needed.
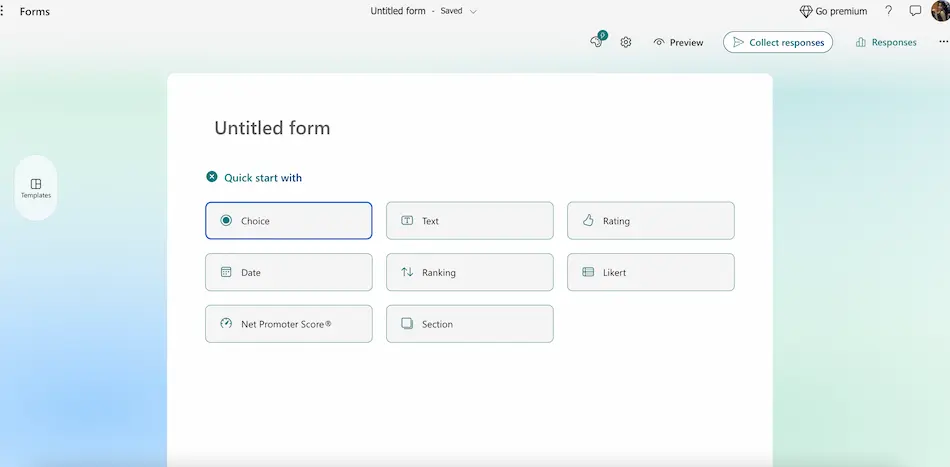
Step 2: Make Your First Question – A Password Question
To add a password question, start by adding a new question to your quiz. Then select “Text” for the type of question you want your password question to be. Make sure the “Required” option is selected. Now you can type a prompt for your password, such as “Enter the password to access this quiz.” and make the correct answer be the password.
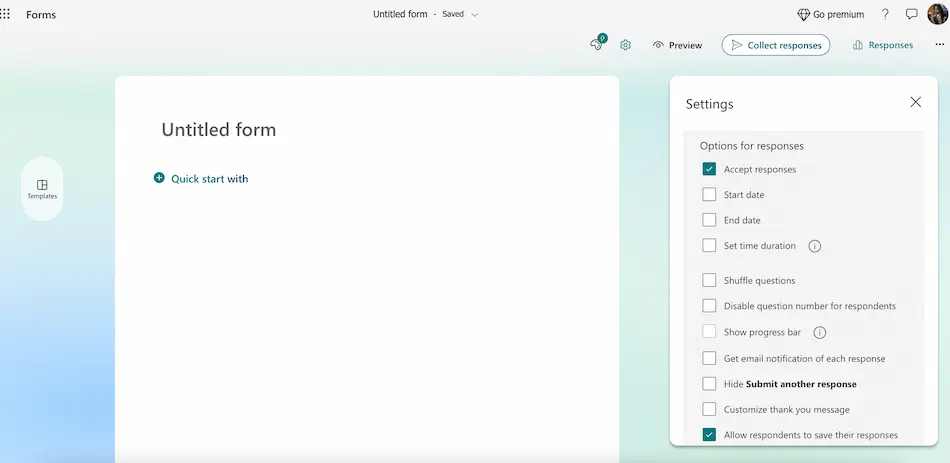
Step 3: Configure Password Settings of Quiz
The button at the top right will allow one to alter settings for the quiz. Click it, then select “Settings” from the dropdown menu. Change it under “Who can fill out this form” to either “Only people in my organization” or “Anyone with the link.” Adjust any other parameters including “Accept responses,” “Start date,” and “End date.”
Step 4: Check Your Quiz
Next, click the “Preview” option at the top right to see how your quiz will look for respondents. Verify that the password question works correctly—that is, that entering the wrong answer prevents the rest of the quiz from being accessed.
Step 5: Share Your Quiz
Finally, using the “Collect Response” button at the upper-right corner, you will want to share your newly created quiz. You can share it through e-mail, link generation, or even by simply embedding it into your webpage, and make sure to send the password as well.

OnlineExamMaker: An Exam Maker with Robust Security Features
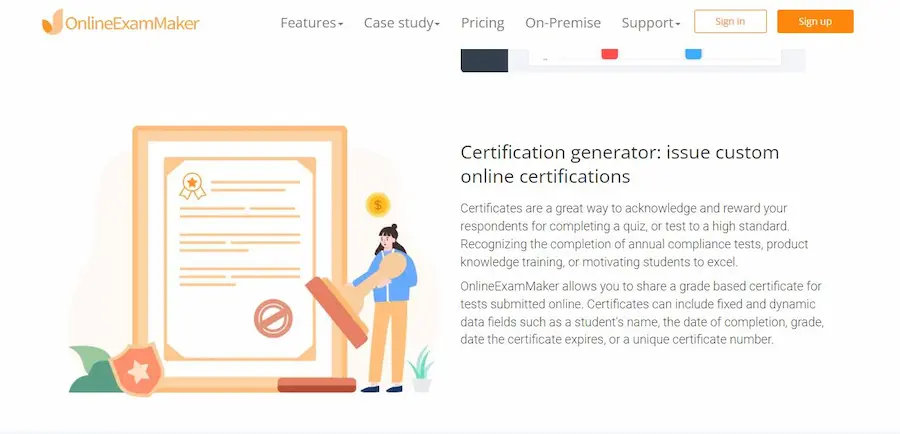
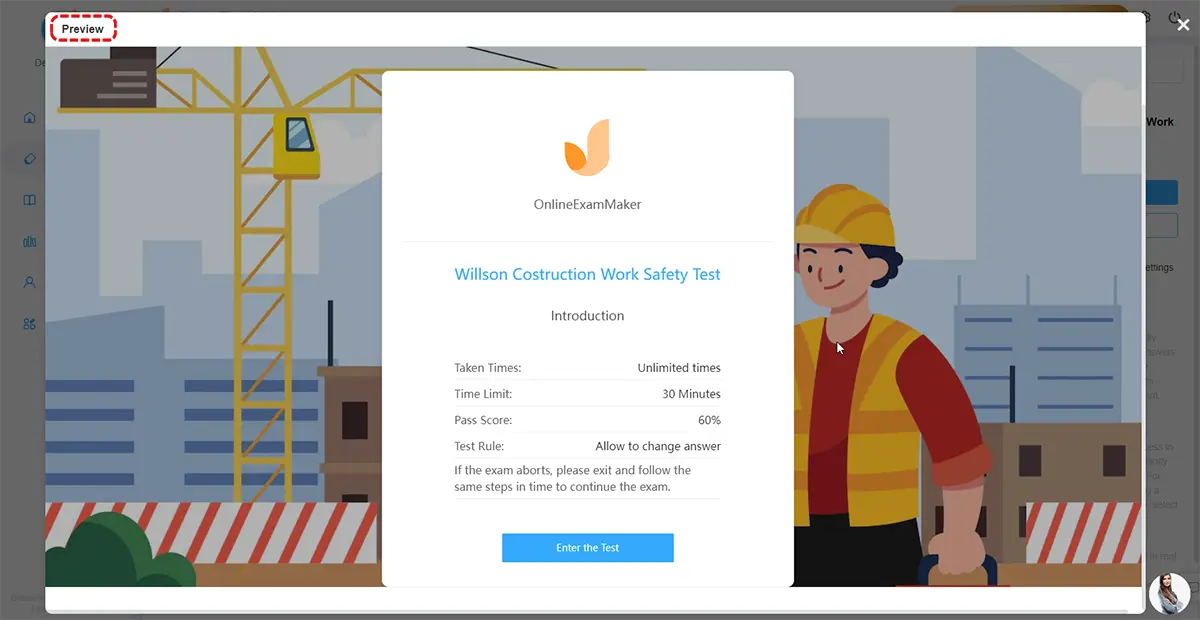
An online solution for exams needs to be secure for online learning. In this direction, here comes OnlineExamMaker: a flexible application that combines robust security features with an easy-to-use exam authoring interface. This makes OnlineExamMaker a reliable and trustworthy tool allowing professionals and educators to hold assessments confidently. No more frustrating concerns about plagiarism or illegal access—learn how OnlineExamMaker safeguards your tests effectively.
Create Your Next Quiz/Exam with OnlineExamMaker
How to Create A Secure Online Exam in OnlineExamMaker?
Step 1: Register and Login
Reach OnlineExamMaker’s website. If you have not registered yet, then do it by clicking the “Sign Up” button; otherwise, login to your account.
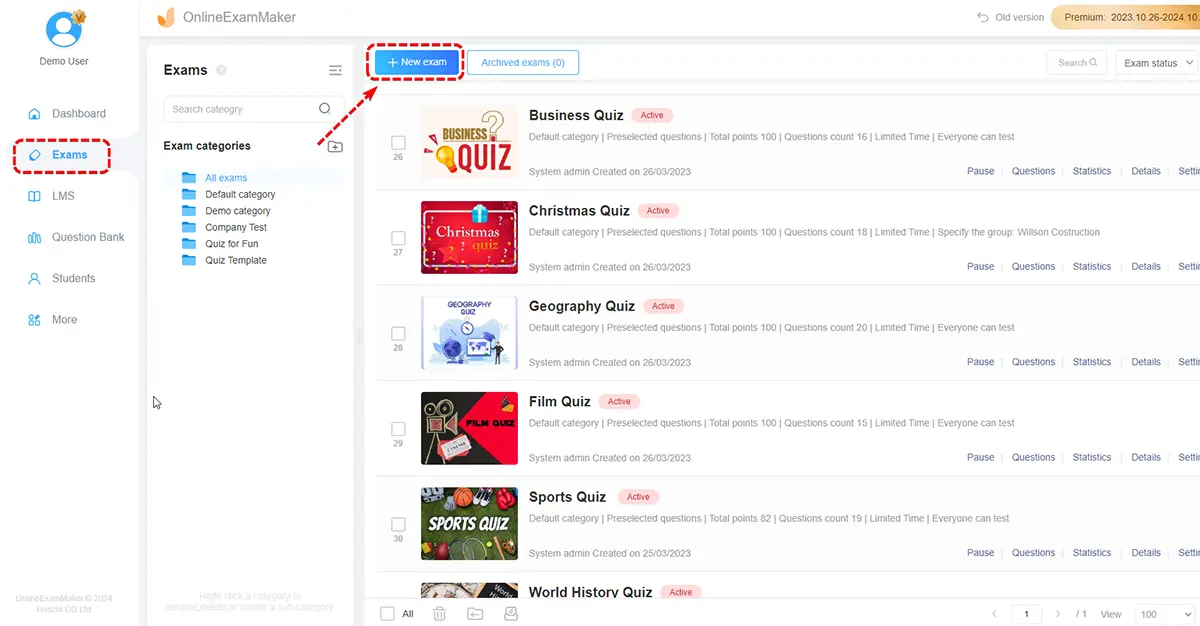
Step 2: Create A New Exam
After logging in, click the “Create Exam” button on the dashboard. Information will be sought for the title, description, and guidelines of the exam. Now continue making your exam by adding questions. Fill in the fields to proceed to the next step.
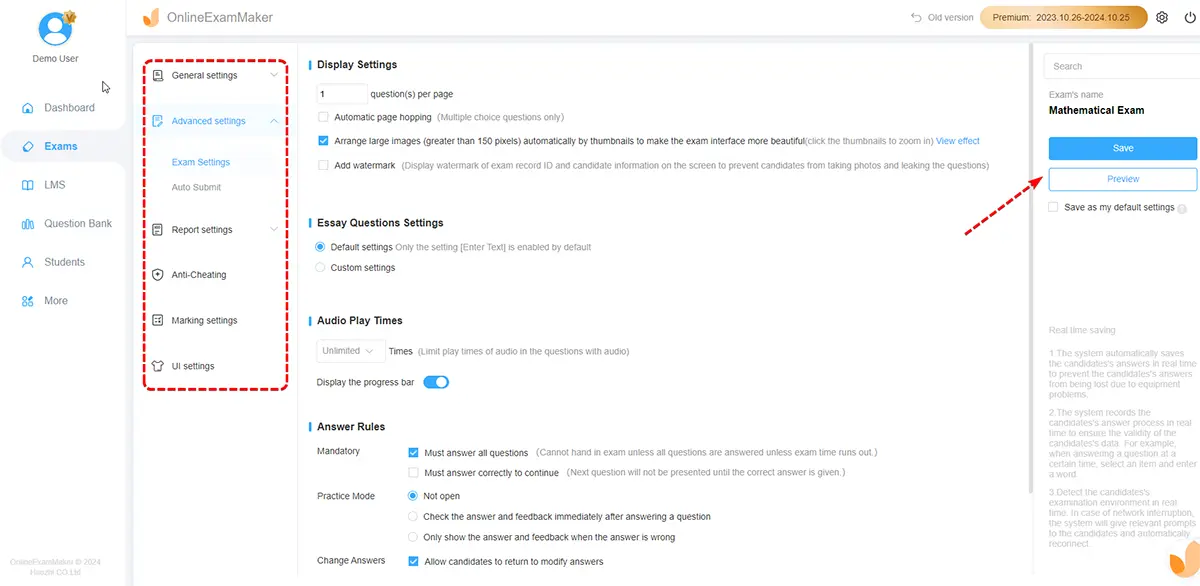
Step 3: Establishing Test Conditions
After adding every question, set up the exam’s parameters. Among them are: Extra options that can be added are the time limit, question order, and passing score.

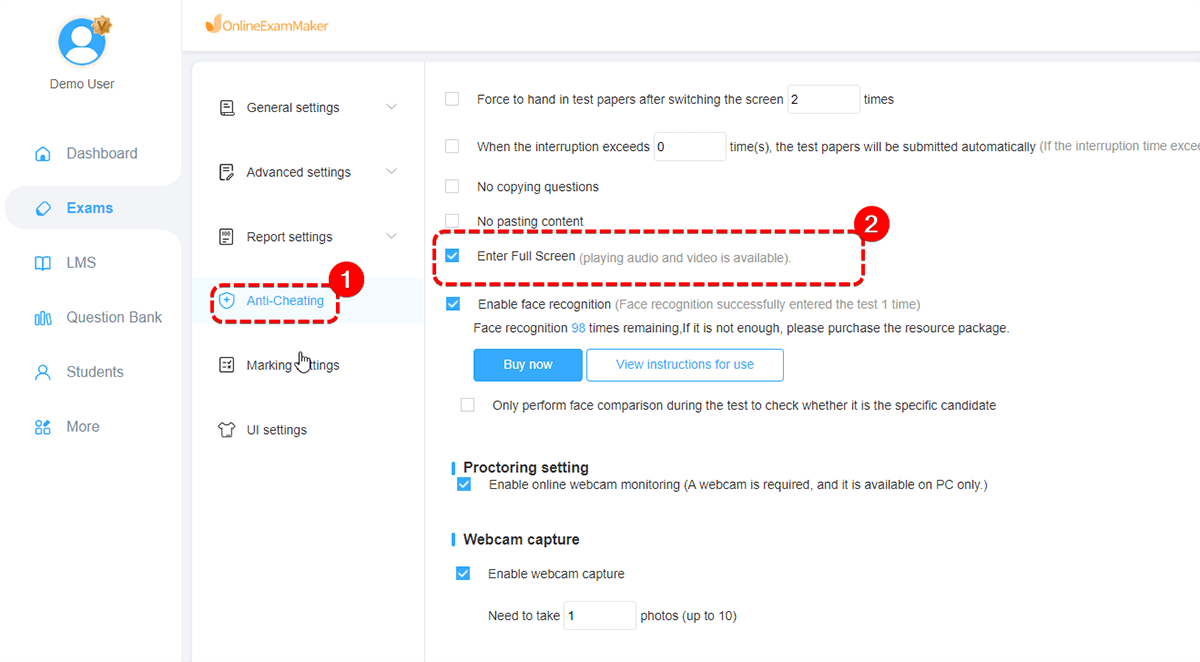
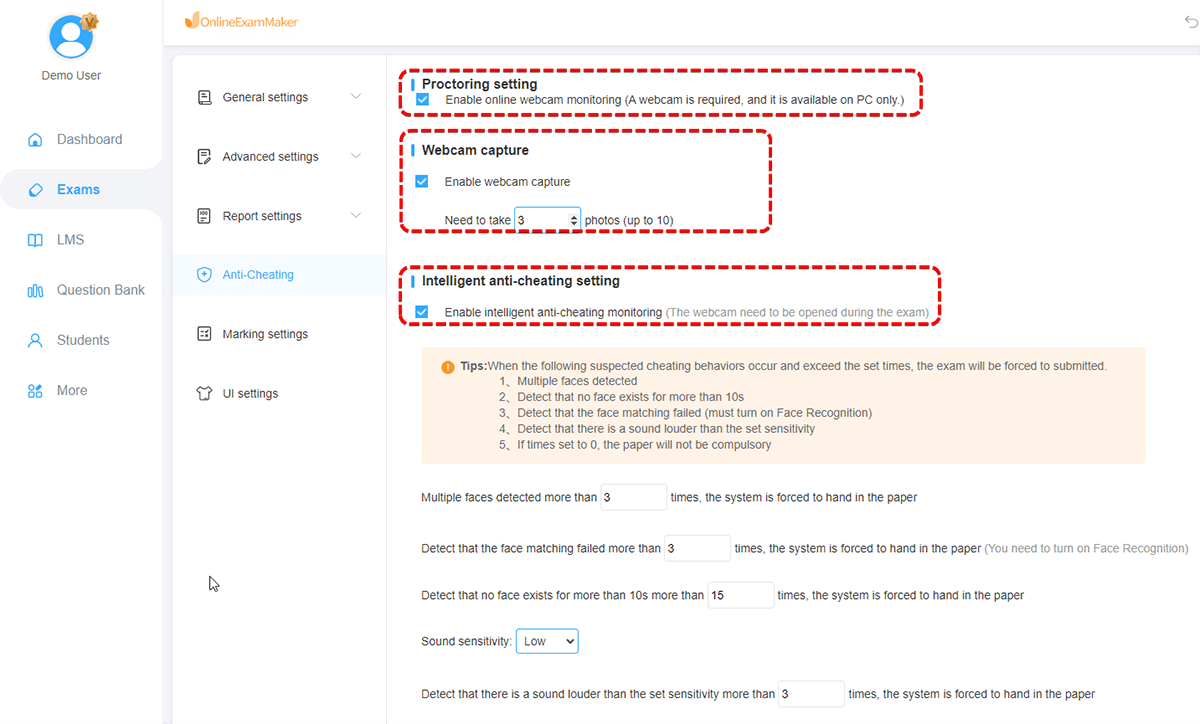
Step 4: Activate Security Features
Now, one needs to turn on OnlineExamMaker security features to improve the security of the exam. First is the browser lockdown. Once this is turned on, there will be no exam cheating. The other is online proctoring. In this, you can keep an eye on test takers. This would need screen sharing and audio and video surveillance. This can also be used to make sure that it’s the test taker’s real identity by using face recognition via the webcam.
Step 5: Setting up Exam Availability
Finally, set a time when your exam will be available by selecting start and end dates and times. The implication is that this will ensure that your exam only has to be available during some stipulated time. You may also set how many attempts each contestant can have.
Create Your Next Quiz/Exam with OnlineExamMaker
Step 6: Review Exam and Publish
Check all the settings and questions for correctness before submitting the exam. Once satisfied, hit the “Publish” button to allow people to access the exam. Now you can send the access code or link to let your student answer the exam.