Finding the perfect assessment that fits your classroom needs is like searching for a unicorn. You scroll through resources, download templates, and still end up tweaking everything because it’s not quite right. What if you could just make your own, tailored exactly to what your students need?
Good news: You already have the perfect tool sitting on your computer. PowerPoint isn’t just for presentations anymore. It’s a surprisingly powerful design platform for creating professional, printable assessments that look polished and work perfectly for your classroom.
- Why PowerPoint Works Better Than You Think?
- Setting Up Your Assessment Document
- Creating Your First Assessment Page
- Building Different Question Types
- Advanced Layout Tricks
- Saving Your Assessment for Printing
- Taking Your Assessment Digital with OnlineExamMaker
- Design Tips That Make a Difference
Why PowerPoint Works Better Than You Think?
Before we dive into the how-to, let’s talk about why PowerPoint deserves a spot in your assessment-creation toolkit. Unlike Word, which can be finicky with alignment and spacing, PowerPoint gives you precise control over every element on your page. Those little alignment guides that pop up? They’re lifesavers when you’re trying to create clean, professional-looking layouts.
Plus, PowerPoint makes copying and duplicating elements ridiculously easy. Need the same table format on multiple pages? Copy, paste, done. Want to change uppercase letters to lowercase? There’s literally a button for that. These small conveniences add up to hours saved.
Setting Up Your Assessment Document
Here’s where most people go wrong—they skip the setup and jump straight into creating content. Trust me, spending two minutes on proper setup will save you from formatting headaches later.
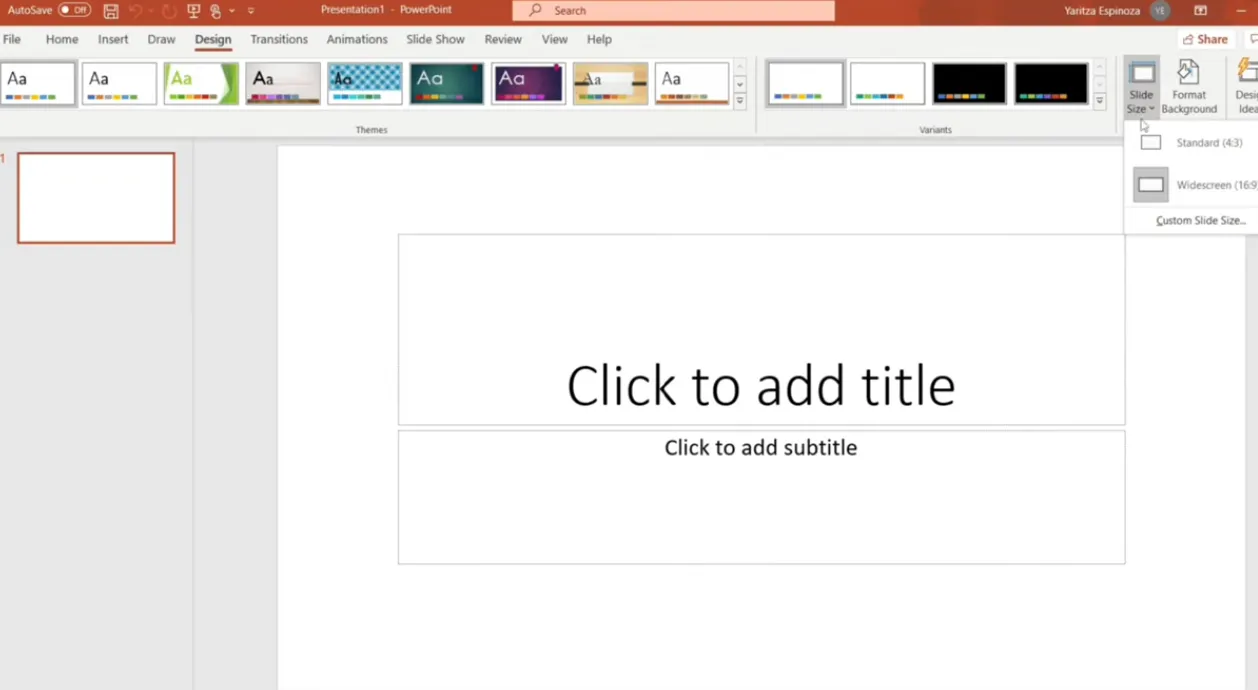
Step 1: Resize Your Slide to Paper Size
Open PowerPoint and start with a blank presentation. Now, this is crucial: you need to change your slide size from the default widescreen to actual paper dimensions.
Here’s how:
- Click on Design in the top menu
- Select Slide Size on the right
- Choose Custom Slide Size
- Set dimensions to 8.5 × 11 inches (standard letter size)
- Click Maximize when prompted
Why does this matter? Because if you don’t do this, your carefully crafted assessment will look weird when printed—elements might be cut off, spacing gets wonky, and you’ll waste paper reprinting everything.
Step 2: Delete Default Text Boxes
Those placeholder text boxes PowerPoint automatically adds? Delete them. You’re starting with a clean slate, and you’ll add exactly what you need, where you need it.
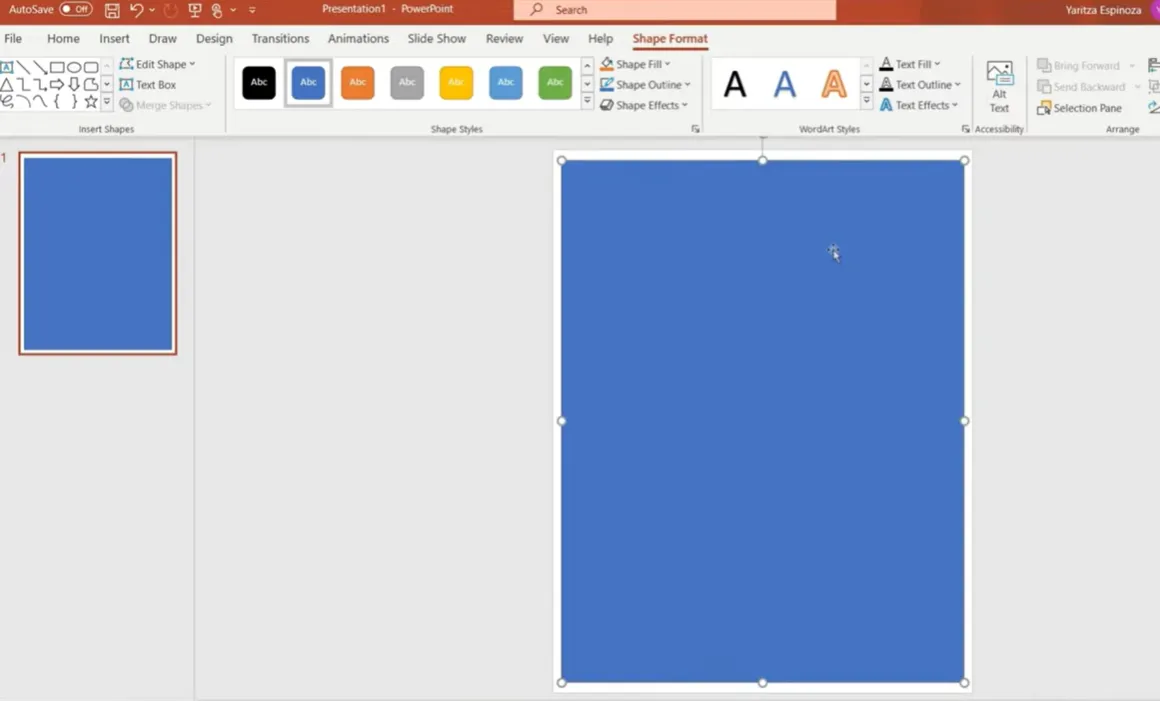
Step 3: Create a Border Frame
This step is optional but makes your assessment look significantly more professional. A simple border gives your document structure and prevents that “floating in space” look.
Here’s the trick:
- Select the Rectangle shape from Insert → Shapes
- Drag it across your entire slide—PowerPoint’s alignment guides will help you center it perfectly
- Remove the shape fill (select “No Fill”)
- Add a black outline and increase the weight to about 4.5 points
Boom. Instant professional look with minimal effort.
Creating Your First Assessment Page
Now comes the fun part—actually building your assessment. Let’s start with the title and student information section.
Adding Student Information
Every assessment needs a spot for student names and dates. Insert a text box at the top and include fields like:
- Student Name: _________________
- Date: _________________
- Class/Period: _________________
Here’s a clever tip: If you’re using the same assessment multiple times throughout the year (beginning, middle, and end-of-year testing), create sections for each period and use different colored highlighters when grading. Orange for fall, green for winter, purple for spring. This way, you can see student growth on a single document without reprinting.
Creating Your Assessment Title
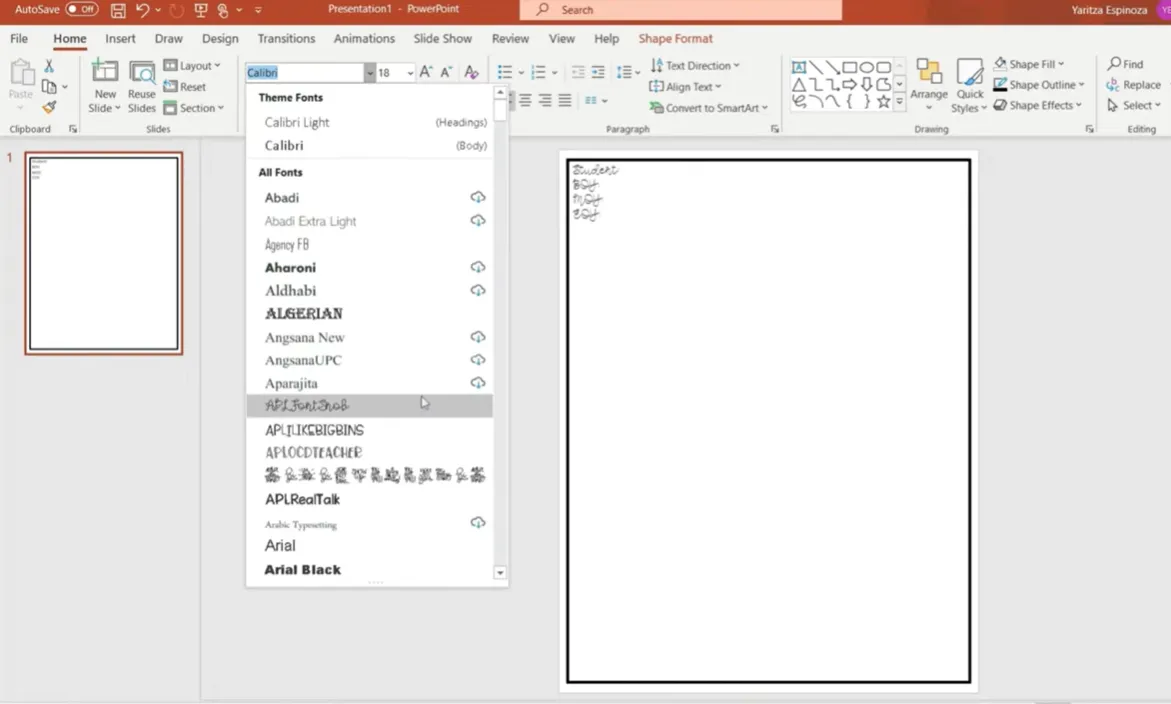
For fonts, consider these teacher-friendly options:
- Arial Rounded – clean and easy to read
- Appo Real Talk – casual but professional
- Pond Kinder – great for primary grades
Size 28-32 works well for titles. Make it bold, give it a black outline, and keep the fill white for maximum readability.
Building Different Question Types
Let’s get into the meat of your assessment. PowerPoint tables are your secret weapon here—they keep everything aligned and make it easy to create consistent layouts.
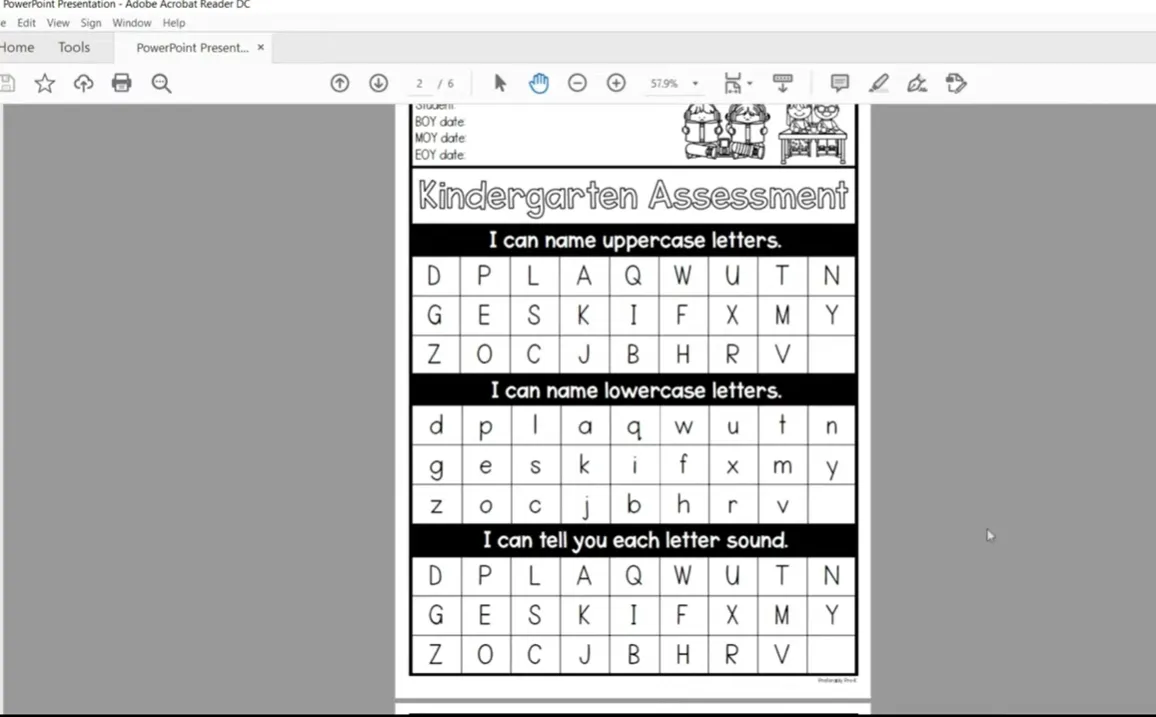
Letter Recognition Tables
If you’re creating a kindergarten or first-grade assessment, letter recognition is probably on your list. Here’s how to build it efficiently:
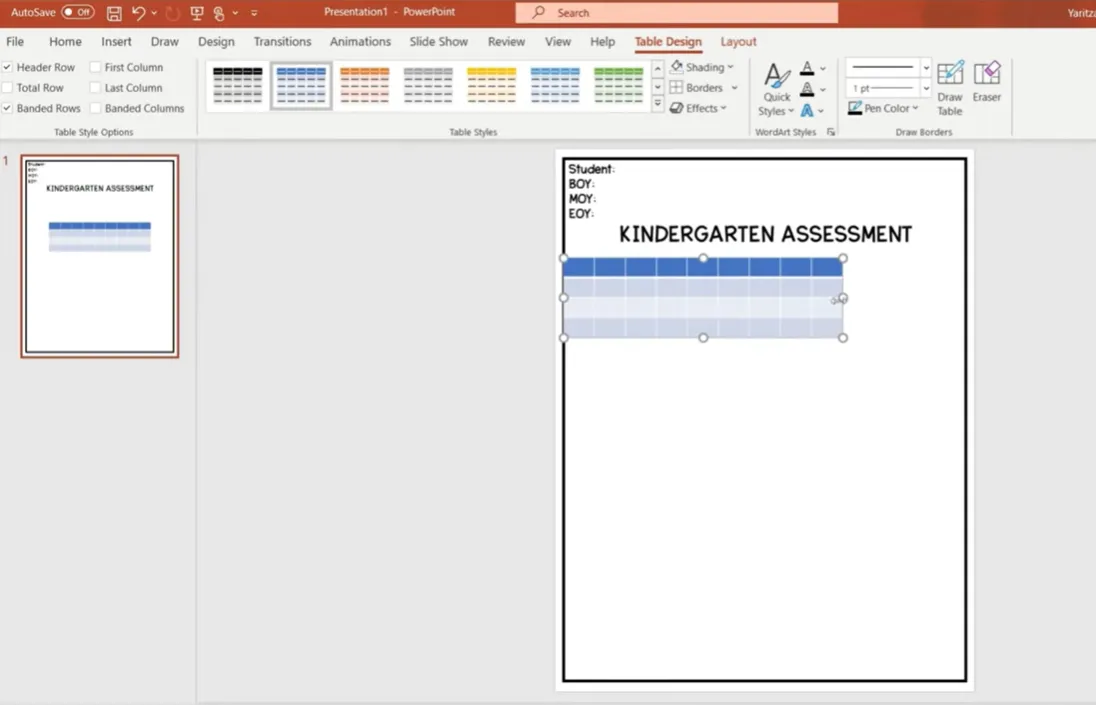
- Click Insert → Table
- Create a 9 × 4 table (adjust based on how many items you need)
- Remove the interior fill but keep borders (make them about 3 points thick)
- Highlight the top row and merge cells (Layout → Merge Cells)
- Add your “I Can” statement: “I can name uppercase letters”
Now here’s where PowerPoint really shines. Type your letters randomly into the cells using a clear, readable font like Pond Kinder at size 36.
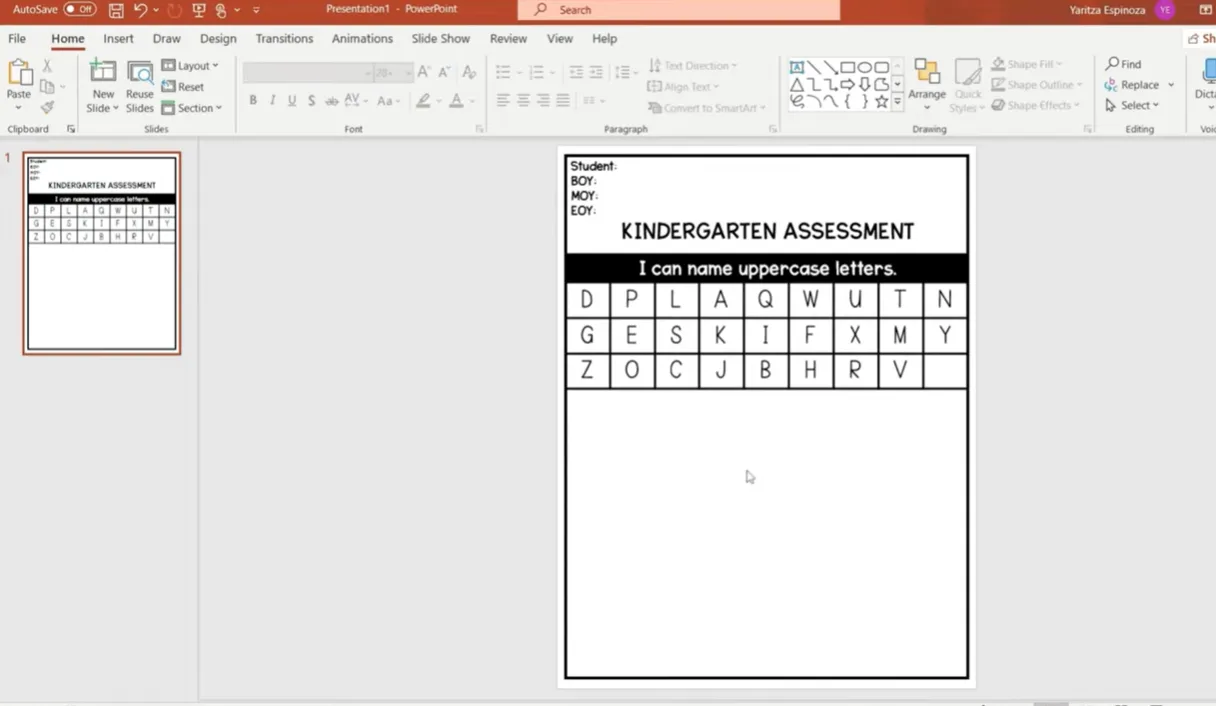
The Copy-Paste Trick
Need a lowercase version? Don’t retype everything. Here’s the genius move:
- Copy your entire uppercase table
- Paste it below the first one
- Change the header to “I can name lowercase letters”
- Highlight all the letters
- Click the Change Case button (it looks like “Aa”)
- Select “lowercase”
Boom. Thirty seconds instead of five minutes of retyping. This is why PowerPoint is brilliant for assessments.
Syllable Counting and Word Recognition
For phonics assessments, you’ll want sections where students count syllables or identify words. The table format works perfectly here too.
Create a 1 × 5 table (or however many words you need) and list simple, familiar words:
- cat
- pencil
- butterfly
- tree
- dinosaur
The merged top cell holds your “I can count syllables” statement, and each subsequent cell contains one word. Simple, clear, effective.
Sentence-Based Questions
For counting words in sentences or other reading comprehension tasks, increase your font size dramatically—think 60+ points. This makes it easier for young learners to visually separate words.
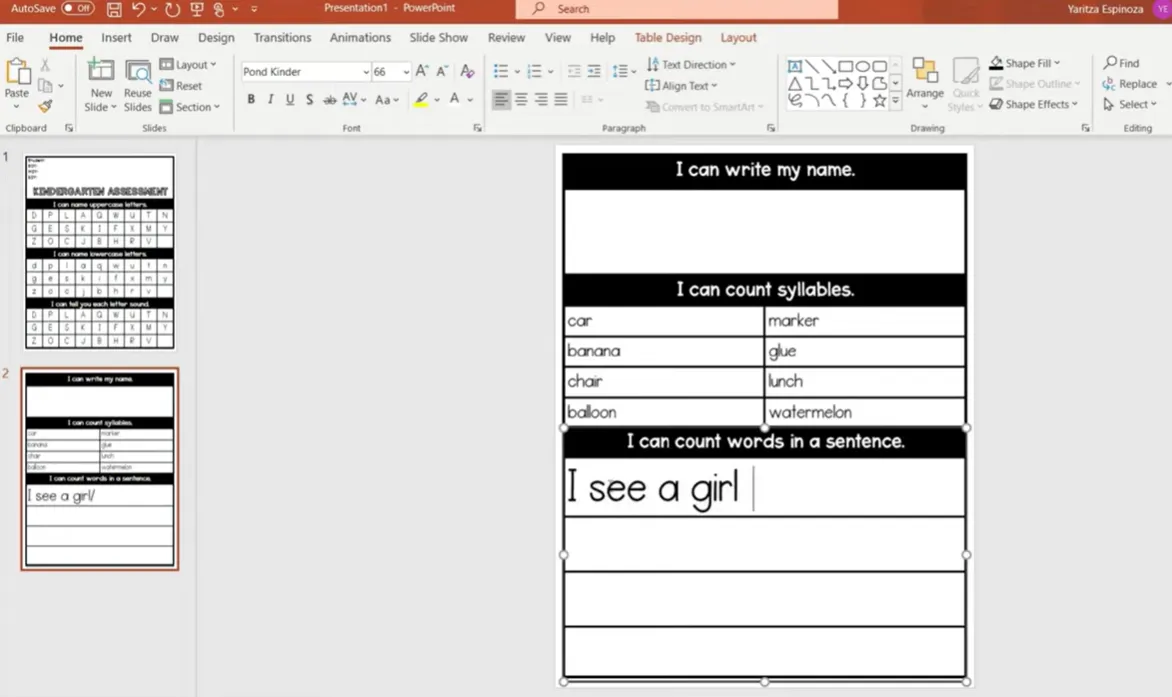
Example sentences:
- “I see a cat.”
- “The dog runs fast.”
- “We play at the park.”
Saving Your Assessment for Printing
You’ve built your assessment. Now what?
Save as PowerPoint First
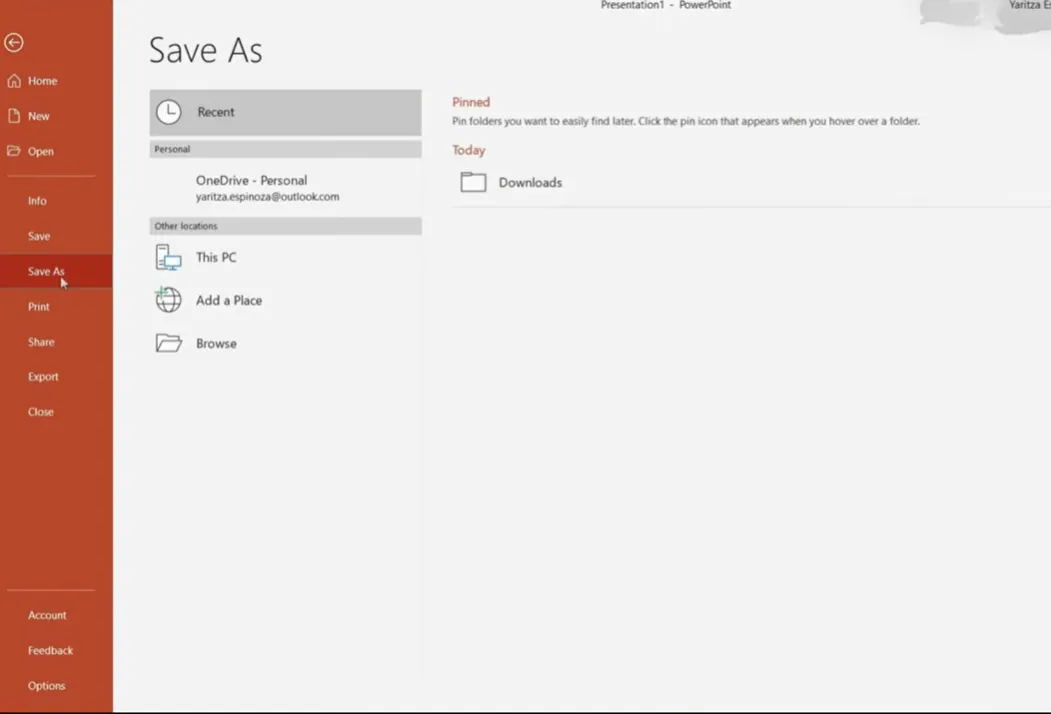
Always save the original PowerPoint file (.pptx). Why? Because you’ll want to edit it later. Student needs change, curriculum evolves, and having that editable version means you can update your assessment in minutes rather than starting from scratch.
- Click File → Save As
- Choose your location
- Name it something clear: “Kindergarten-Assessment-2025.pptx”
- Save
Export as PDF
For printing and sharing, PDF is your friend. It preserves all your formatting and ensures that what you see on screen is exactly what prints.
- Go to File → Save As (or Export)
- Choose PDF from the file type dropdown
- Keep the same filename or add “-PDF” to distinguish it
- Click Save
Now you have a professional, printer-ready assessment that looks identical on any device or printer.
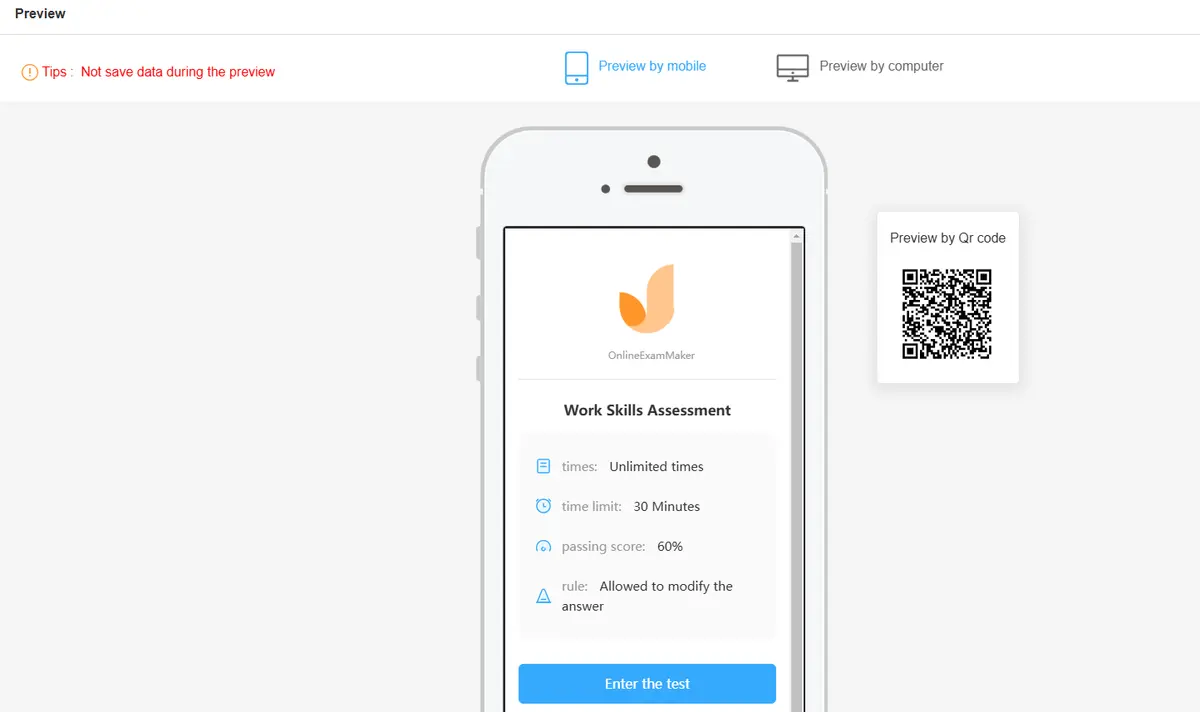
Taking Your Assessment Digital with OnlineExamMaker
Here’s where things get really interesting. What if you could take that beautifully designed printable assessment and transform it into an interactive online exam—without rebuilding everything from scratch?
Enter OnlineExamMaker, an AI-powered exam creation platform that bridges the gap between traditional paper assessments and modern digital testing.
Why Go Digital?
Going digital offers several compelling advantages:
- Automatic grading – save hours of manual scoring
- Instant feedback – students see results immediately
- Data analytics – identify class-wide trends and individual struggles
- Accessibility – students can take assessments remotely or on different devices
- Environmental impact – reduce paper usage significantly
Create Your Next Quiz/Exam Using AI in OnlineExamMaker
How OnlineExamMaker Works with Your PowerPoint Assessment
The process is remarkably straightforward:
Step 1: Upload Your Content
OnlineExamMaker’s AI can extract content from your PDF assessment. Simply upload your exported PDF, and the platform intelligently recognizes questions, answer formats, and assessment structure.

Step 2: AI-Assisted Question Conversion
The platform uses artificial intelligence to:
- Identify different question types (multiple choice, fill-in-blank, etc.)
- Preserve your formatting and layout preferences
- Suggest question formats based on your content
- Auto-populate answer choices where applicable
Step 3: Customize and Enhance
Once imported, you can enhance your digital assessment with features impossible in print:
- Add multimedia elements (audio for listening comprehension, videos for context)
- Set time limits for individual questions or entire sections
- Randomize question order to prevent cheating
- Include explanatory feedback for wrong answers
- Create adaptive assessments that adjust difficulty based on student performance

Step 4: Deploy and Track
OnlineExamMaker provides multiple deployment options:
- Share a unique link for each student or class
- Embed the assessment in your learning management system
- Schedule specific testing windows
- Monitor progress in real-time as students complete the exam
Real-World Example: Transforming the Kindergarten Assessment
Remember that kindergarten assessment we built earlier? Here’s how it would work digitally:
| Print Version | OnlineExamMaker Digital Version |
|---|---|
| Letter recognition with checkboxes | Interactive click-and-select or drag-and-drop letter matching |
| Write your name on paper | Type your name (with optional handwriting recognition on tablets) |
| Syllable counting with manual tallies | Audio pronunciation of words with clickable syllable counter |
| High-frequency word reading (teacher observes) | Audio recording of student reading words for later review |
| Shape recognition circling | Drag shapes to correct category or tap to select |
Data That Informs Teaching
The real power of OnlineExamMaker isn’t just convenience—it’s the actionable data you receive. The platform generates detailed reports showing:
- Class-wide performance on each standard or skill
- Individual student strengths and growth areas
- Time spent on each section (revealing where students struggle)
- Comparison data across testing periods
- Automated progress reports you can share with parents
This transforms assessment from a snapshot in time to an ongoing conversation about student learning.
Hybrid Approach: Best of Both Worlds
You don’t have to choose exclusively between print and digital. Many teachers use a hybrid approach:
- Use print assessments for initial benchmarking and formal testing
- Deploy digital versions through OnlineExamMaker for quick checks, practice, and formative assessment
- Keep print versions accessible for students with technology limitations or preferences
This flexibility ensures every student can demonstrate their knowledge in the format that works best for them.
Design Tips That Make a Difference
Before we wrap up, let’s talk about those finishing touches that separate amateur-looking assessments from professional ones.
Typography Matters
Stick with highly readable fonts. Comic Sans gets a bad rap, but it’s actually quite readable for young learners. Other excellent choices include:
- Arial or Arial Rounded
- Verdana
- Century Gothic
- Sassoon Primary (specifically designed for early readers)
Whatever you choose, be consistent. Don’t use five different fonts on one page—it looks chaotic and distracts from the actual content.
White Space Is Your Friend
Don’t cram everything onto one page just to save paper. Cluttered assessments stress students out and make it harder for them to focus on the actual questions. Leave generous margins, space between sections, and breathing room around text.
Color Psychology
If you’re printing in color (or creating digital versions), choose colors intentionally:
- Blue – calming, associated with trust and competence
- Green – positive, growth-oriented
- Red – use sparingly; it signals errors and can create anxiety
- Black and white – timeless, professional, and printer-friendly
Accessibility Considerations
Design with all learners in mind:
- Use minimum 12-point font for body text, larger for younger grades
- Ensure high contrast between text and background
- Leave space for students to write or mark answers
- Consider creating a version with larger text or simplified layouts for students with visual processing differences
Final Thoughts: Your Custom Assessment Toolkit
Creating assessments in PowerPoint isn’t just about having another skill in your teaching toolkit—it’s about reclaiming control over how you measure student learning. No more settling for almost-right templates. No more spending money on resources that need extensive modification.
With PowerPoint, you can create exactly what you need, when you need it. And with tools like OnlineExamMaker, you can seamlessly transition those assessments into the digital realm, gaining powerful insights that inform your instruction.
The best part? Once you’ve created one assessment, you have a template. Next year’s version is just minor tweaks away. You’re building a library of resources perfectly tailored to your students, your curriculum, and your teaching style.
So fire up PowerPoint, set those slides to 8.5 × 11, and start creating. Your perfectly customized assessment is just a few tables and text boxes away.
Ready to transform your teaching assessment workflow? Start with PowerPoint for design flexibility, then explore digital deployment through OnlineExamMaker to unlock real-time data and automatic grading. Your future self (and your students) will thank you.