Before the bloom of online education, the traditional way of conducting quizzes and tests is by distributing the test papers to the entire class, checking them one by one, and then collecting the scores of each student. It’s time-consuming and let’s be honest, it’s kinda’ of a hassle. Fortunately, during the popularization of online education, numerous LSM and quiz creator platforms have become very common on the internet. A lot of these platform offers tons of amazing features aside from being able to add multimedia (images, videos, and music) to each quiz question, adding timed questions, creating scored quizzes for automatic scoring, and so much more. One of these well-known platforms is Microsoft Forms.
Microsoft Forms, part of Microsoft 365, lets users easily create engaging surveys, quizzes, and polls. With various question types and customization options, forms can be tailored for any purpose. Teams can collaborate in real time and share forms widely. Responses are collected instantly, with built-in analytics for data visualization and export options to Excel for deeper analysis. Integration with other Microsoft 365 tools like Excel, SharePoint, Teams, and Power Automate enhances workflow and data management, making Microsoft Forms a versatile and powerful tool.
- How to Create A Scored Quiz with Microsoft Forms?
- OnlineExamMaker: Best Alternative Way to Create A Scored Quiz
- A Step-by-Step Guide on How to Create Scored Quiz in OnlineExamMaker
How to Create A Scored Quiz with Microsoft Forms?
Step 1: Setting up the Quiz
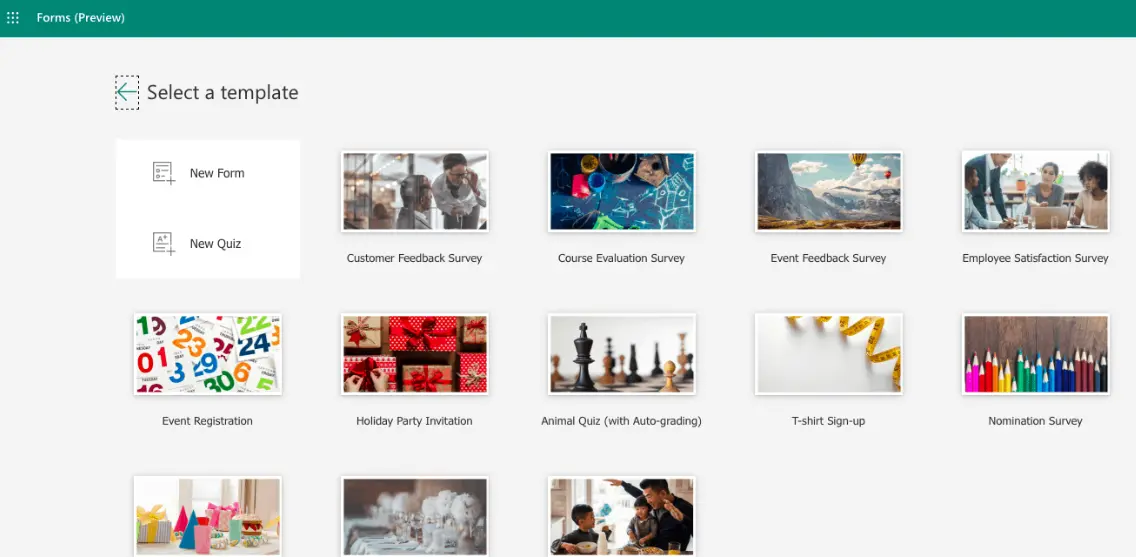
Go to Microsoft Forms and sign in with your account. Click on “New Quiz” above the main page or pick the More Templates link to choose a quiz template. You can make a new quiz or edit an existing quiz to grade, and if you want, you can use a blank quiz or one of the Microsoft Forms templates.
Step 2: Adding Questions to Your Quiz
When you are ready to add the questions to your quiz, just select Add New and then select your question type. You may use types including Choice, Text, Rating, Date, Ranking, Likert, and finally, Net Promoter. Though the first two are surely the most common ones with quizzes.
Step 3: Customizing the Questions
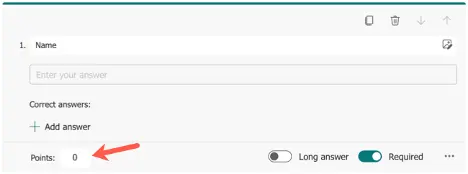
Choose any type of questions you desire, for example below we have Text Questions. Enter the Question, and turn on the toggle for Required if you wish.
You can assign a value in the Points box where the score and the result of the quiz will be based.
Step 4: Make the Quiz Self-Grading
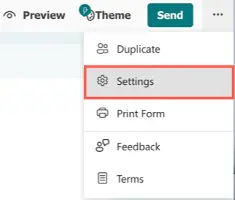
To set up the quiz for automatic grading, click the three dots in the top right corner of the page to access More Form Settings, then choose “Settings.”
Turn on the toggle for Show Results Automatically at the top of the Settings page.
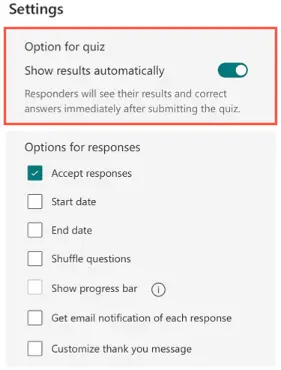
Additionally, you can configure options for start and end dates, show a progress bar, and personalize the thank you message.
Step 5: Upload and View Responses
Once you upload the quiz and share it with your students, you can walk through the quiz anytime by selecting the Preview option. This allows you to see your questions and answers from the perspective of your quiz takers. You can also preview how feedback appears for multiple-choice questions and how grading results are shown after submission.
OnlineExamMaker: Best Alternative Way to Create A Scored Quiz

Microsoft is indeed a great platform to use in creating scored quizzes, but if you find it a bit complicated for your liking, try the best alternative platform you can use, OnlineExamMaker. OnlineExamMaker is a versatile online exam software designed to simplify and streamline the process of conducting assessments, tests, and quizzes. Its user-friendly interface and robust features enable recruiters, educators, and HR professionals to efficiently manage and administer assessments, saving time and resources while ensuring accurate evaluation. Additionally, OnlineExamMaker offers scored quiz functionality, making it easy to automatically grade and provide feedback to candidates and learners.
Create Your Next Quiz/Exam with OnlineExamMaker
A Step-by-Step Guide on How to Create Scored Quiz in OnlineExamMaker
Step 1: Sign up for an account

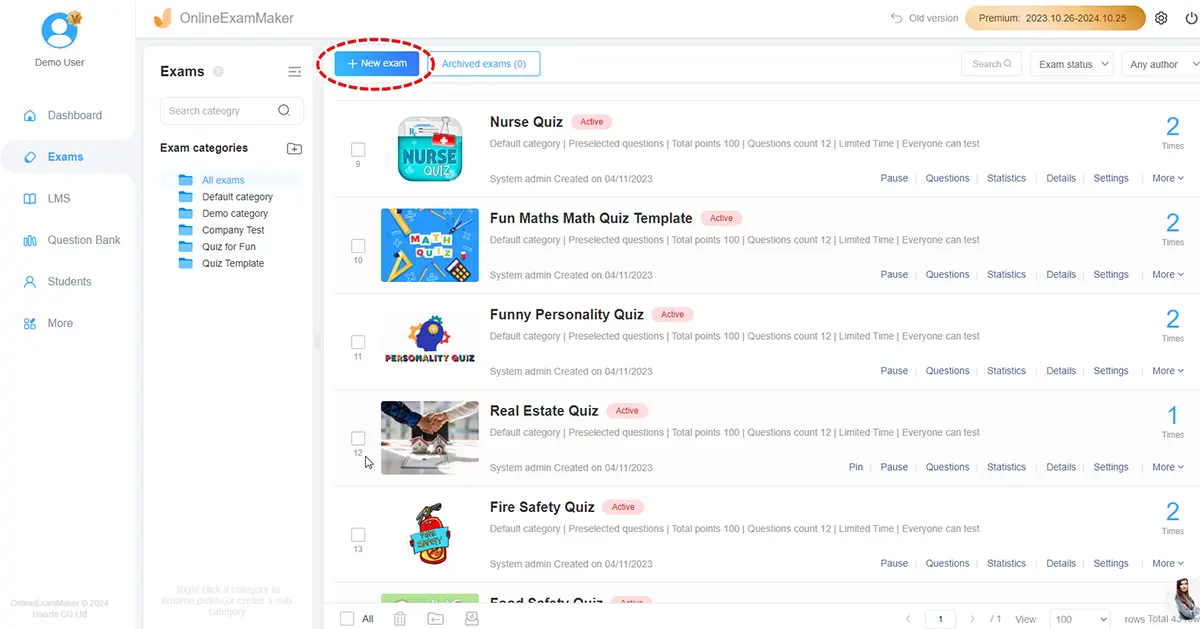
Step 2: Create a Quiz
To finally start making an auto-grading quiz, the next thing you need to do is create an exam by choosing the [Exam] and clicking “+ New Exam.”
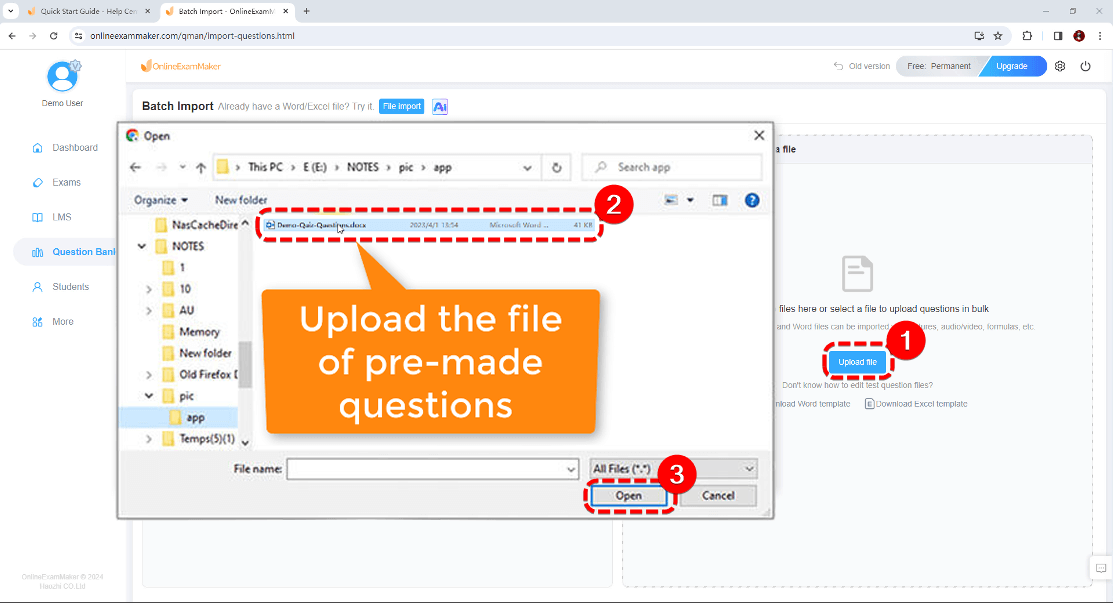
You can also import questions from your device for easy uploading
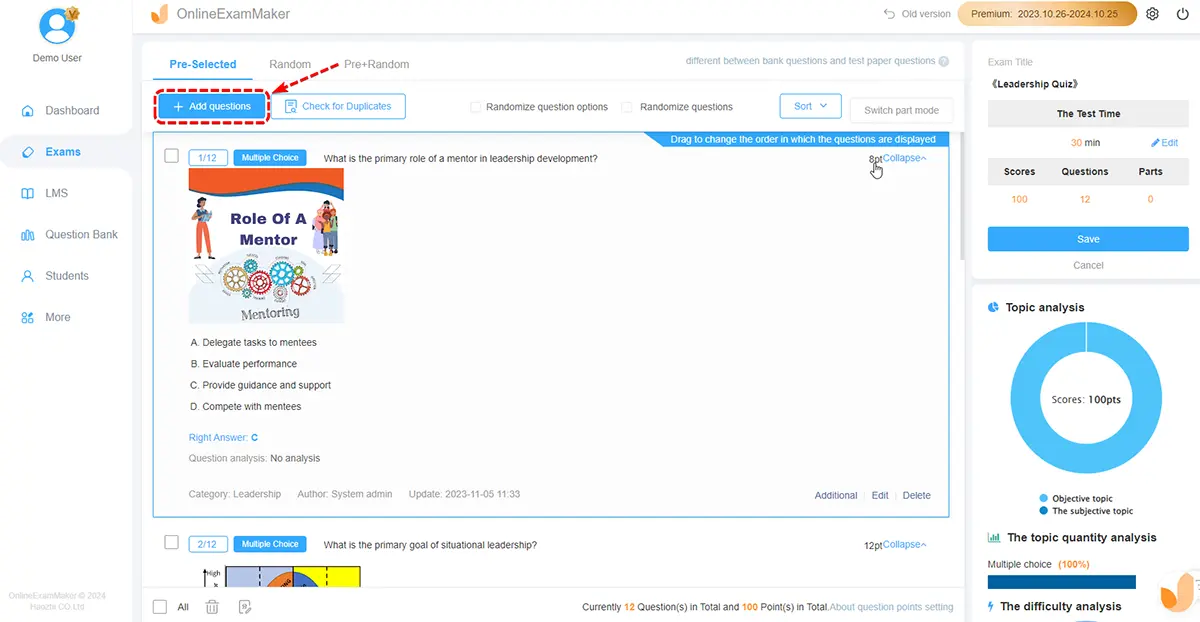
Step 3: Modifying the Quiz
After importing questions into the system, their scores remain as they are set during the import process; however, users at the class level can modify the score for each question. For each question, you will be asked to enter the question text as well as possible answers for multiple-choice questions or specify the correct answer for true/false and short answer questions. Modify the score of any question by going back to the list of questions and changing the score to the points of your choice.
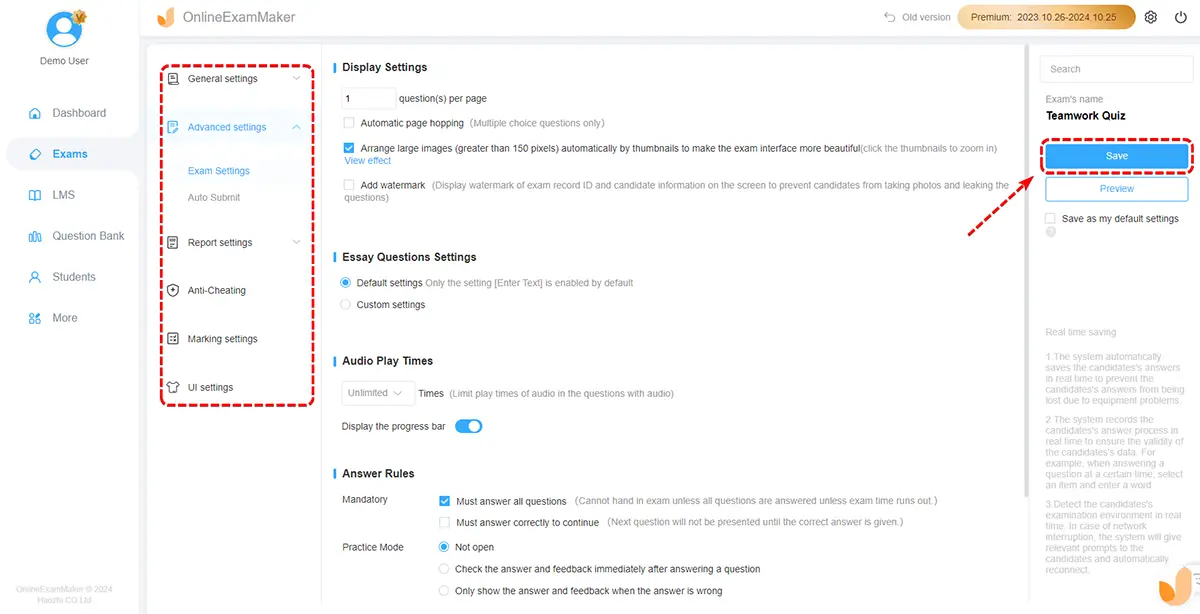
Step 4: Publish your Quiz
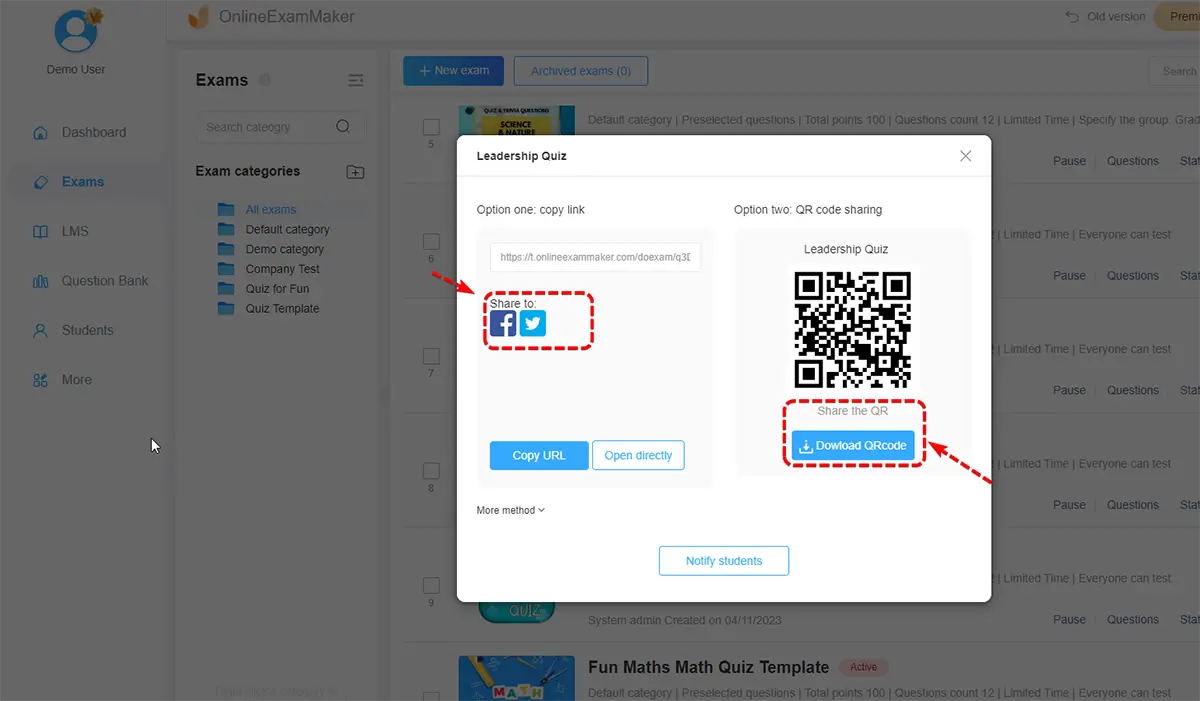
After reviewing the quiz and making necessary adjustments, you can now publish the exam, share it with your students, and wait for them to answer the quiz.
Create Your Next Quiz/Exam with OnlineExamMaker